Last summer, I was approached by a former client of mine. He had just acquired a JDM HiAce Camper Van with his business partner, and they wanted to update the van so they could rent it out. The biggest subsystem they wanted to update was the nearly 30 year old Japanese standard electrical system. A modern lithium system charging with solid state DC-DC components would serve as a backbone for any future camper related installs. They also wanted a roof fan installed in the pop-top, along with some smaller accessories like lights and outlets. On the surface, this project seemed straightforward, but as I learned working in cramped, thirty-year old fiberboard cabinets, tearing apart a non-standard wiring harness was anything but straightforward.
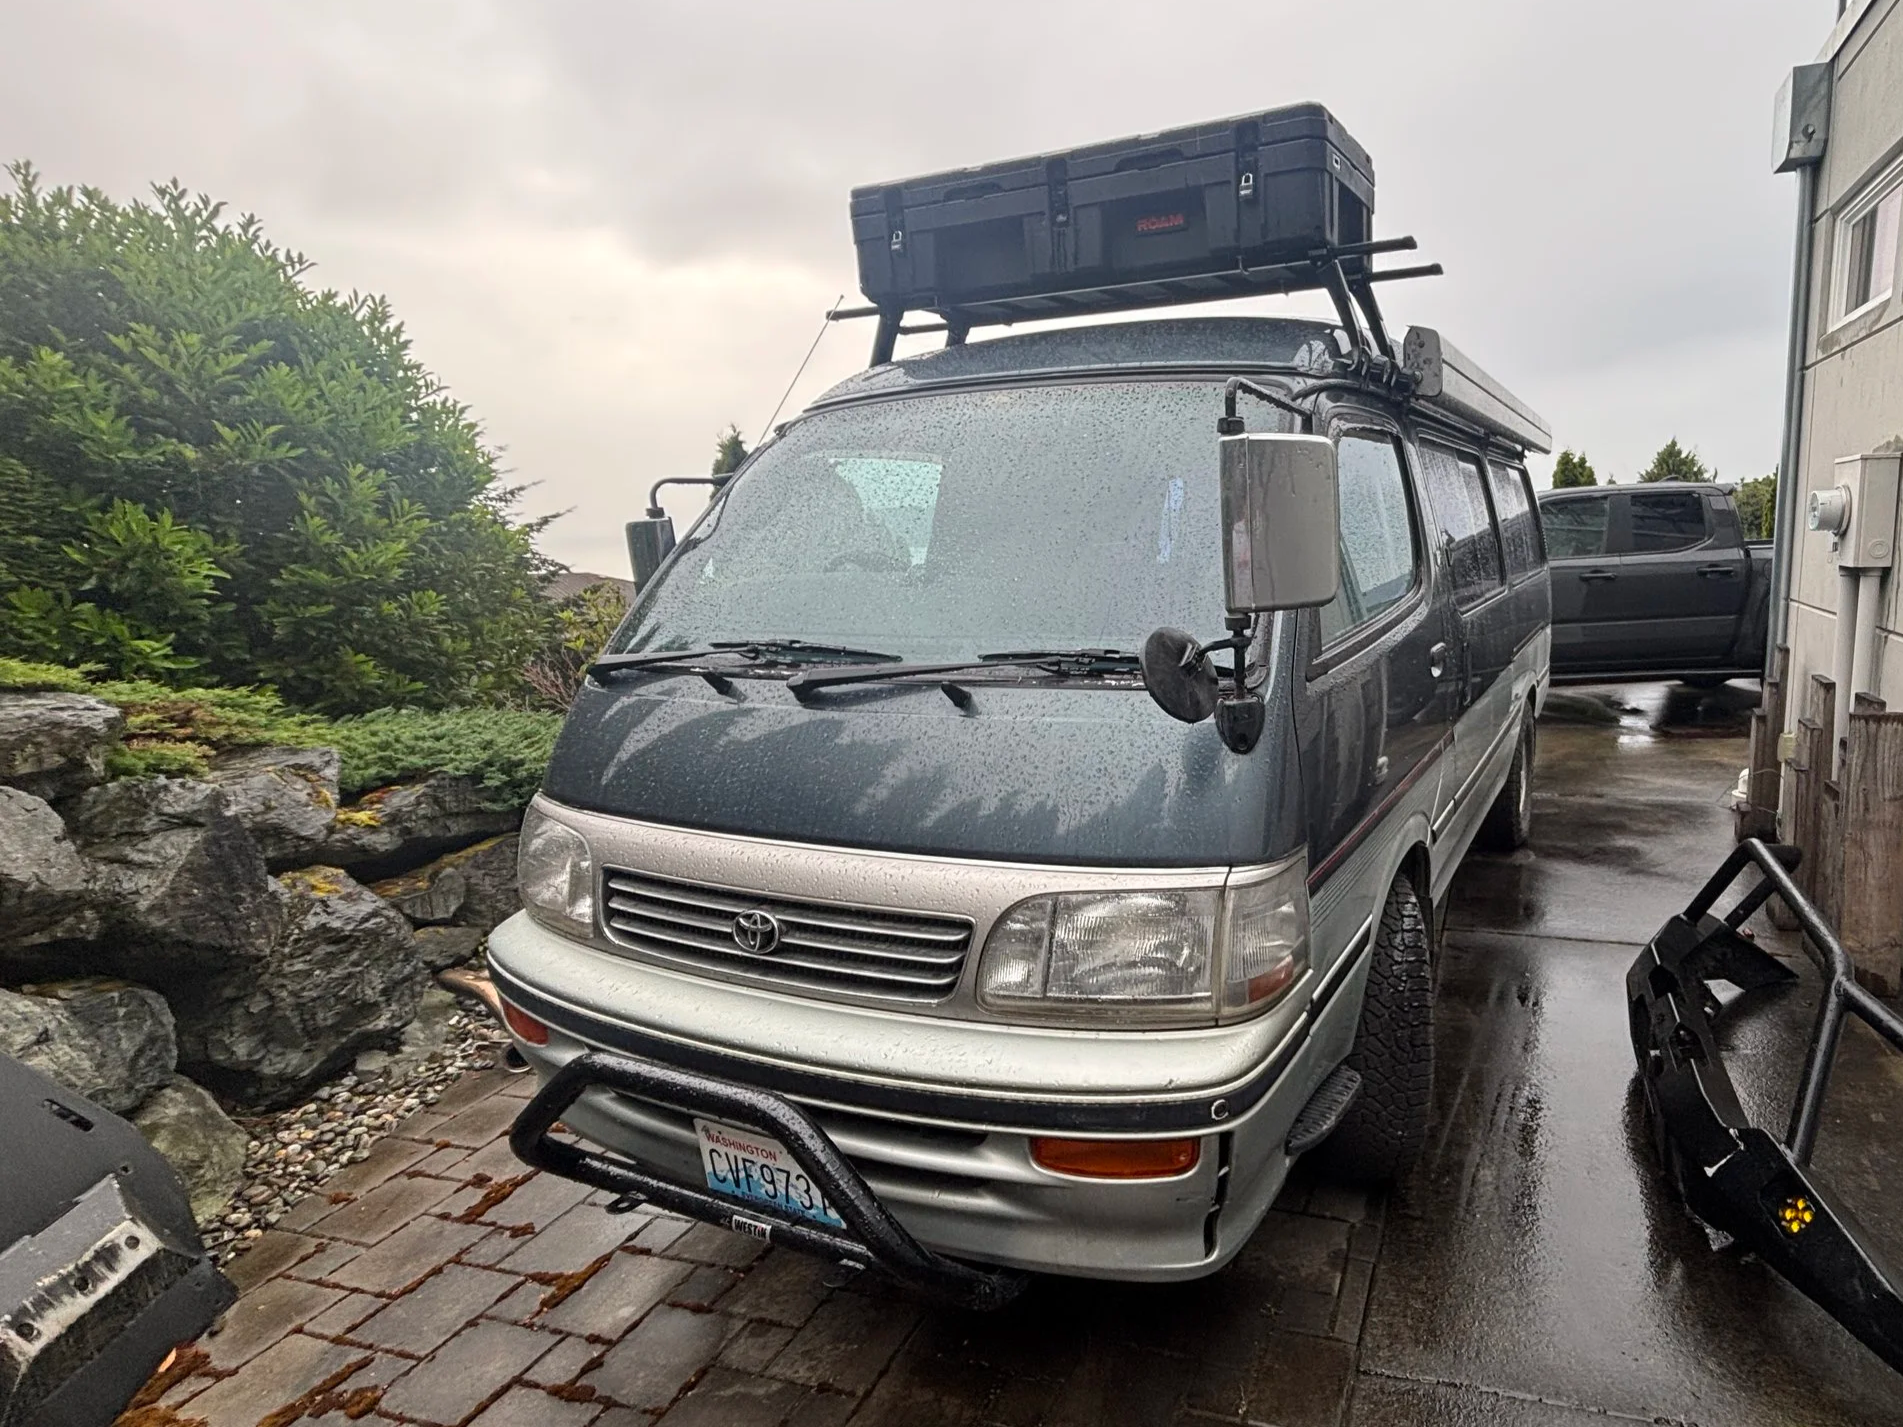
A nice rainy day in the Evergreen state and a pretty mint JDM camper van.
The MaxxAir fan install was probably the scariest part of the whole project, but the end result was worth all the measuring, cutting, and fiberglass itch (I did wear a respirator and eye pro!). Once the headliner was finally installed, I think the end result looks near-factory.
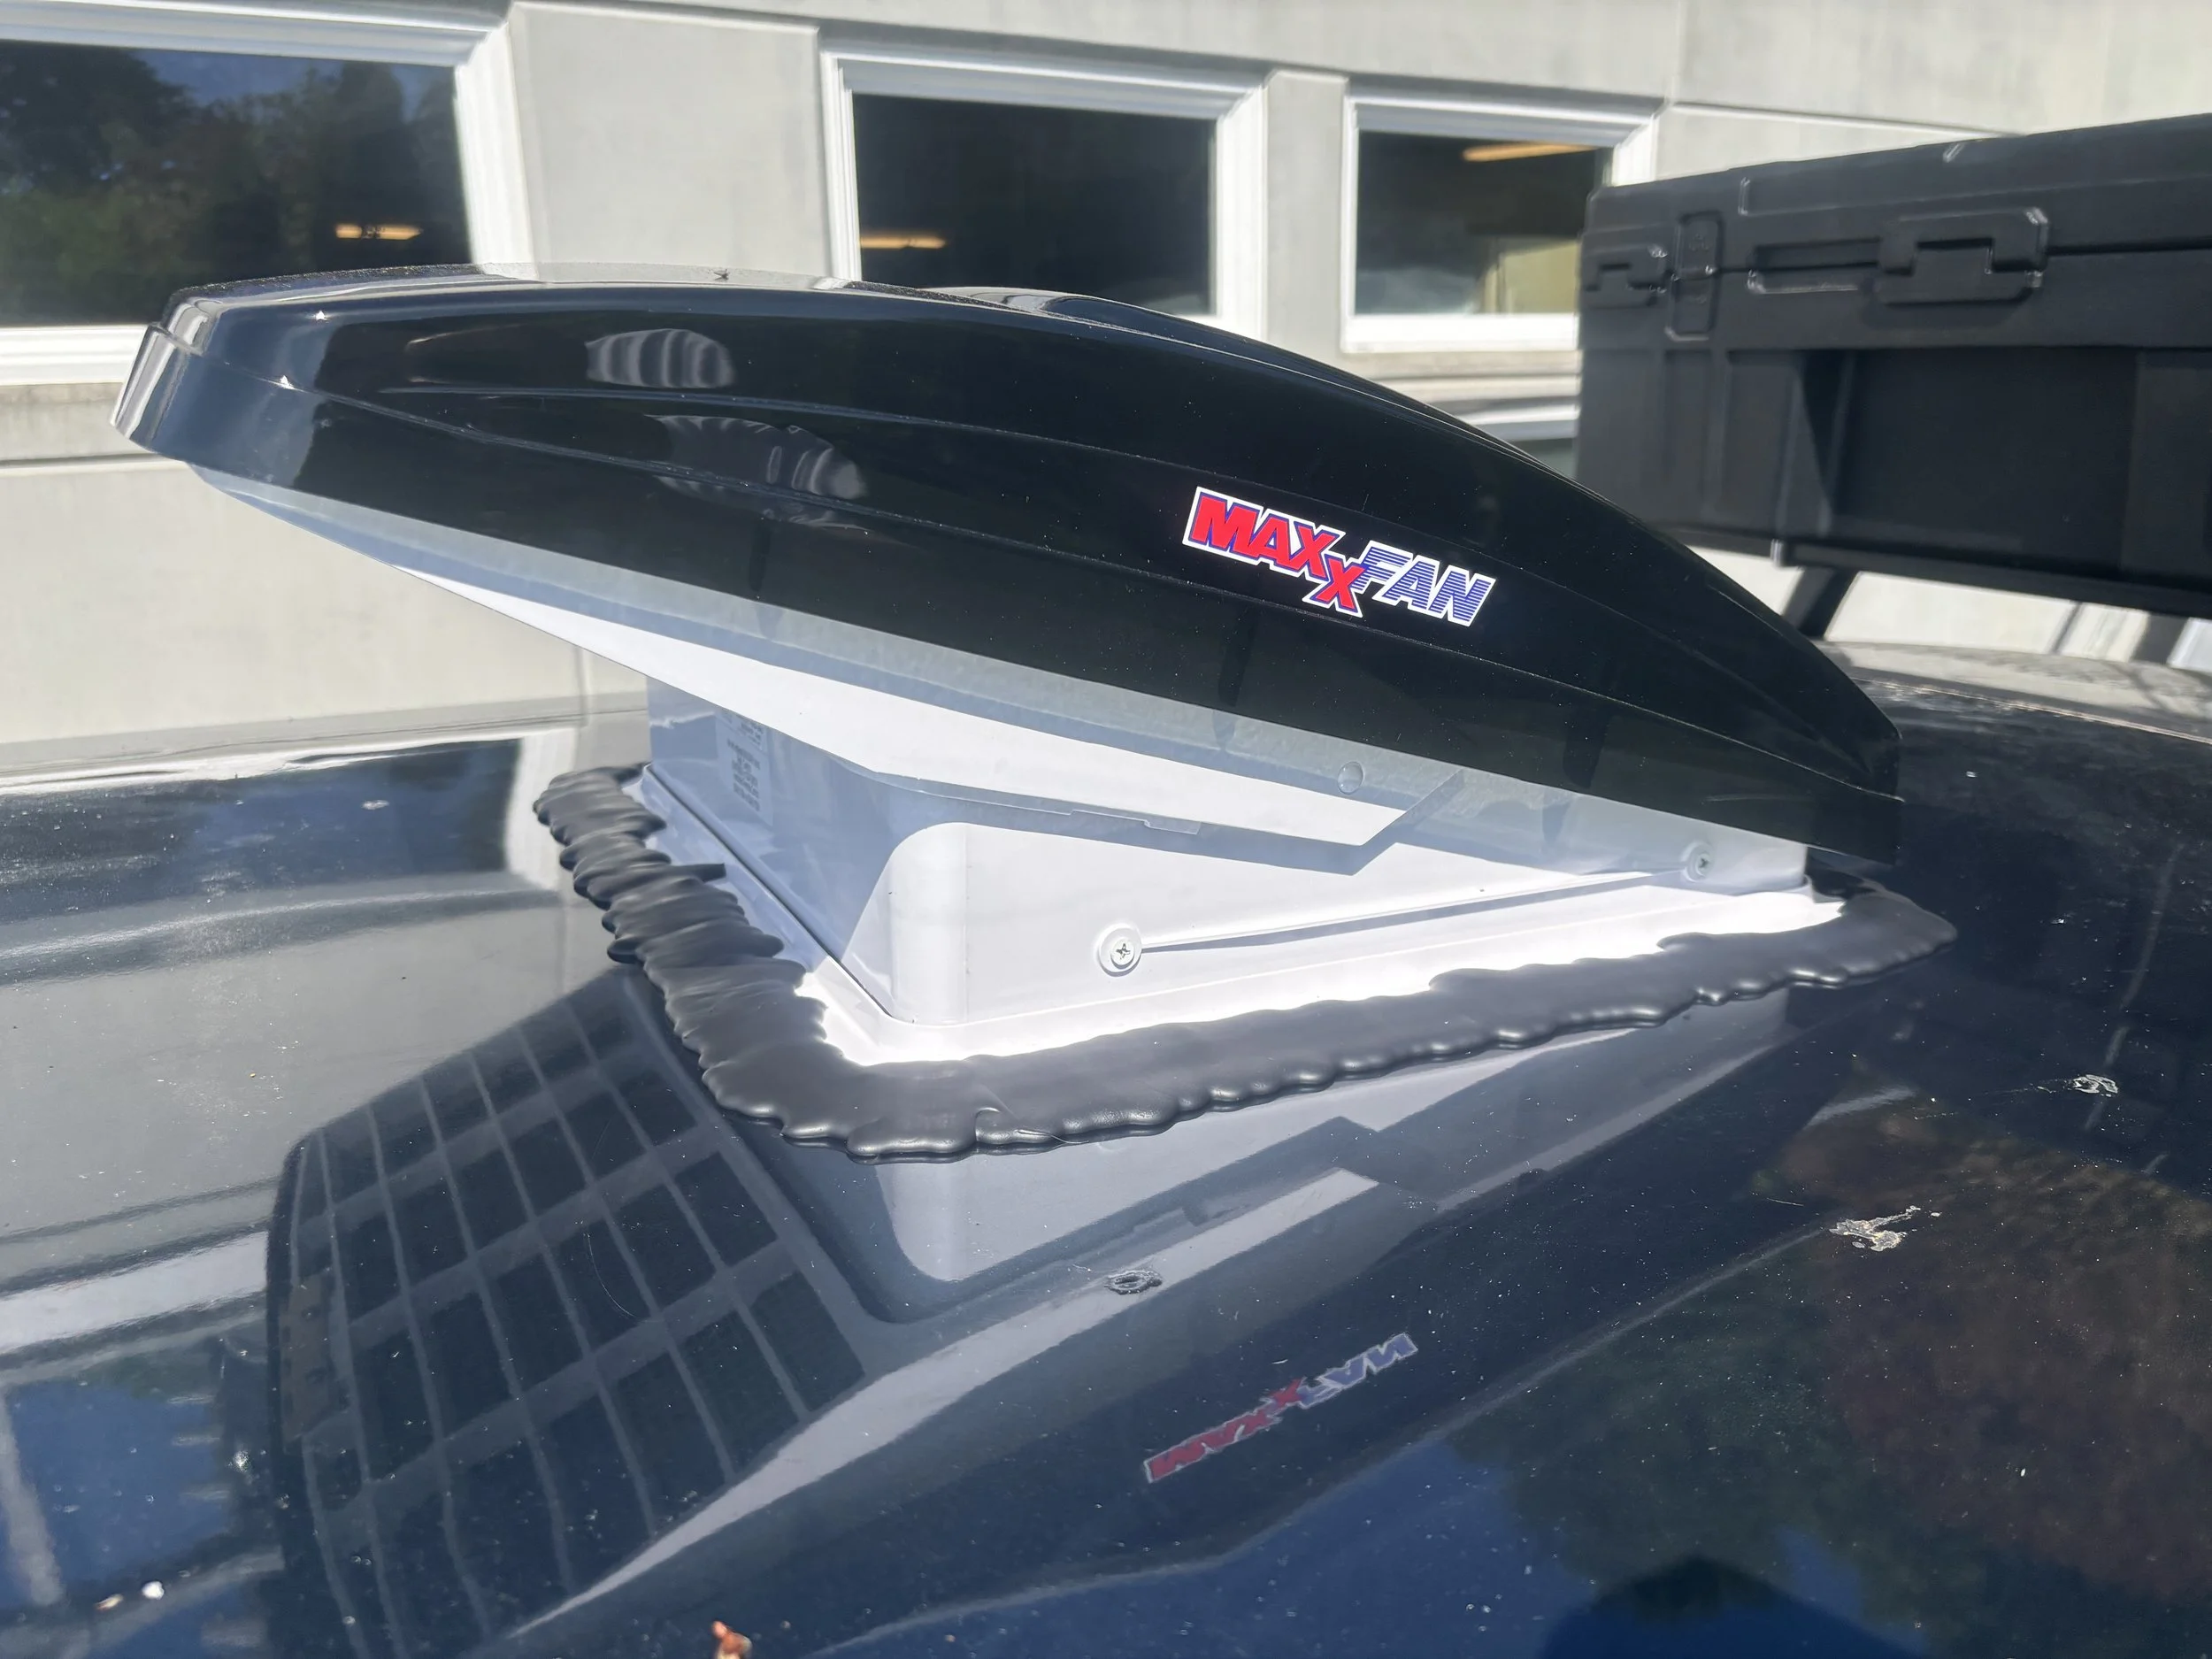
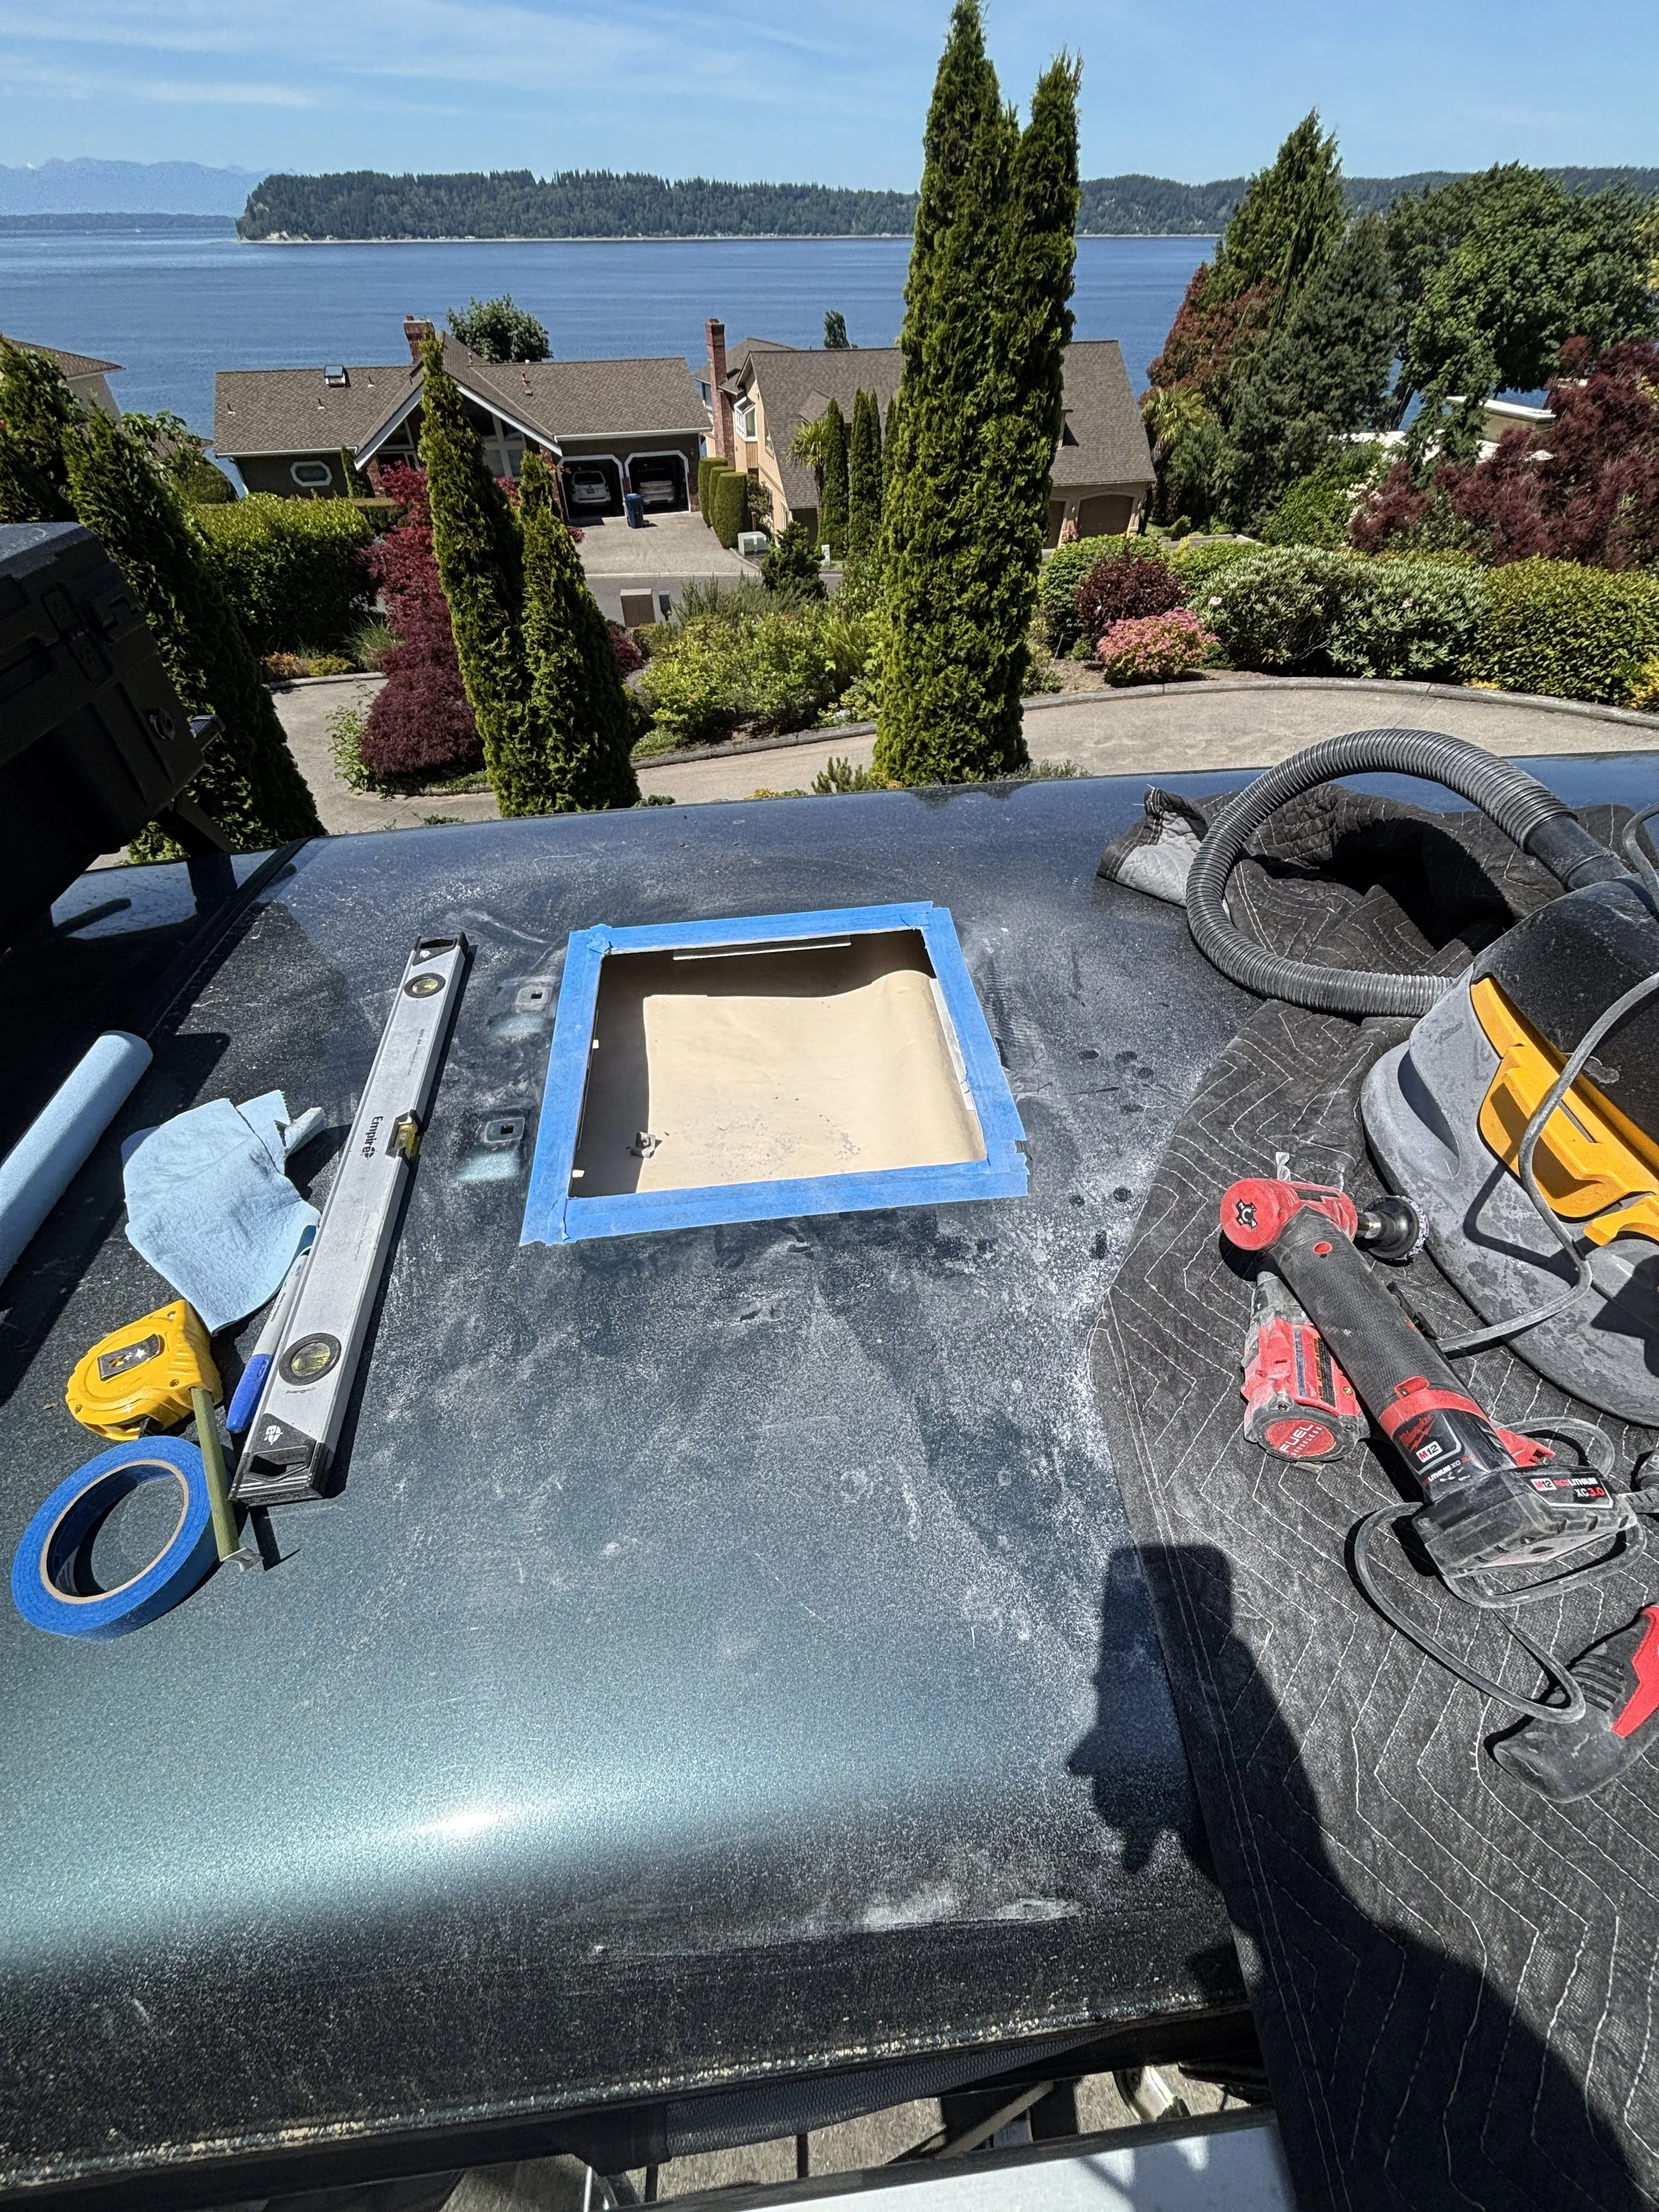
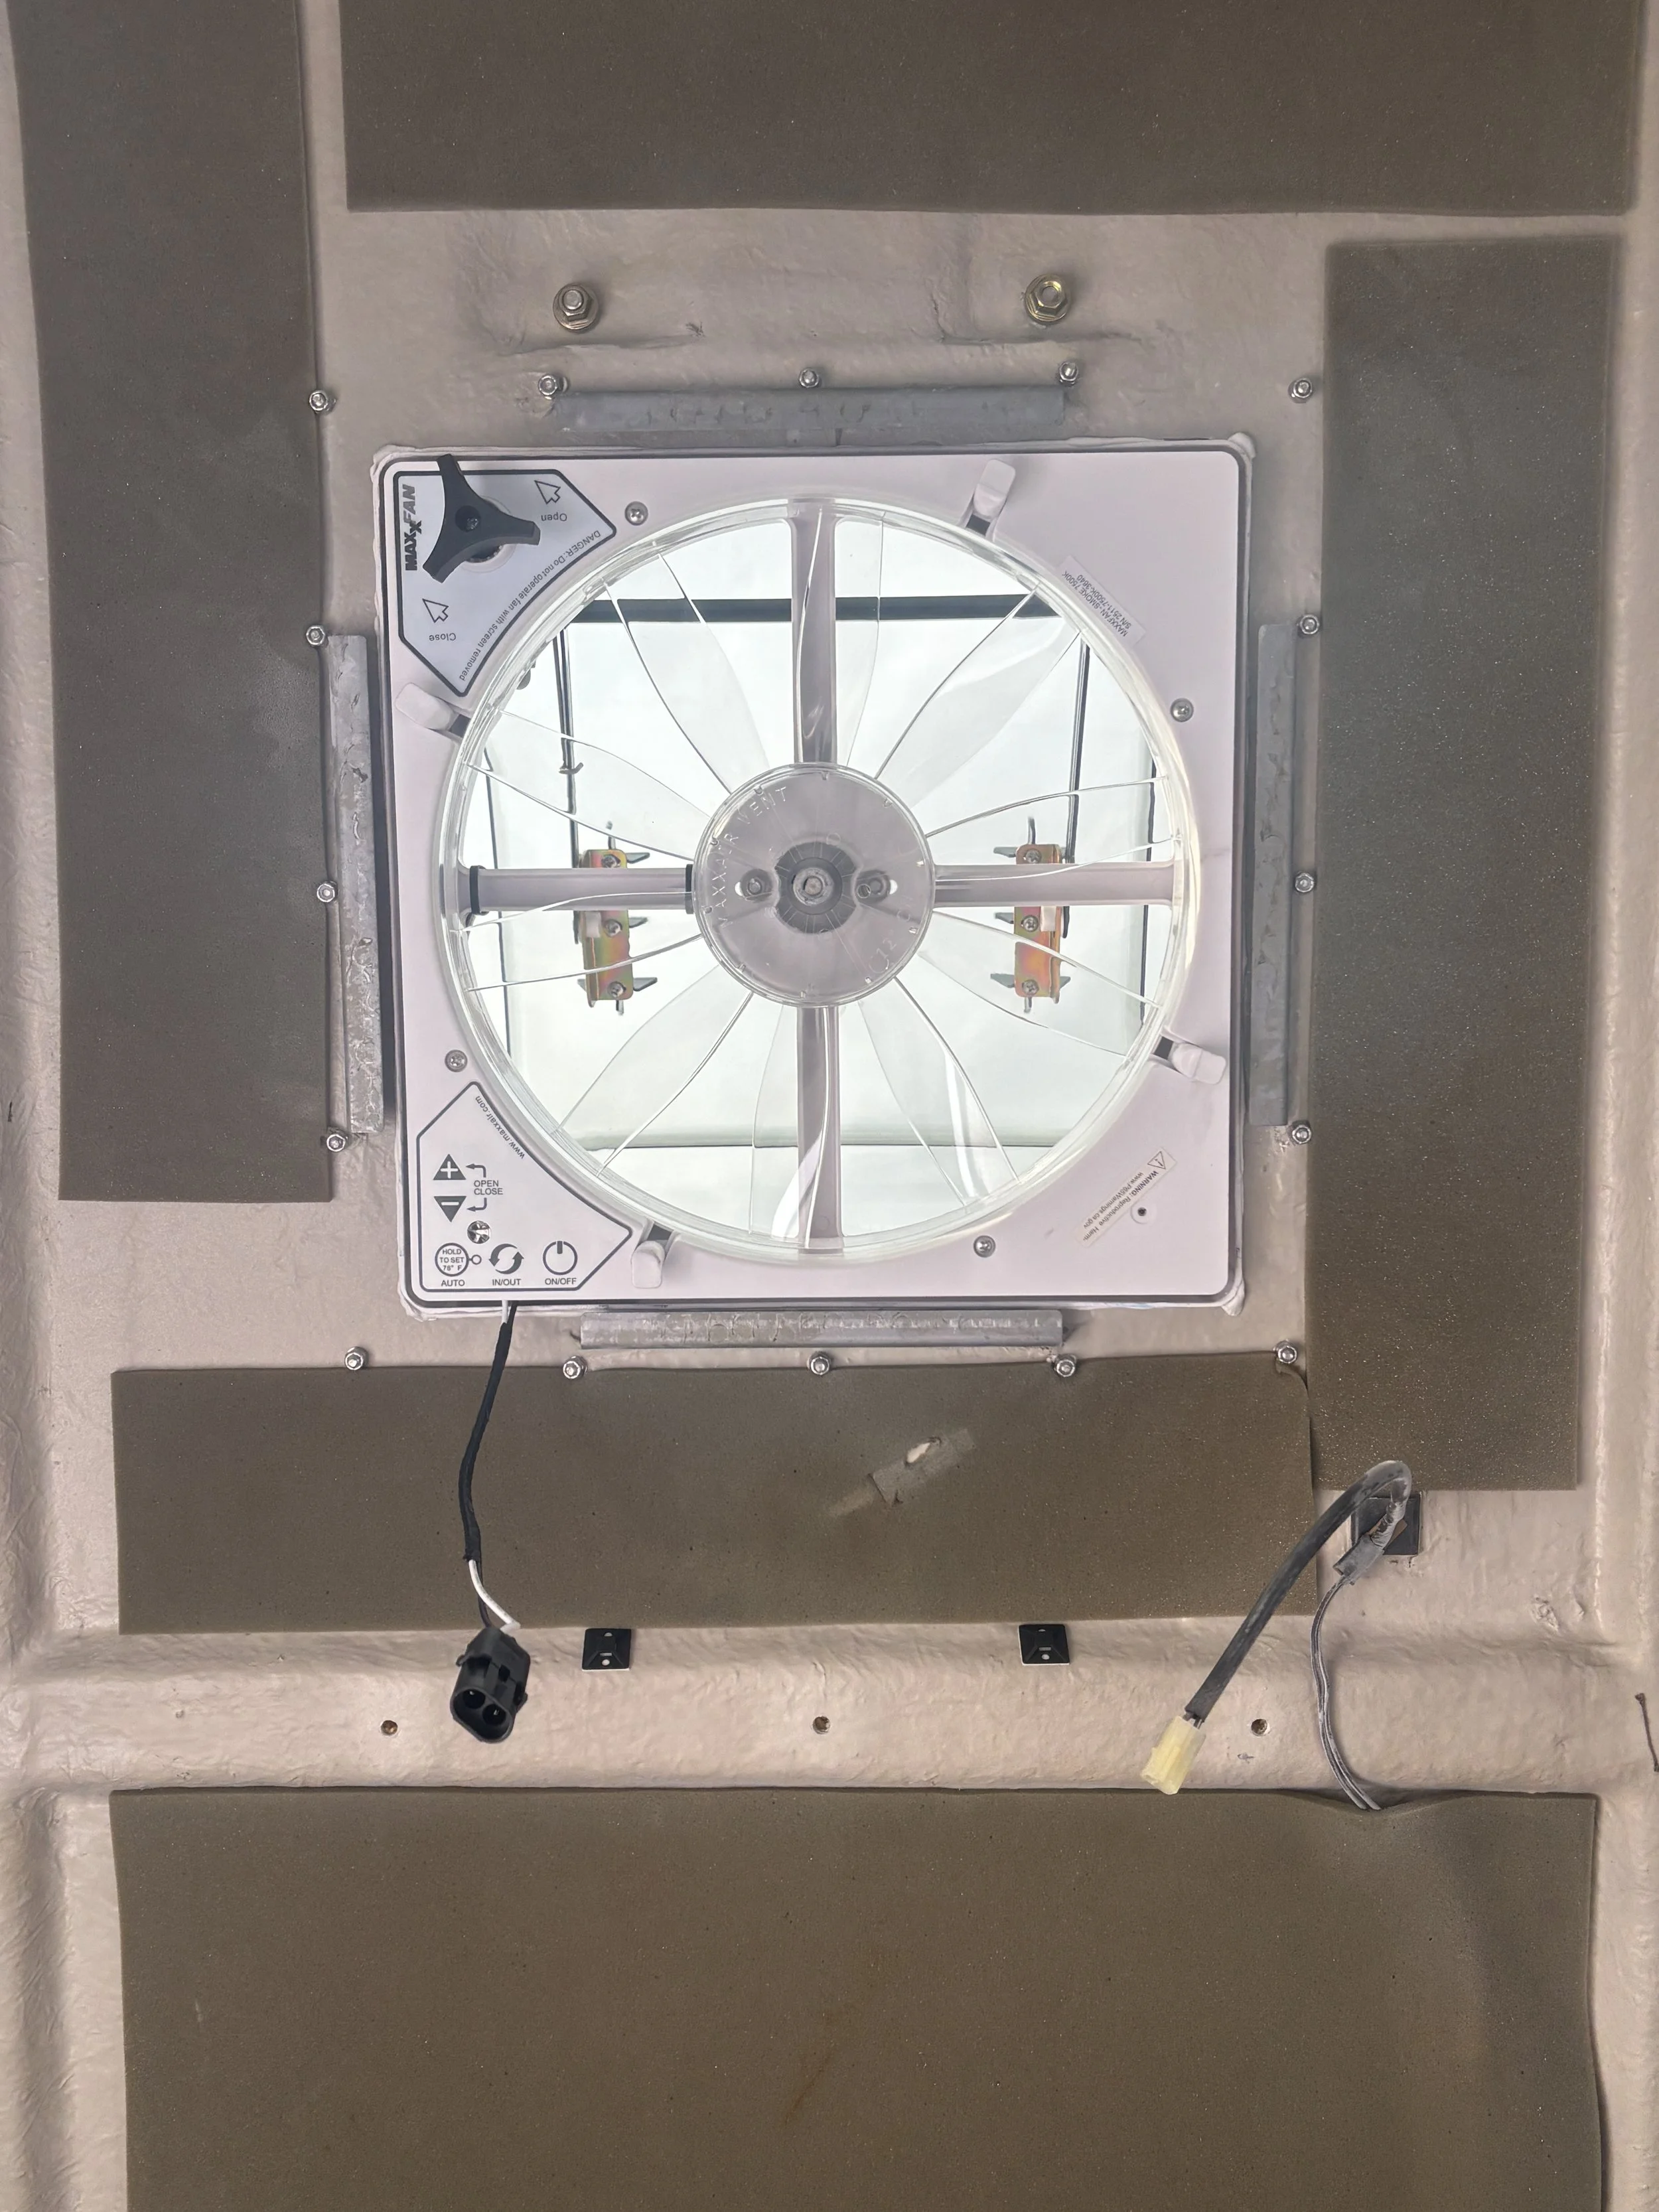
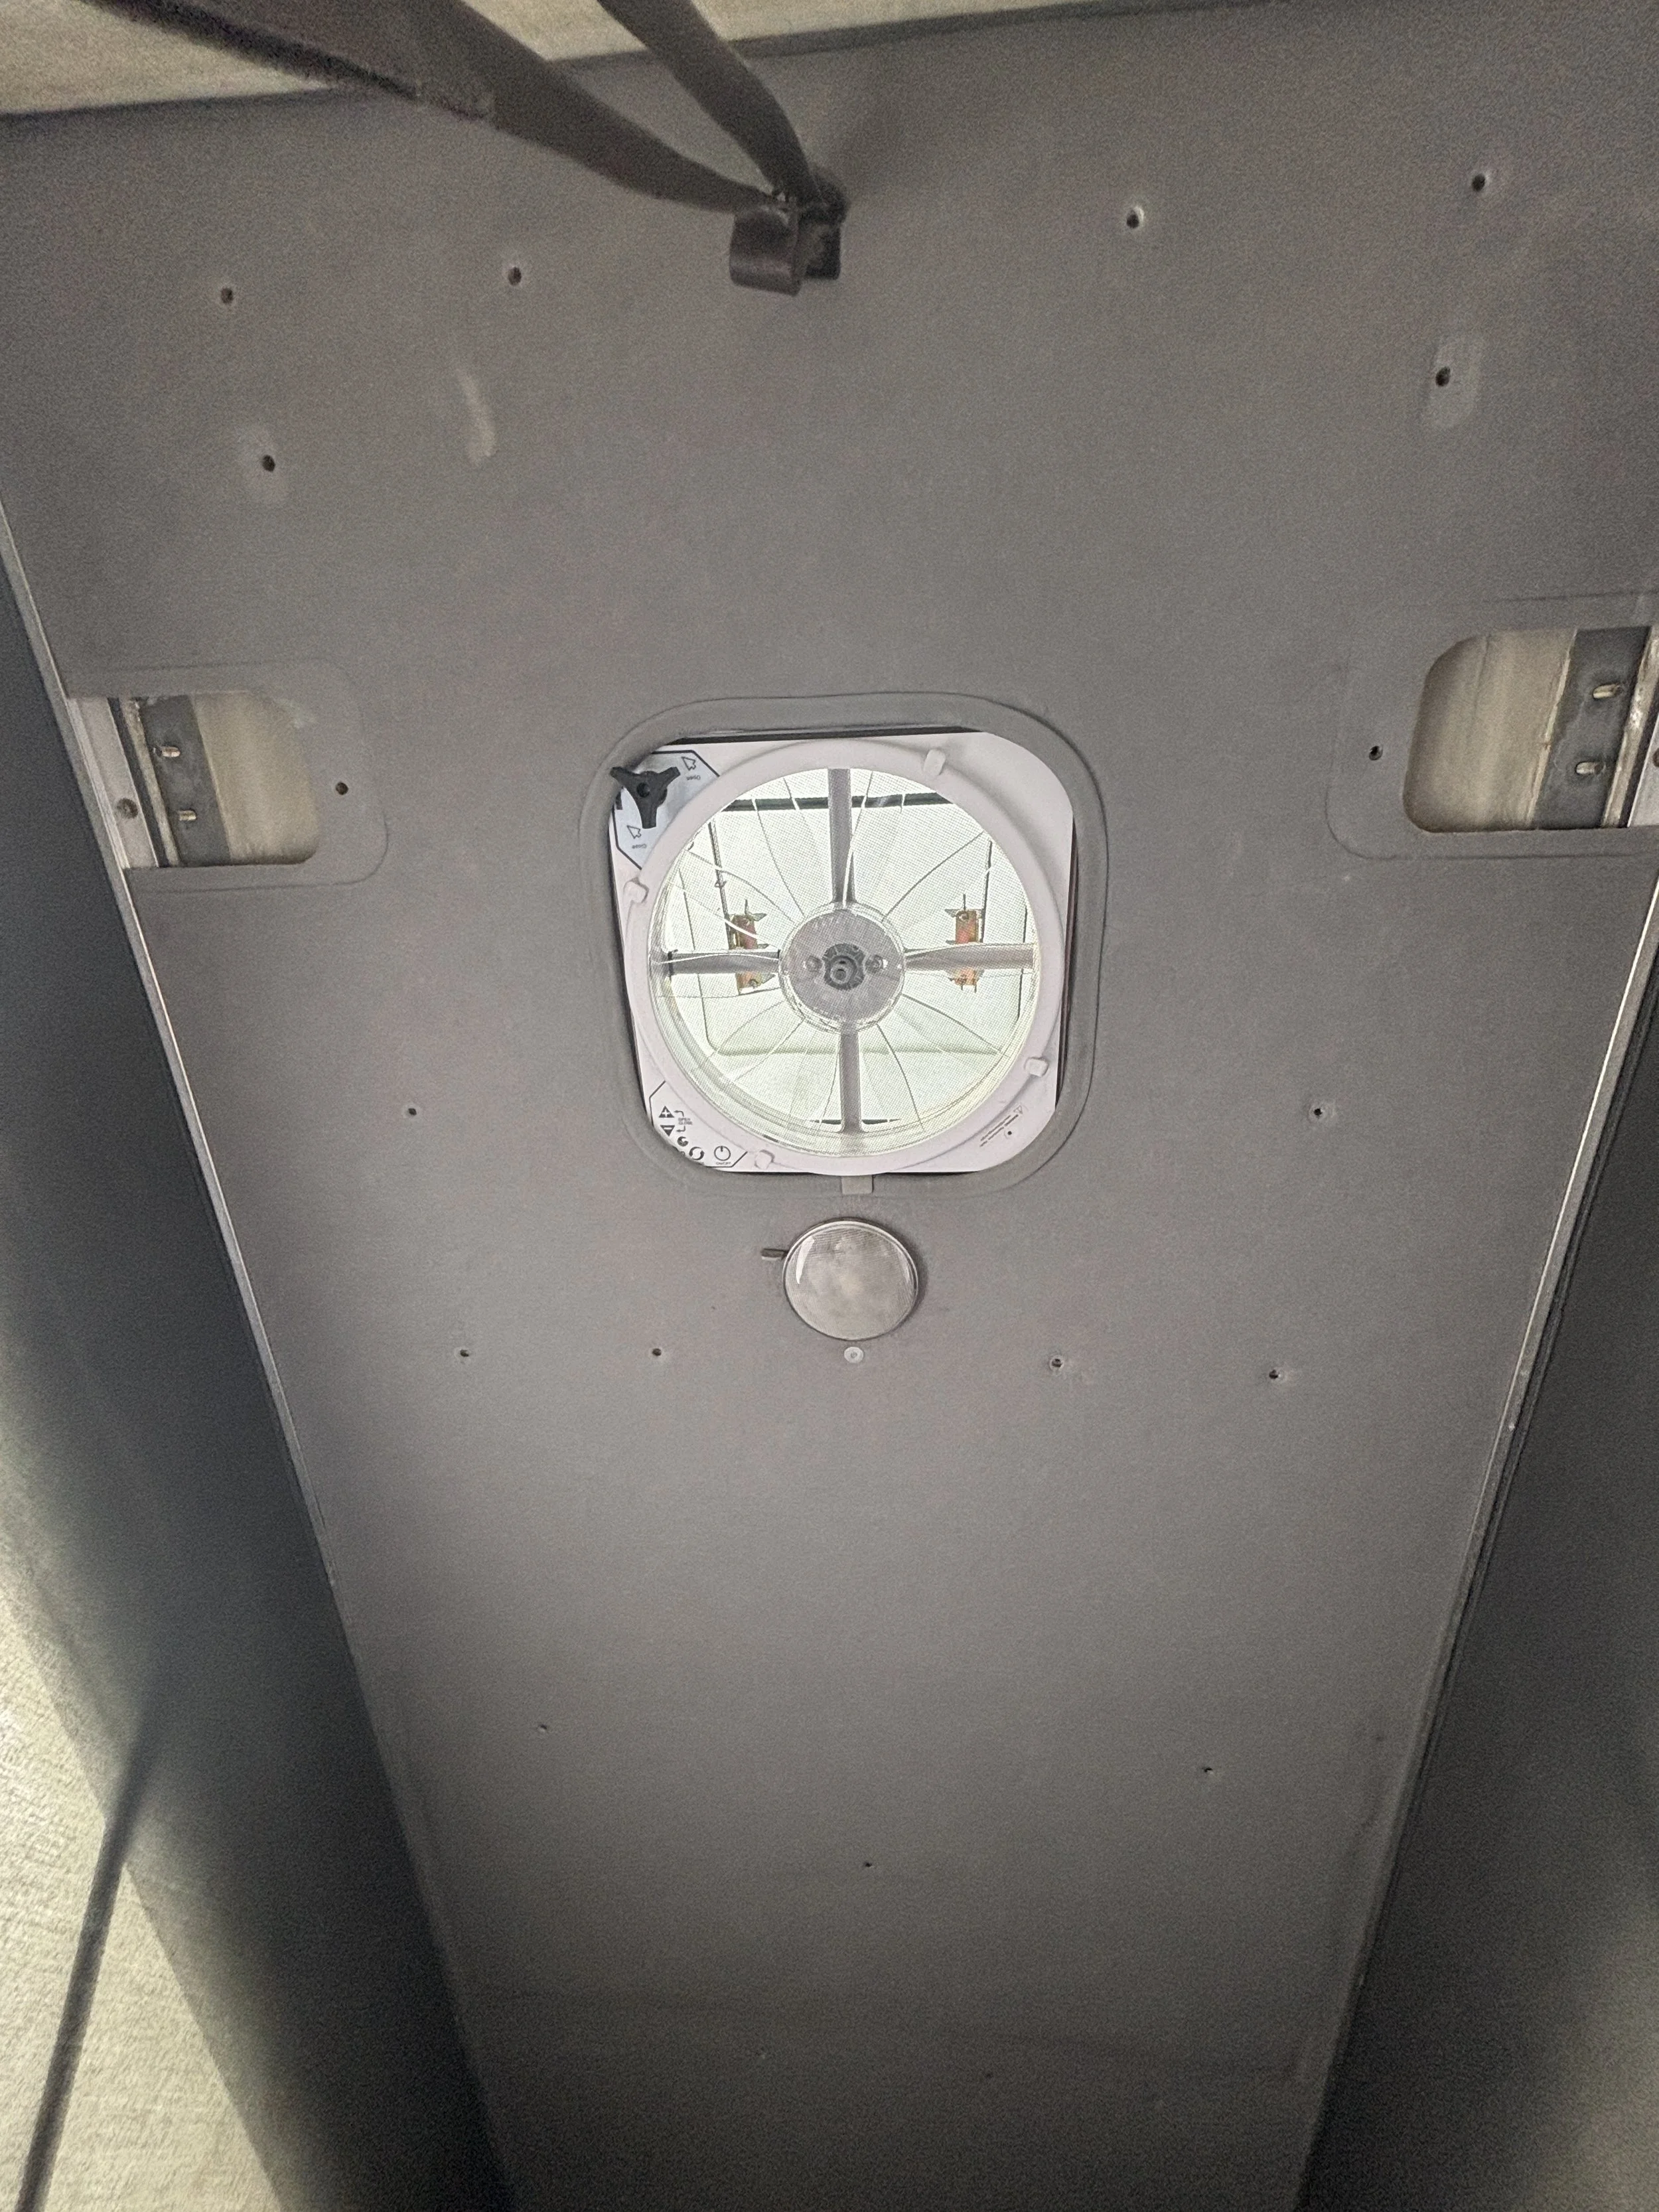
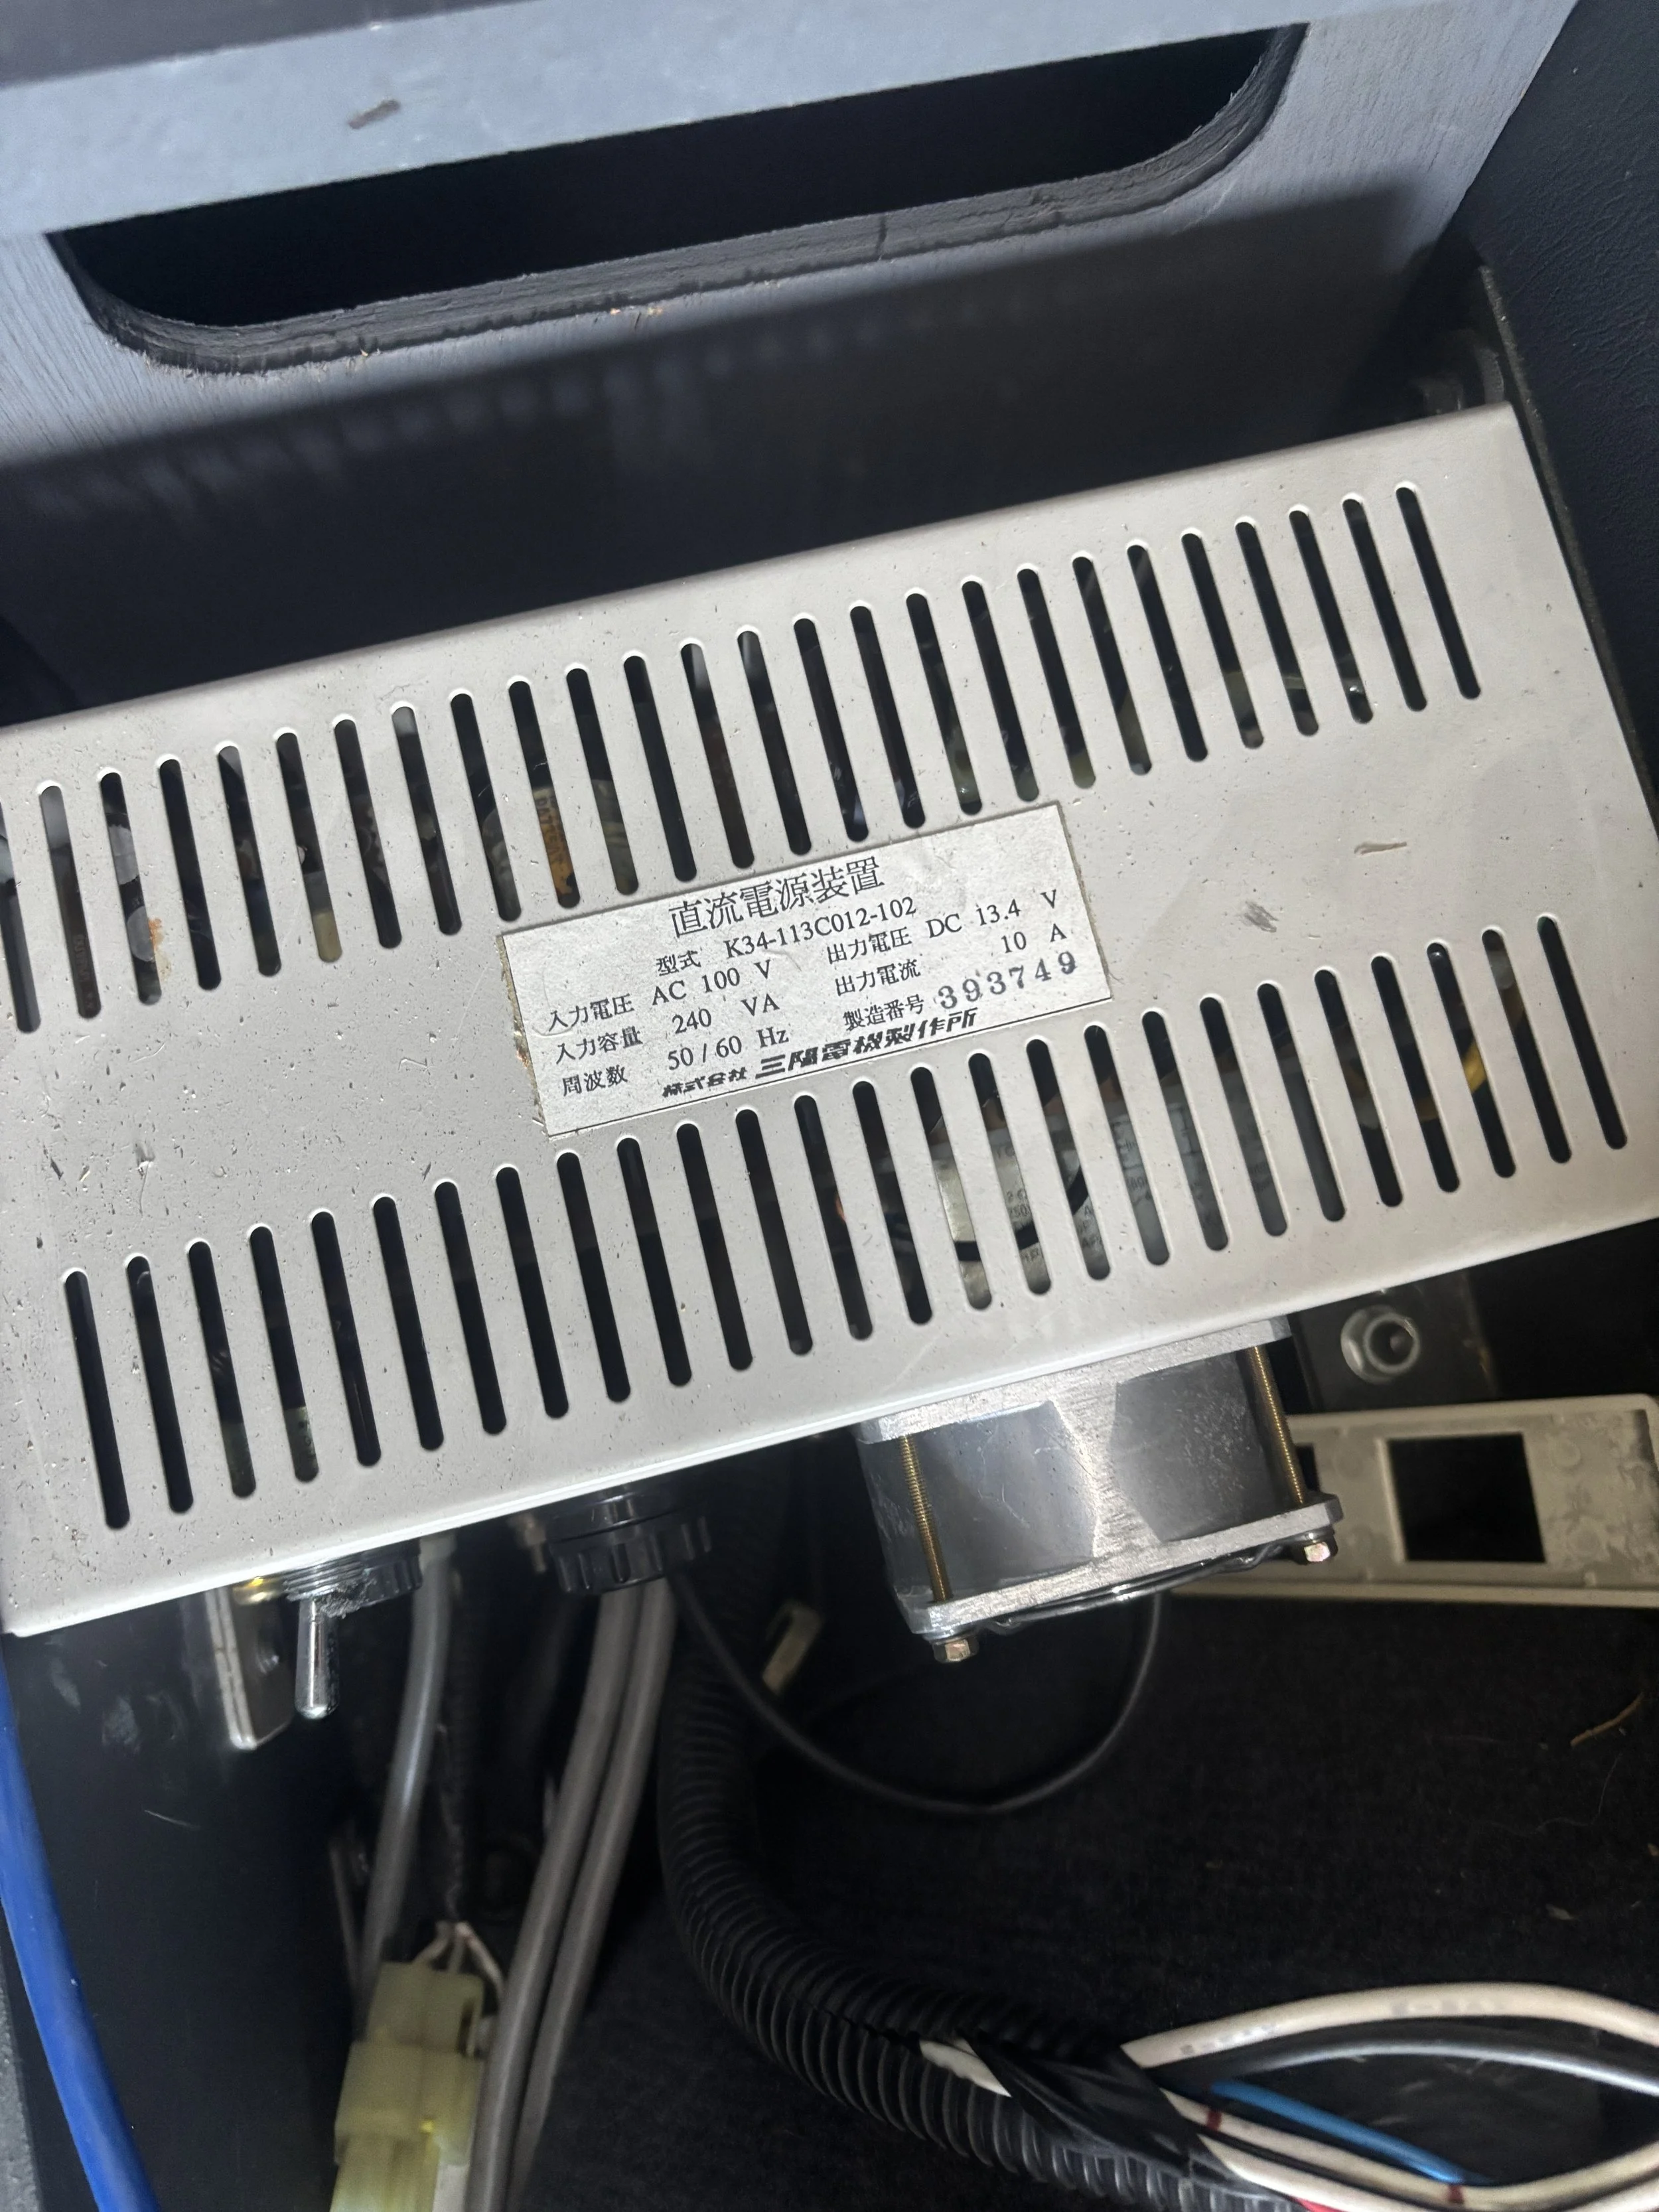
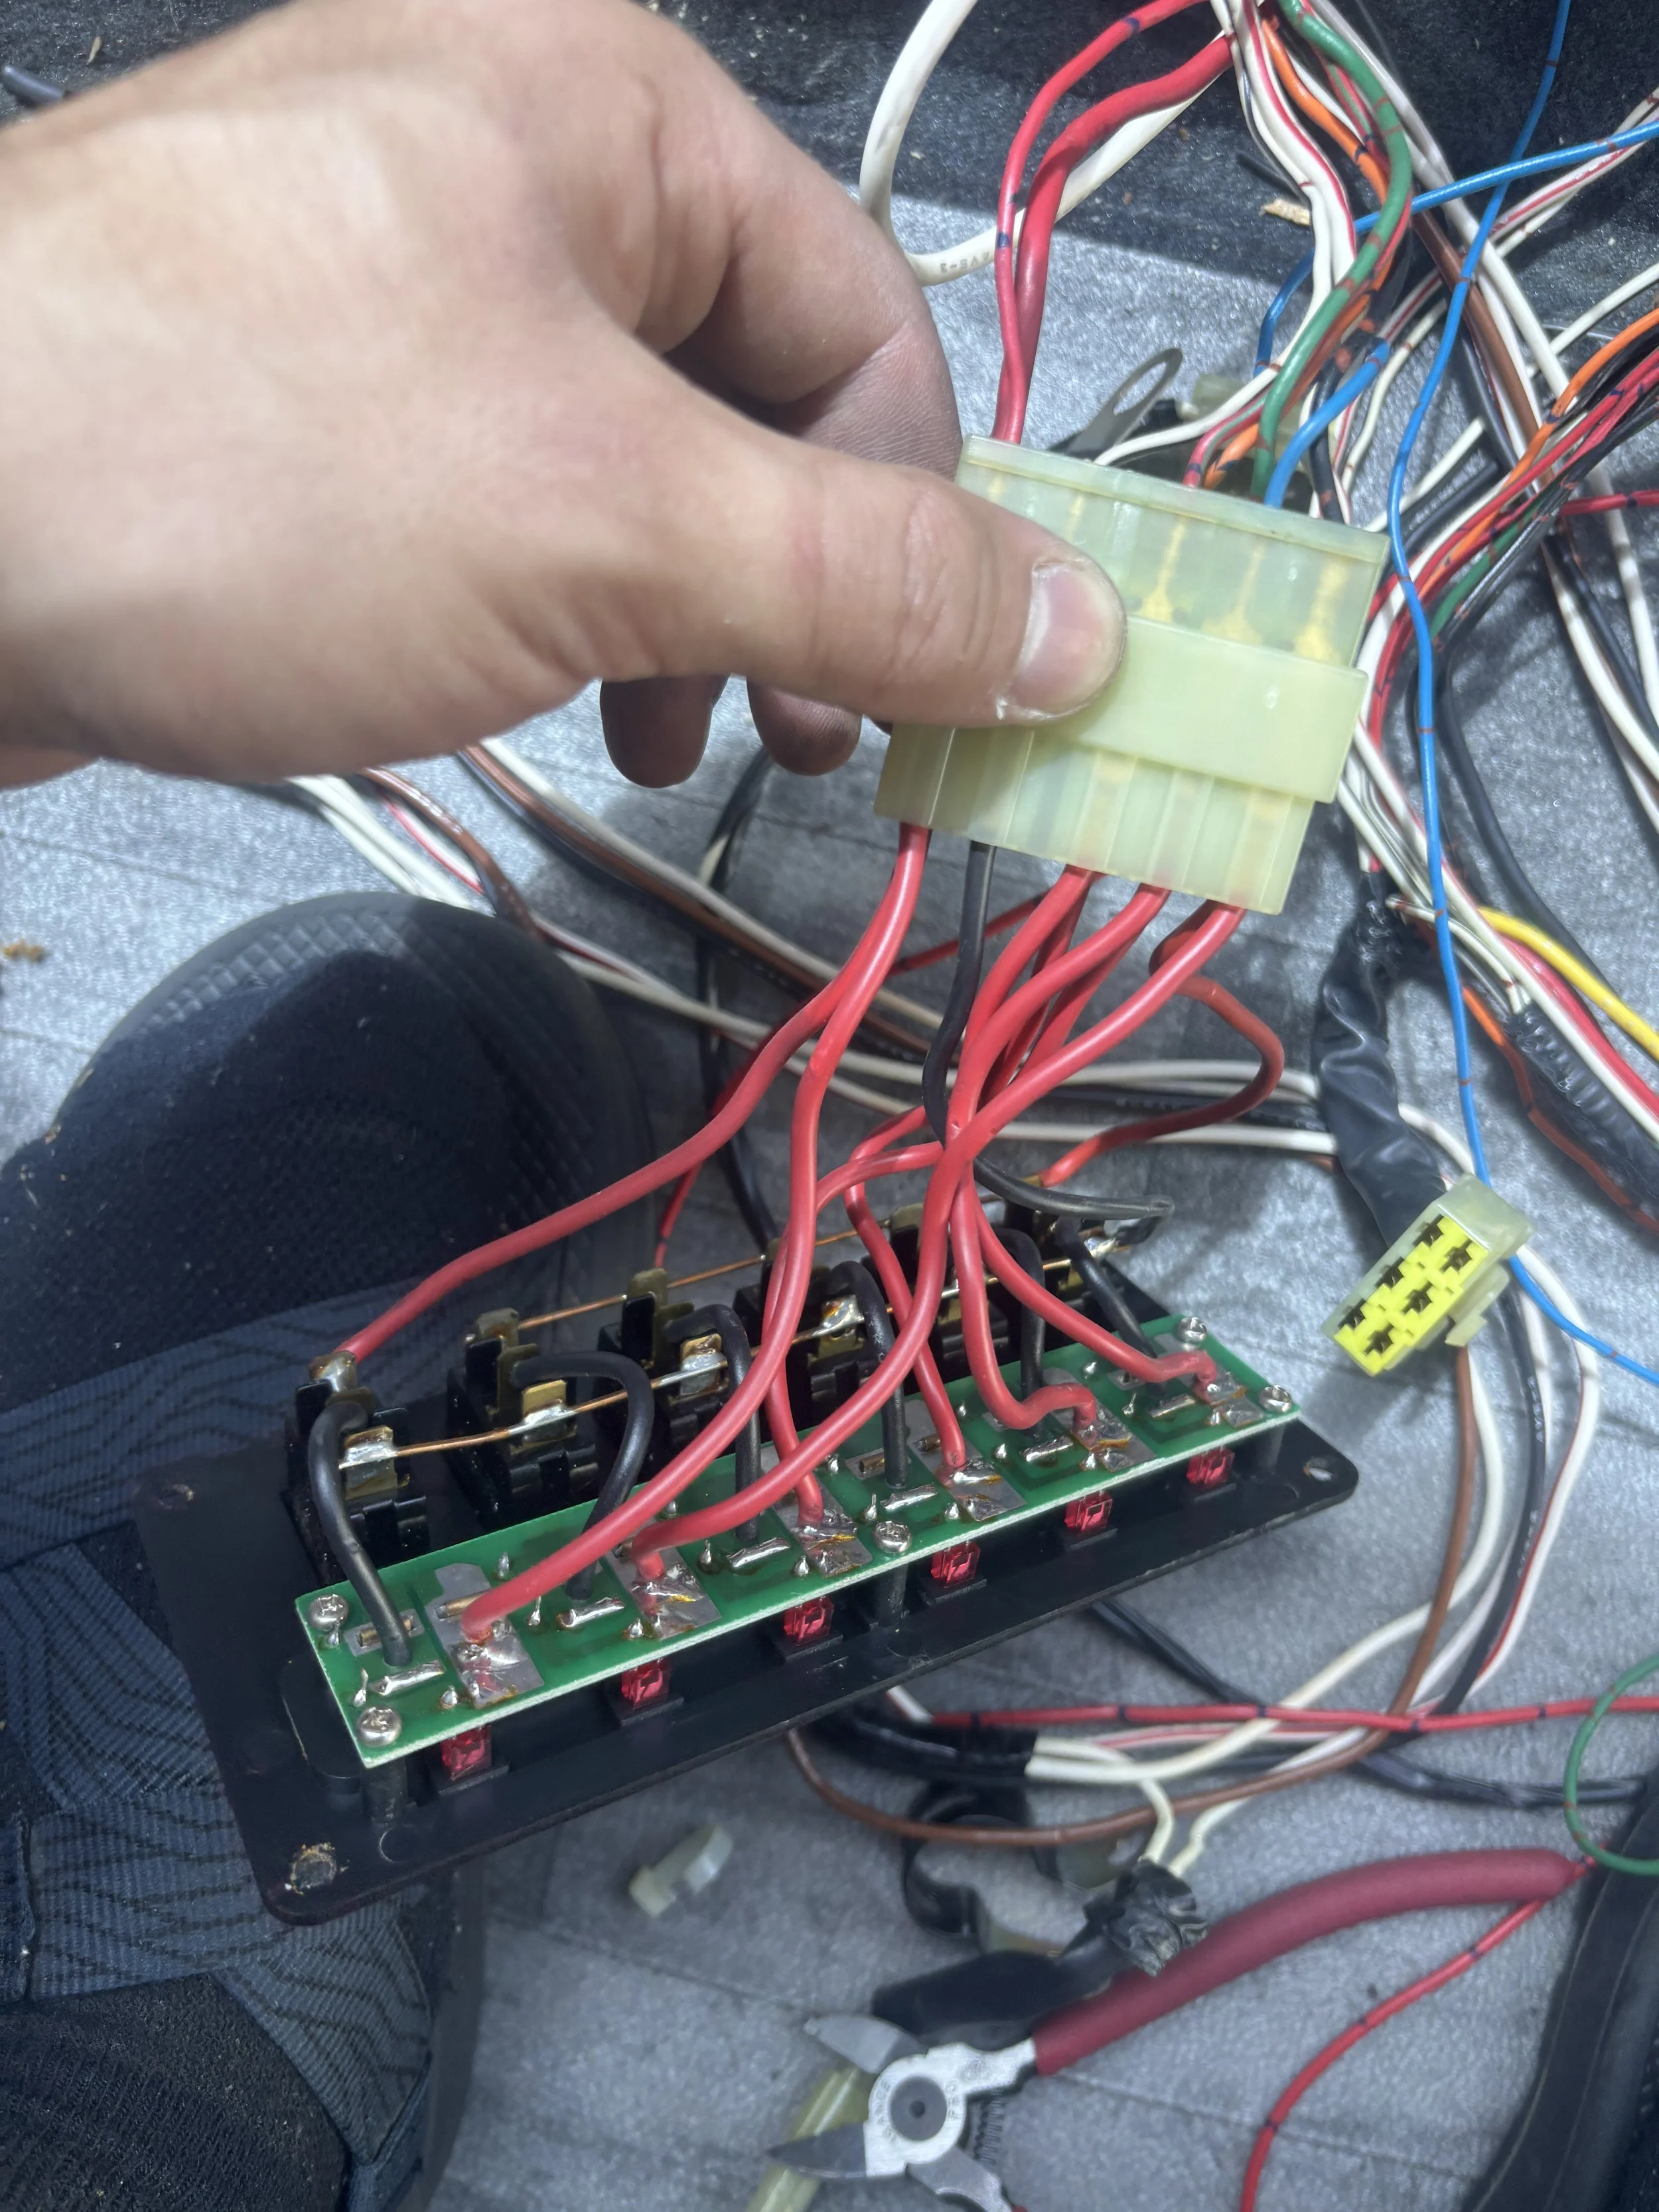
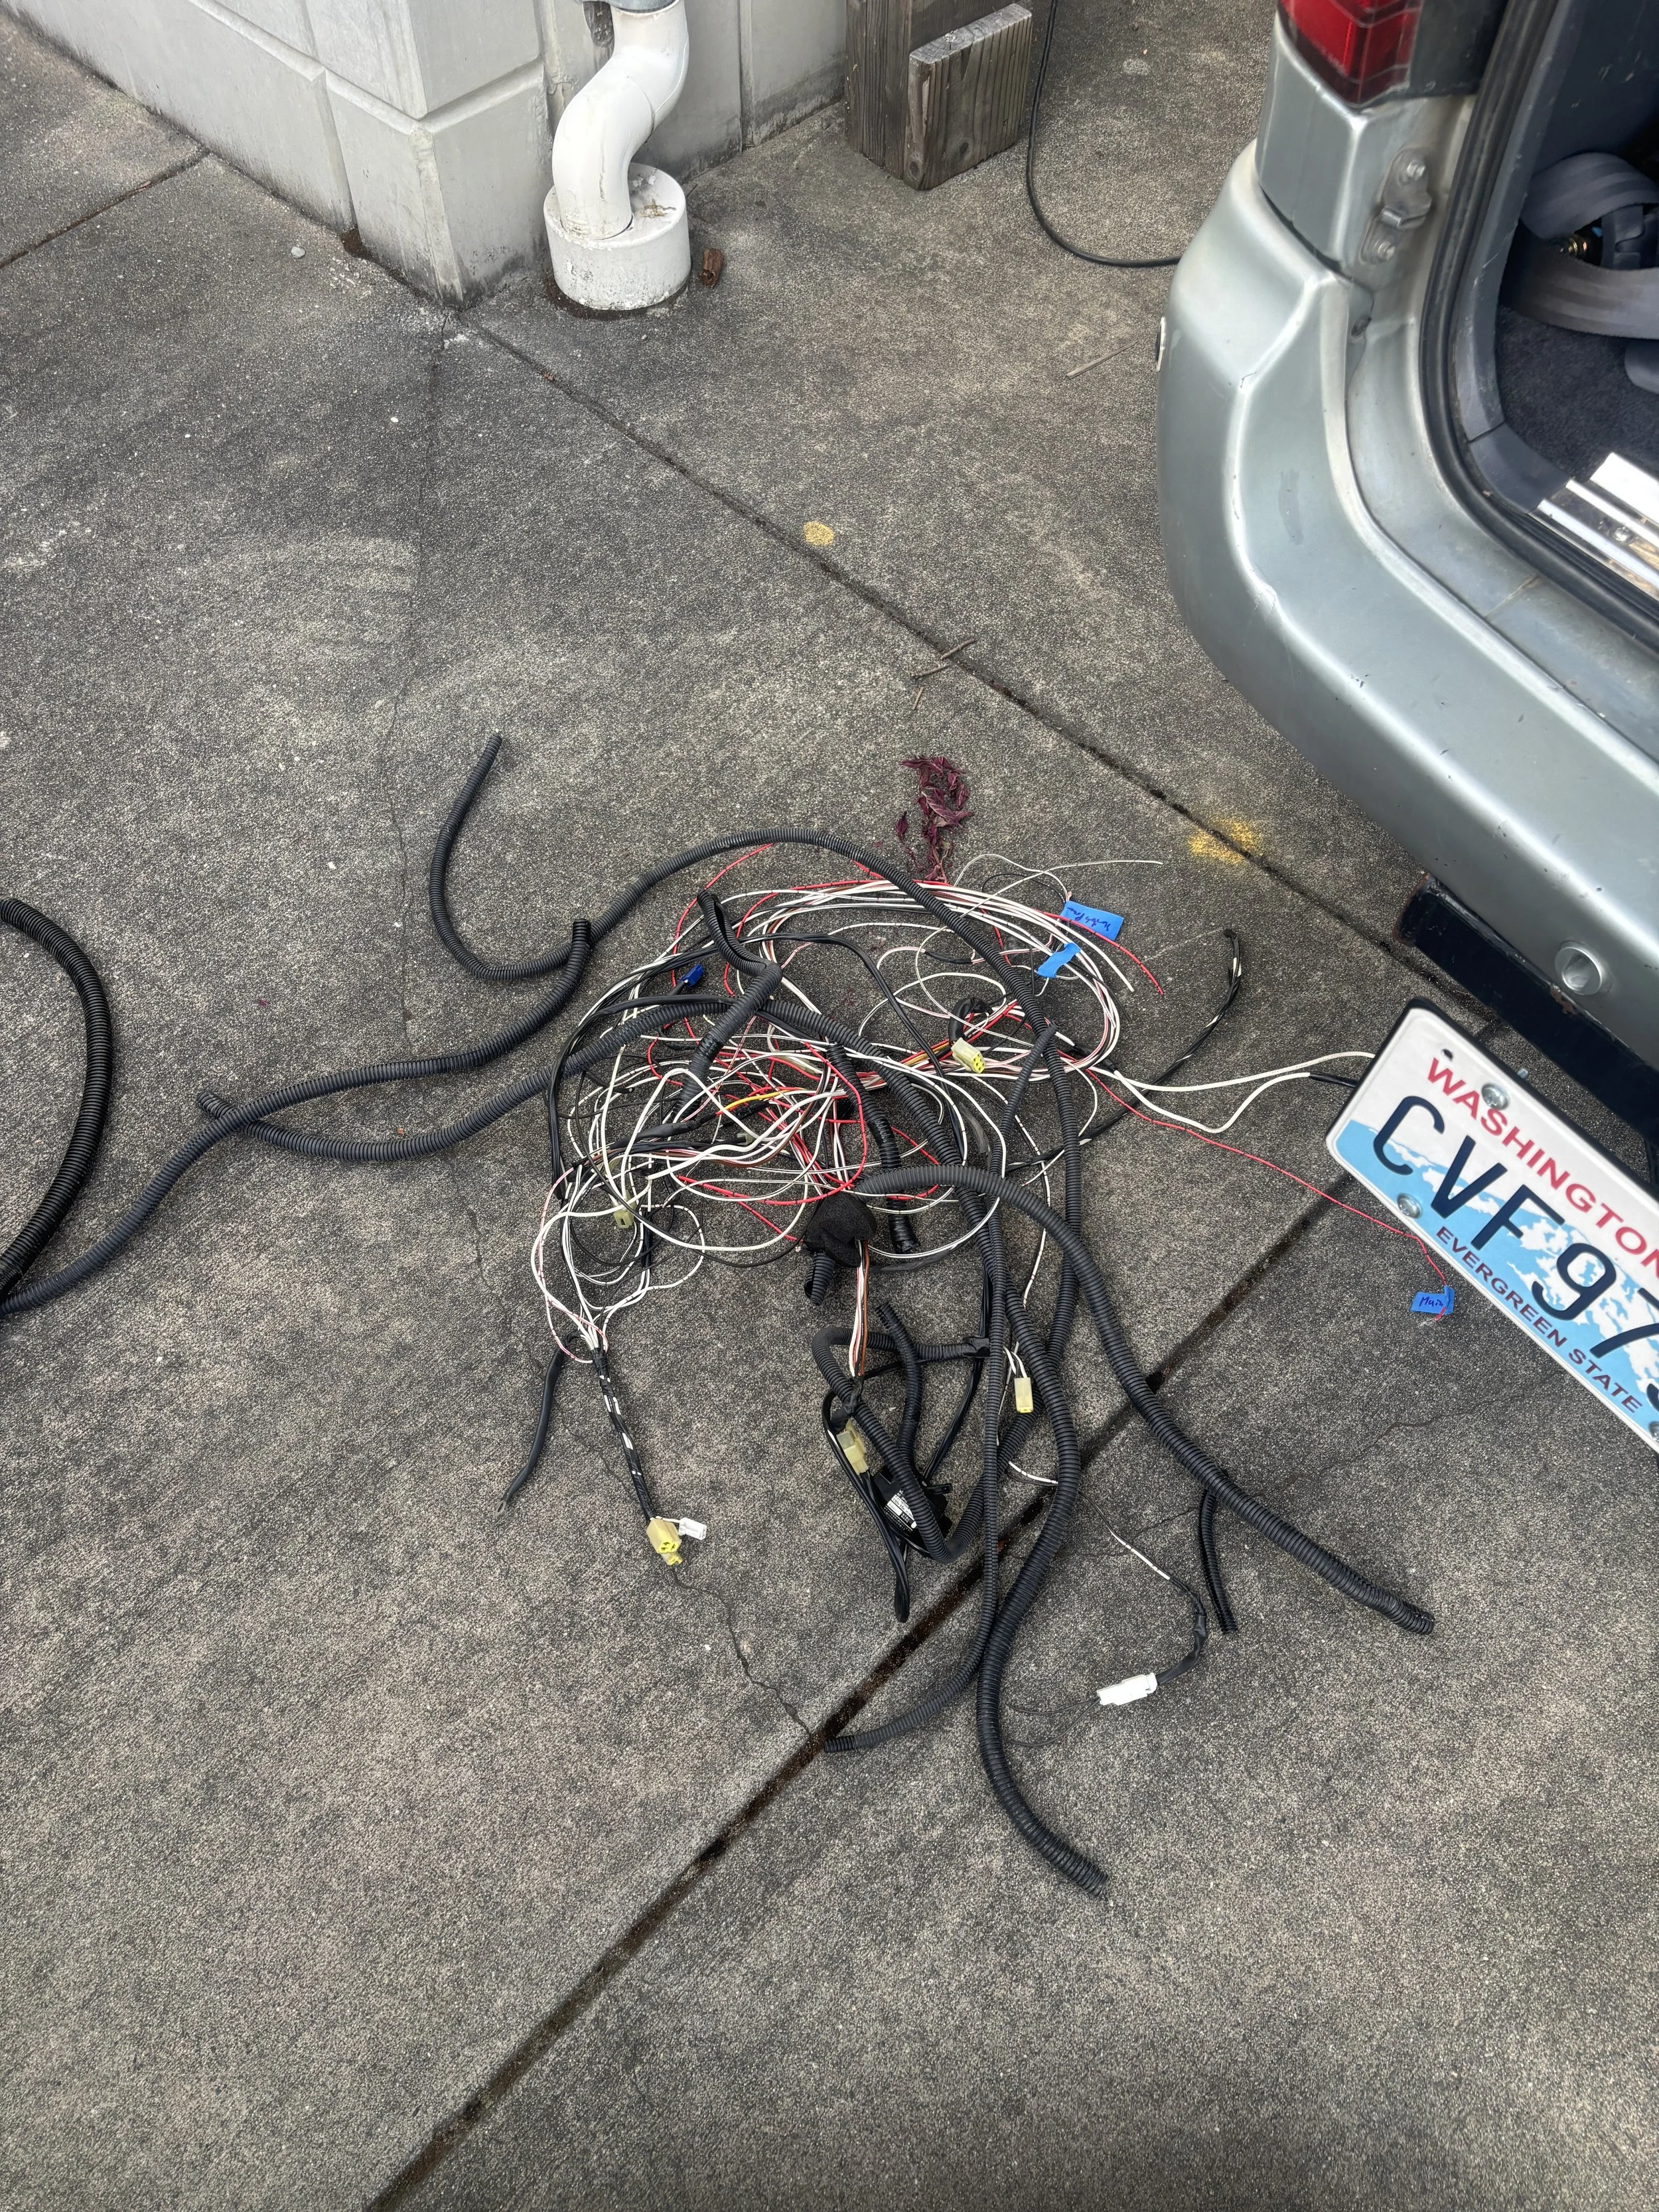
After the fan install, I pulled out all the cabinetry and started diagnosing the state of the JDM electrical system. Because the camper conversion isn’t a standardized product—more of a custom affair—there was no labelling on anything and no diagram online. After enough probing with a multimeter, I realized that the camper electrical system was entirely divorced of the factory Toyota wiring. From there, I decided to start from scratch, ripping out all of the camper wiring.
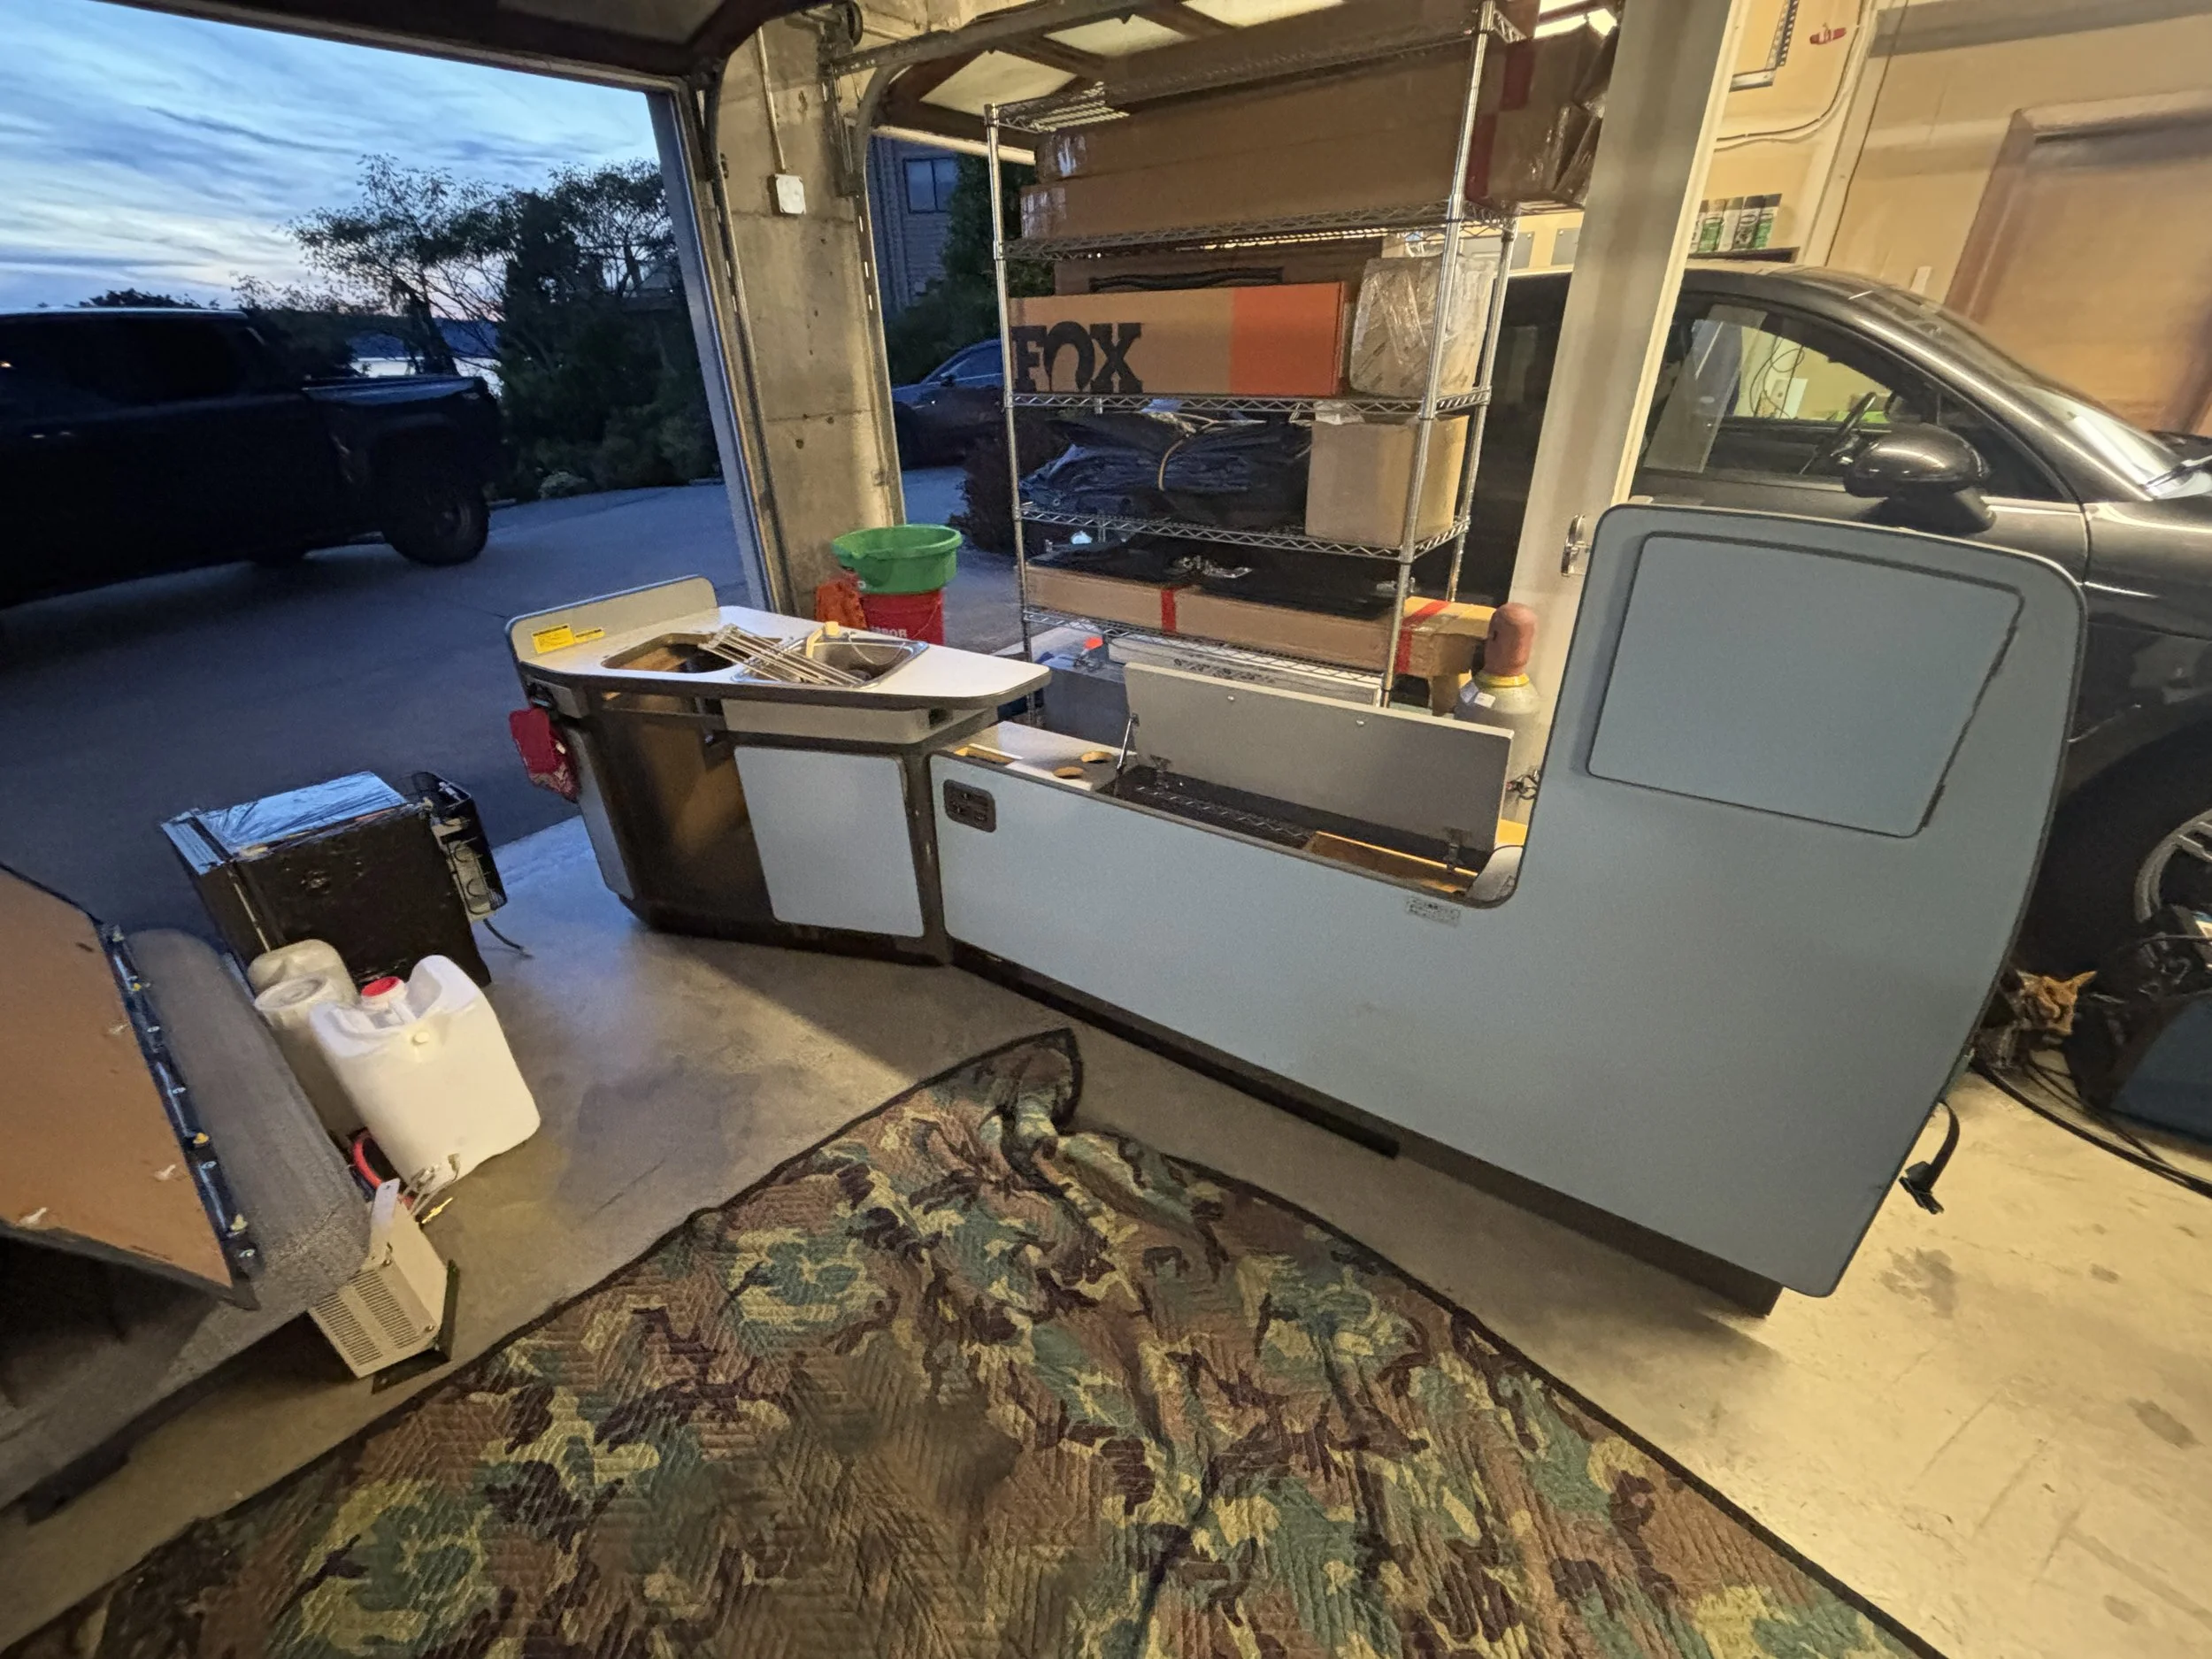
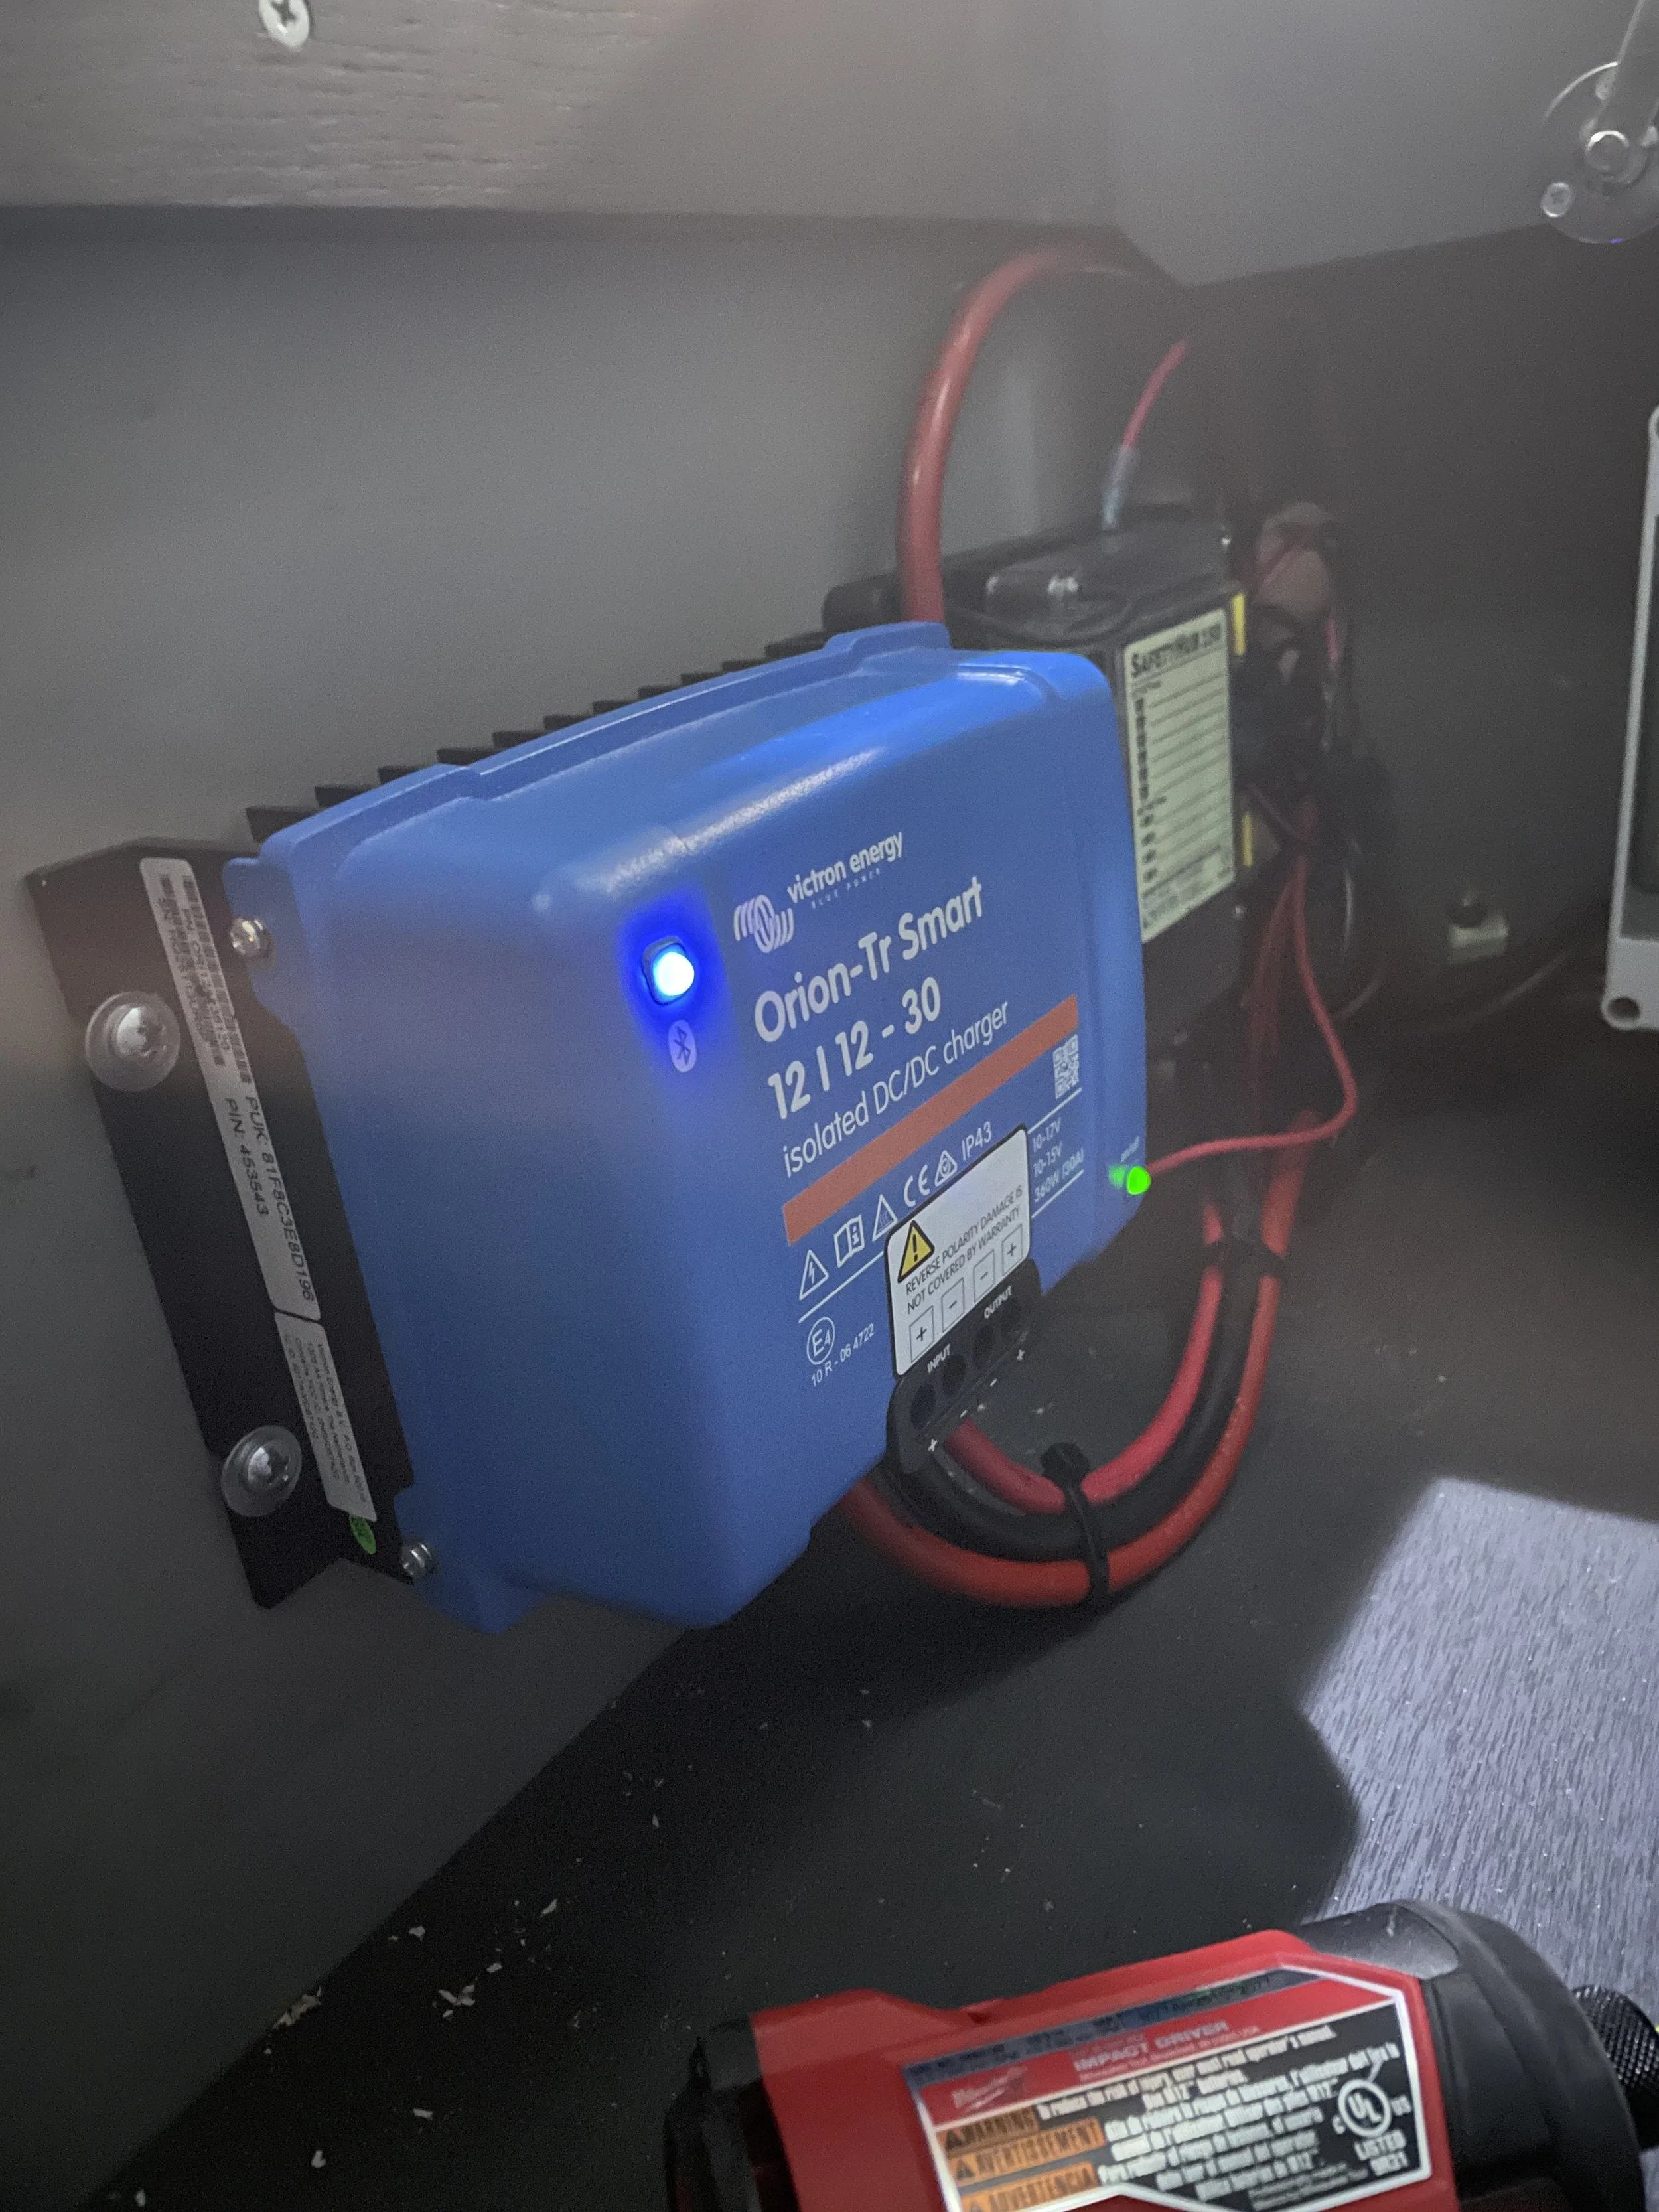
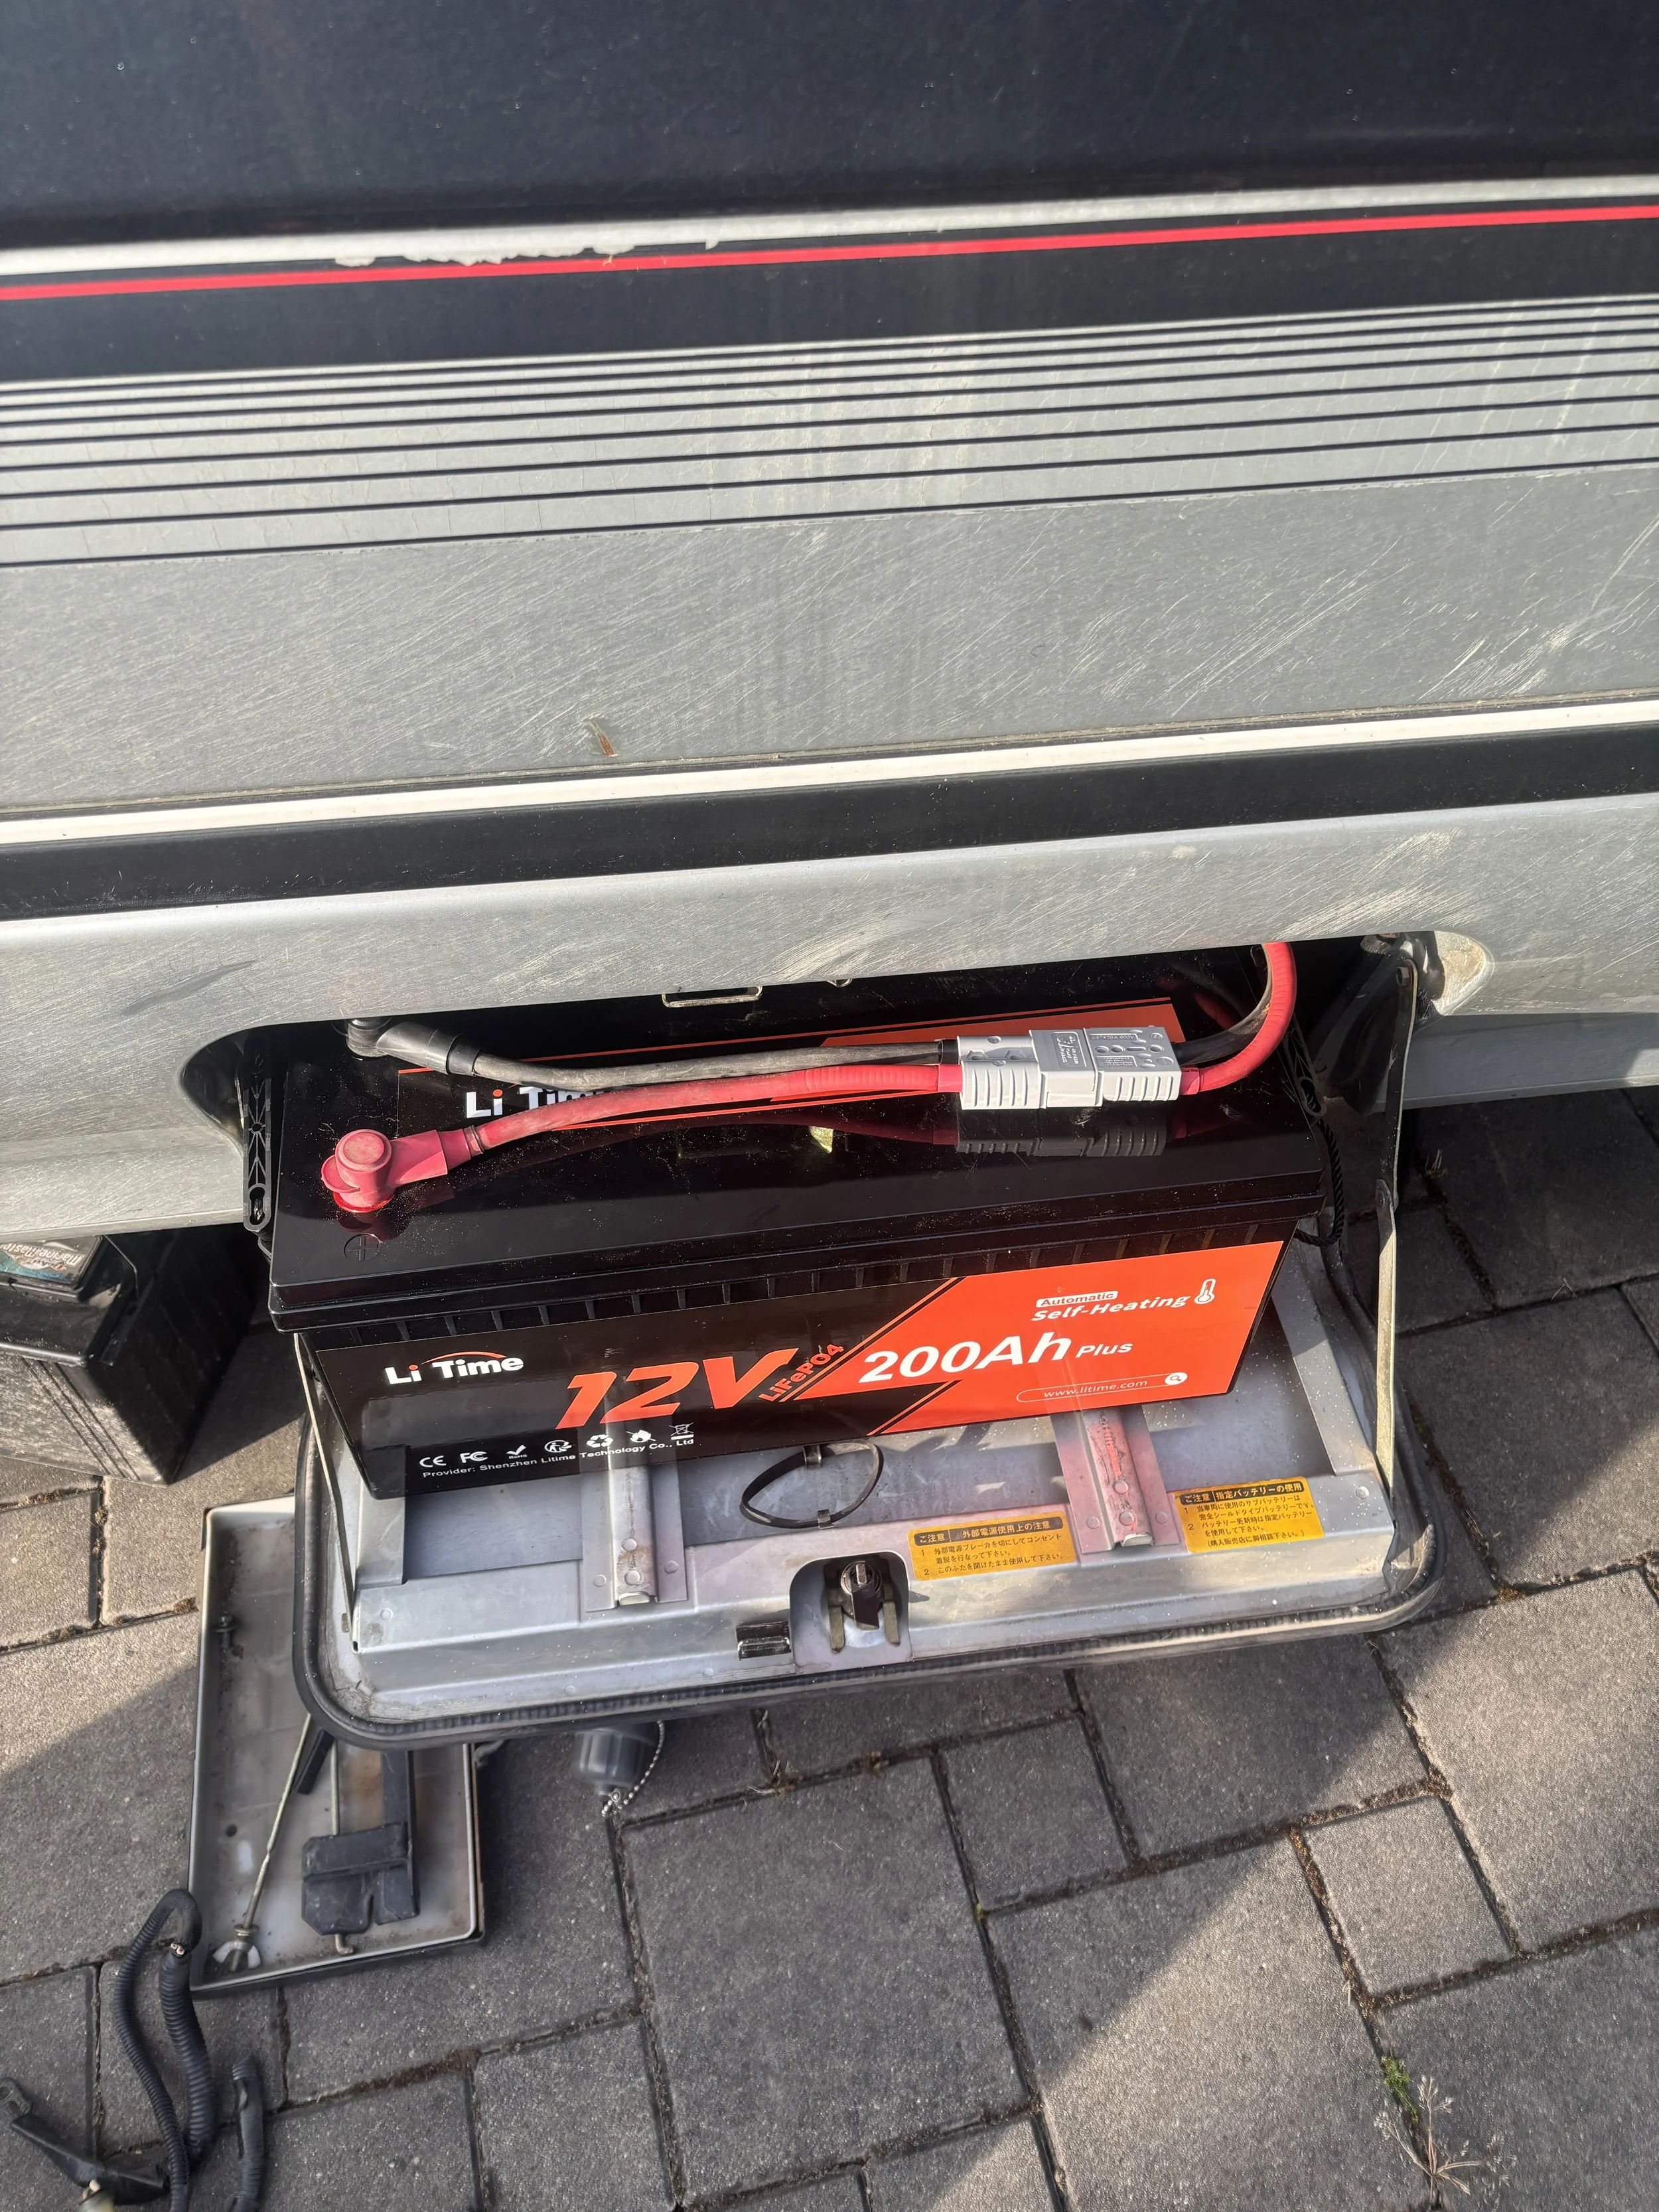
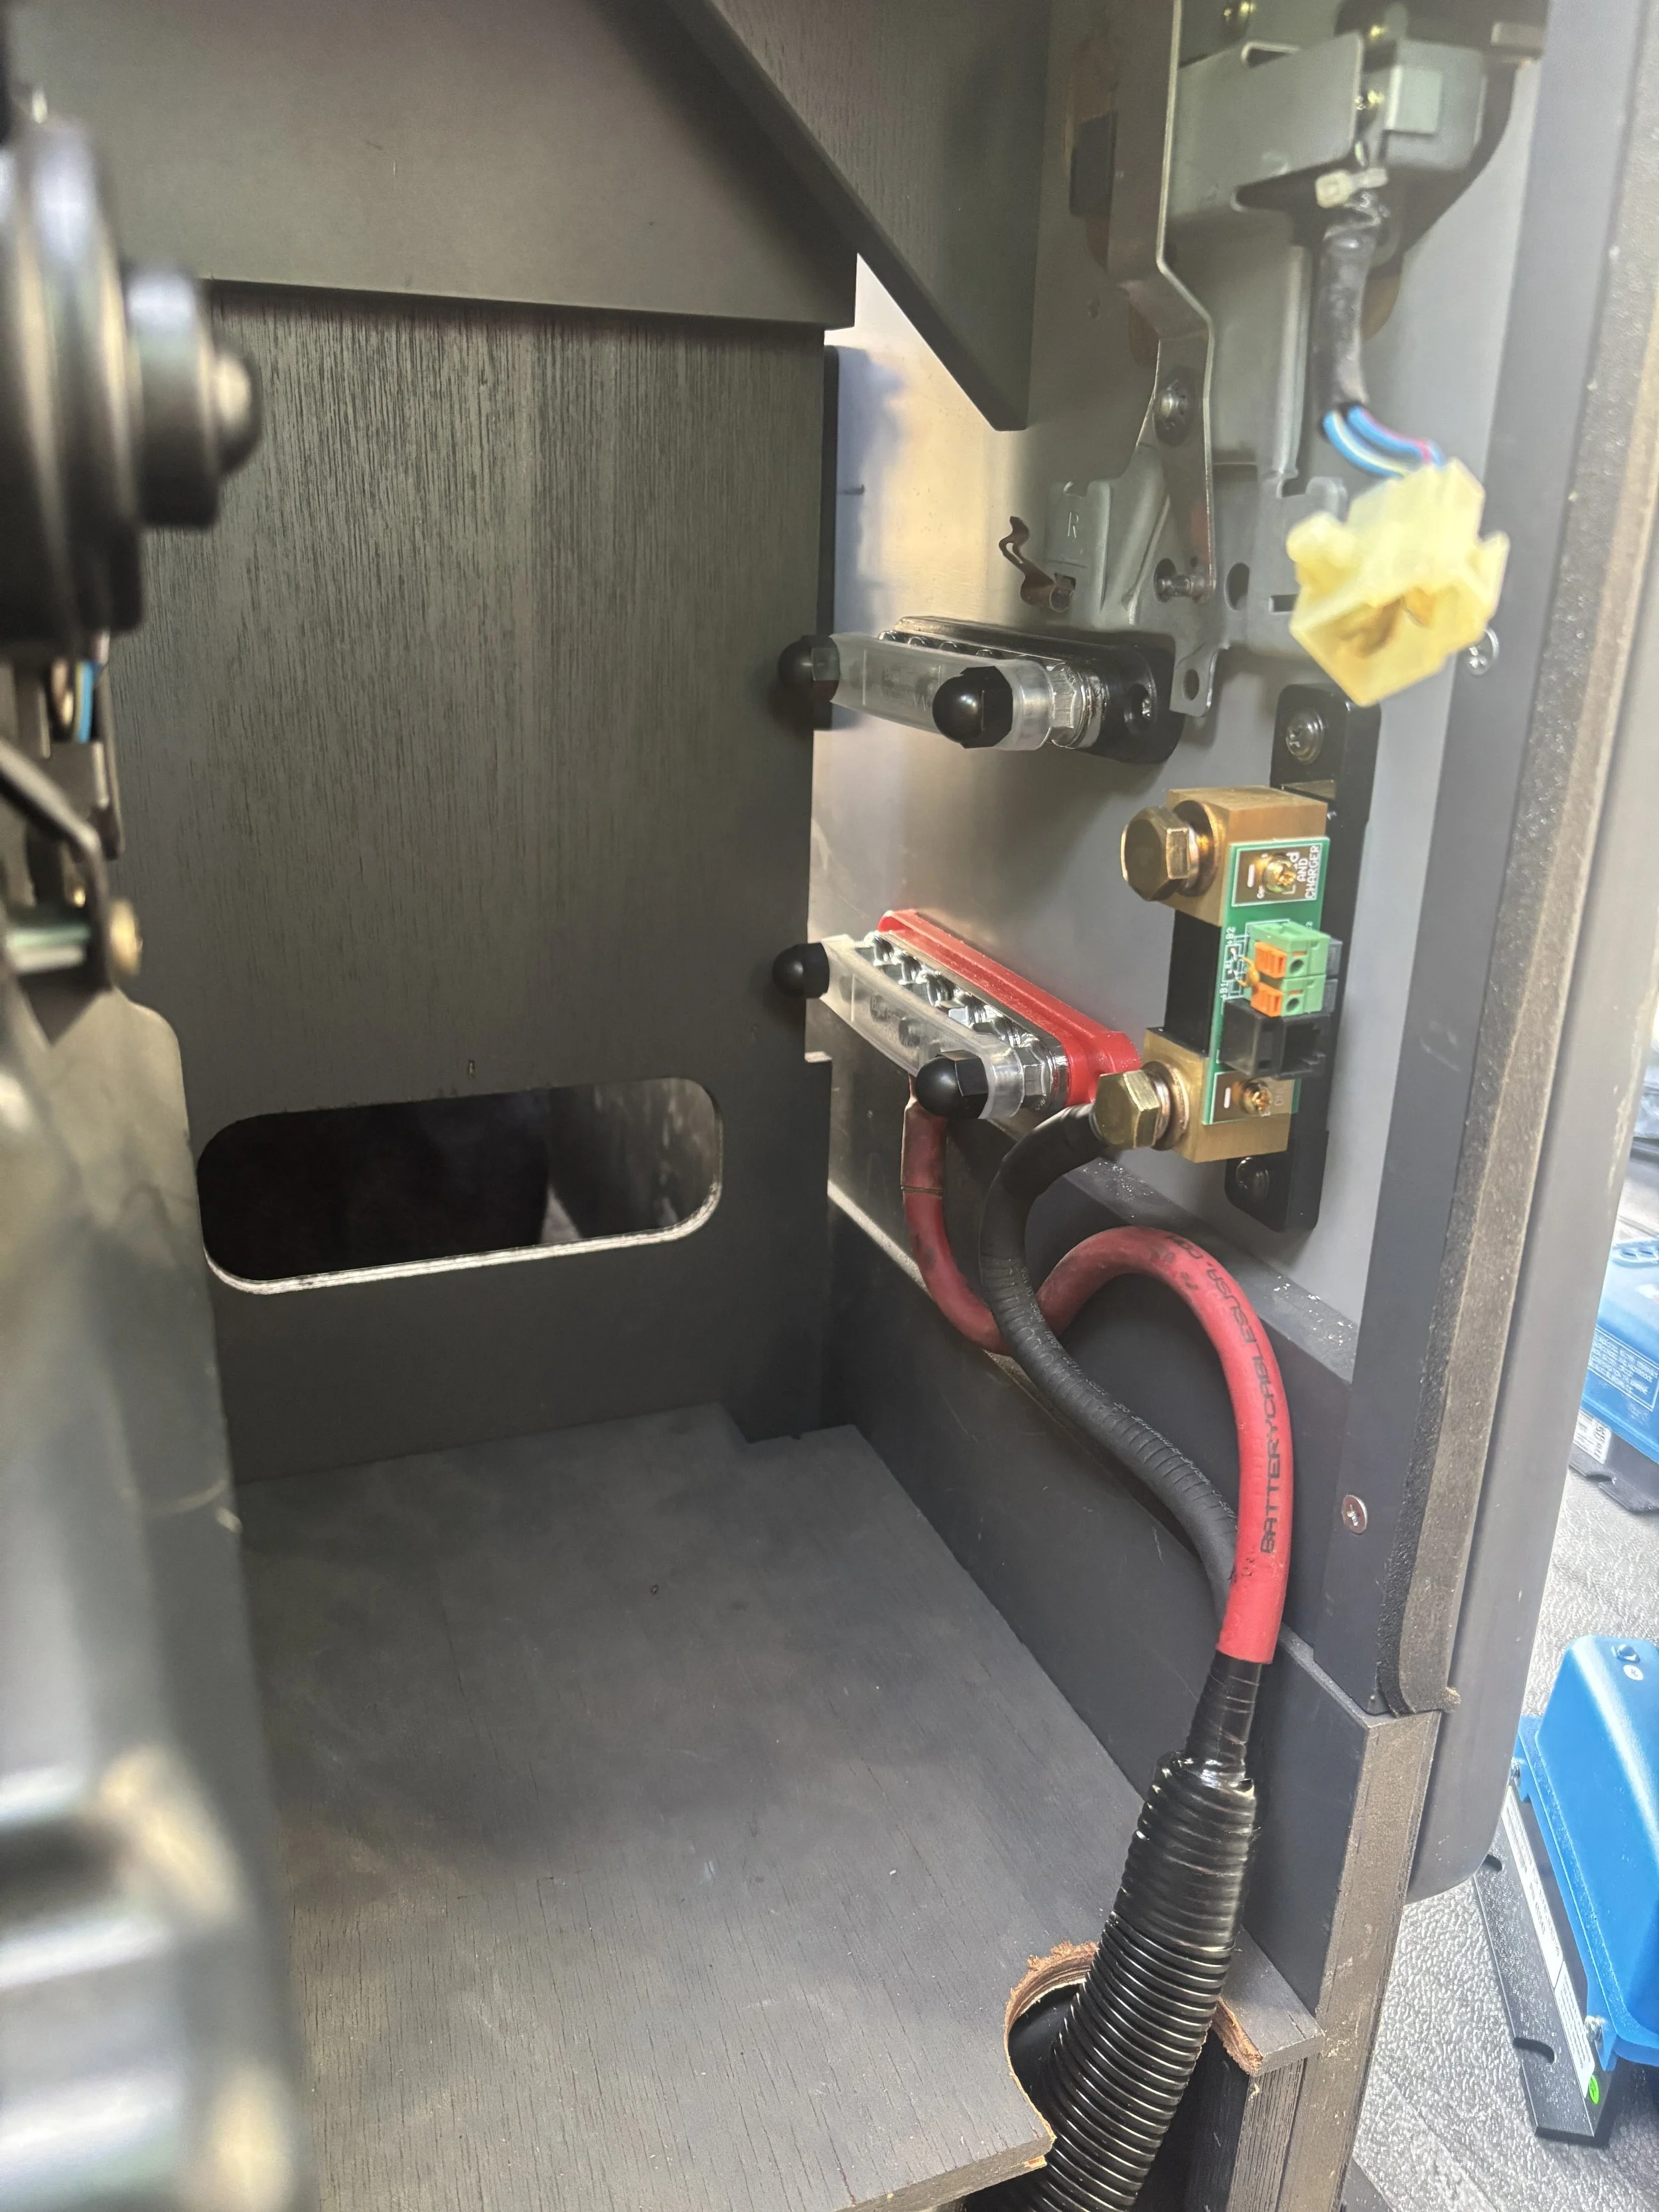
Pictured in the gallery below is the backbone of the whole project: 30A 120V shore power, 30A DC-DC charging from the alternator, 200Ah of self-heated lithium, and a Victron BMS to monitor it all. All of it tucked away nicely into the existing cabinetry. The self-heated feature was important as winter camping in the PNW can get quite cold. Of note, not shown is the fuse located near the battery terminal which was added later.
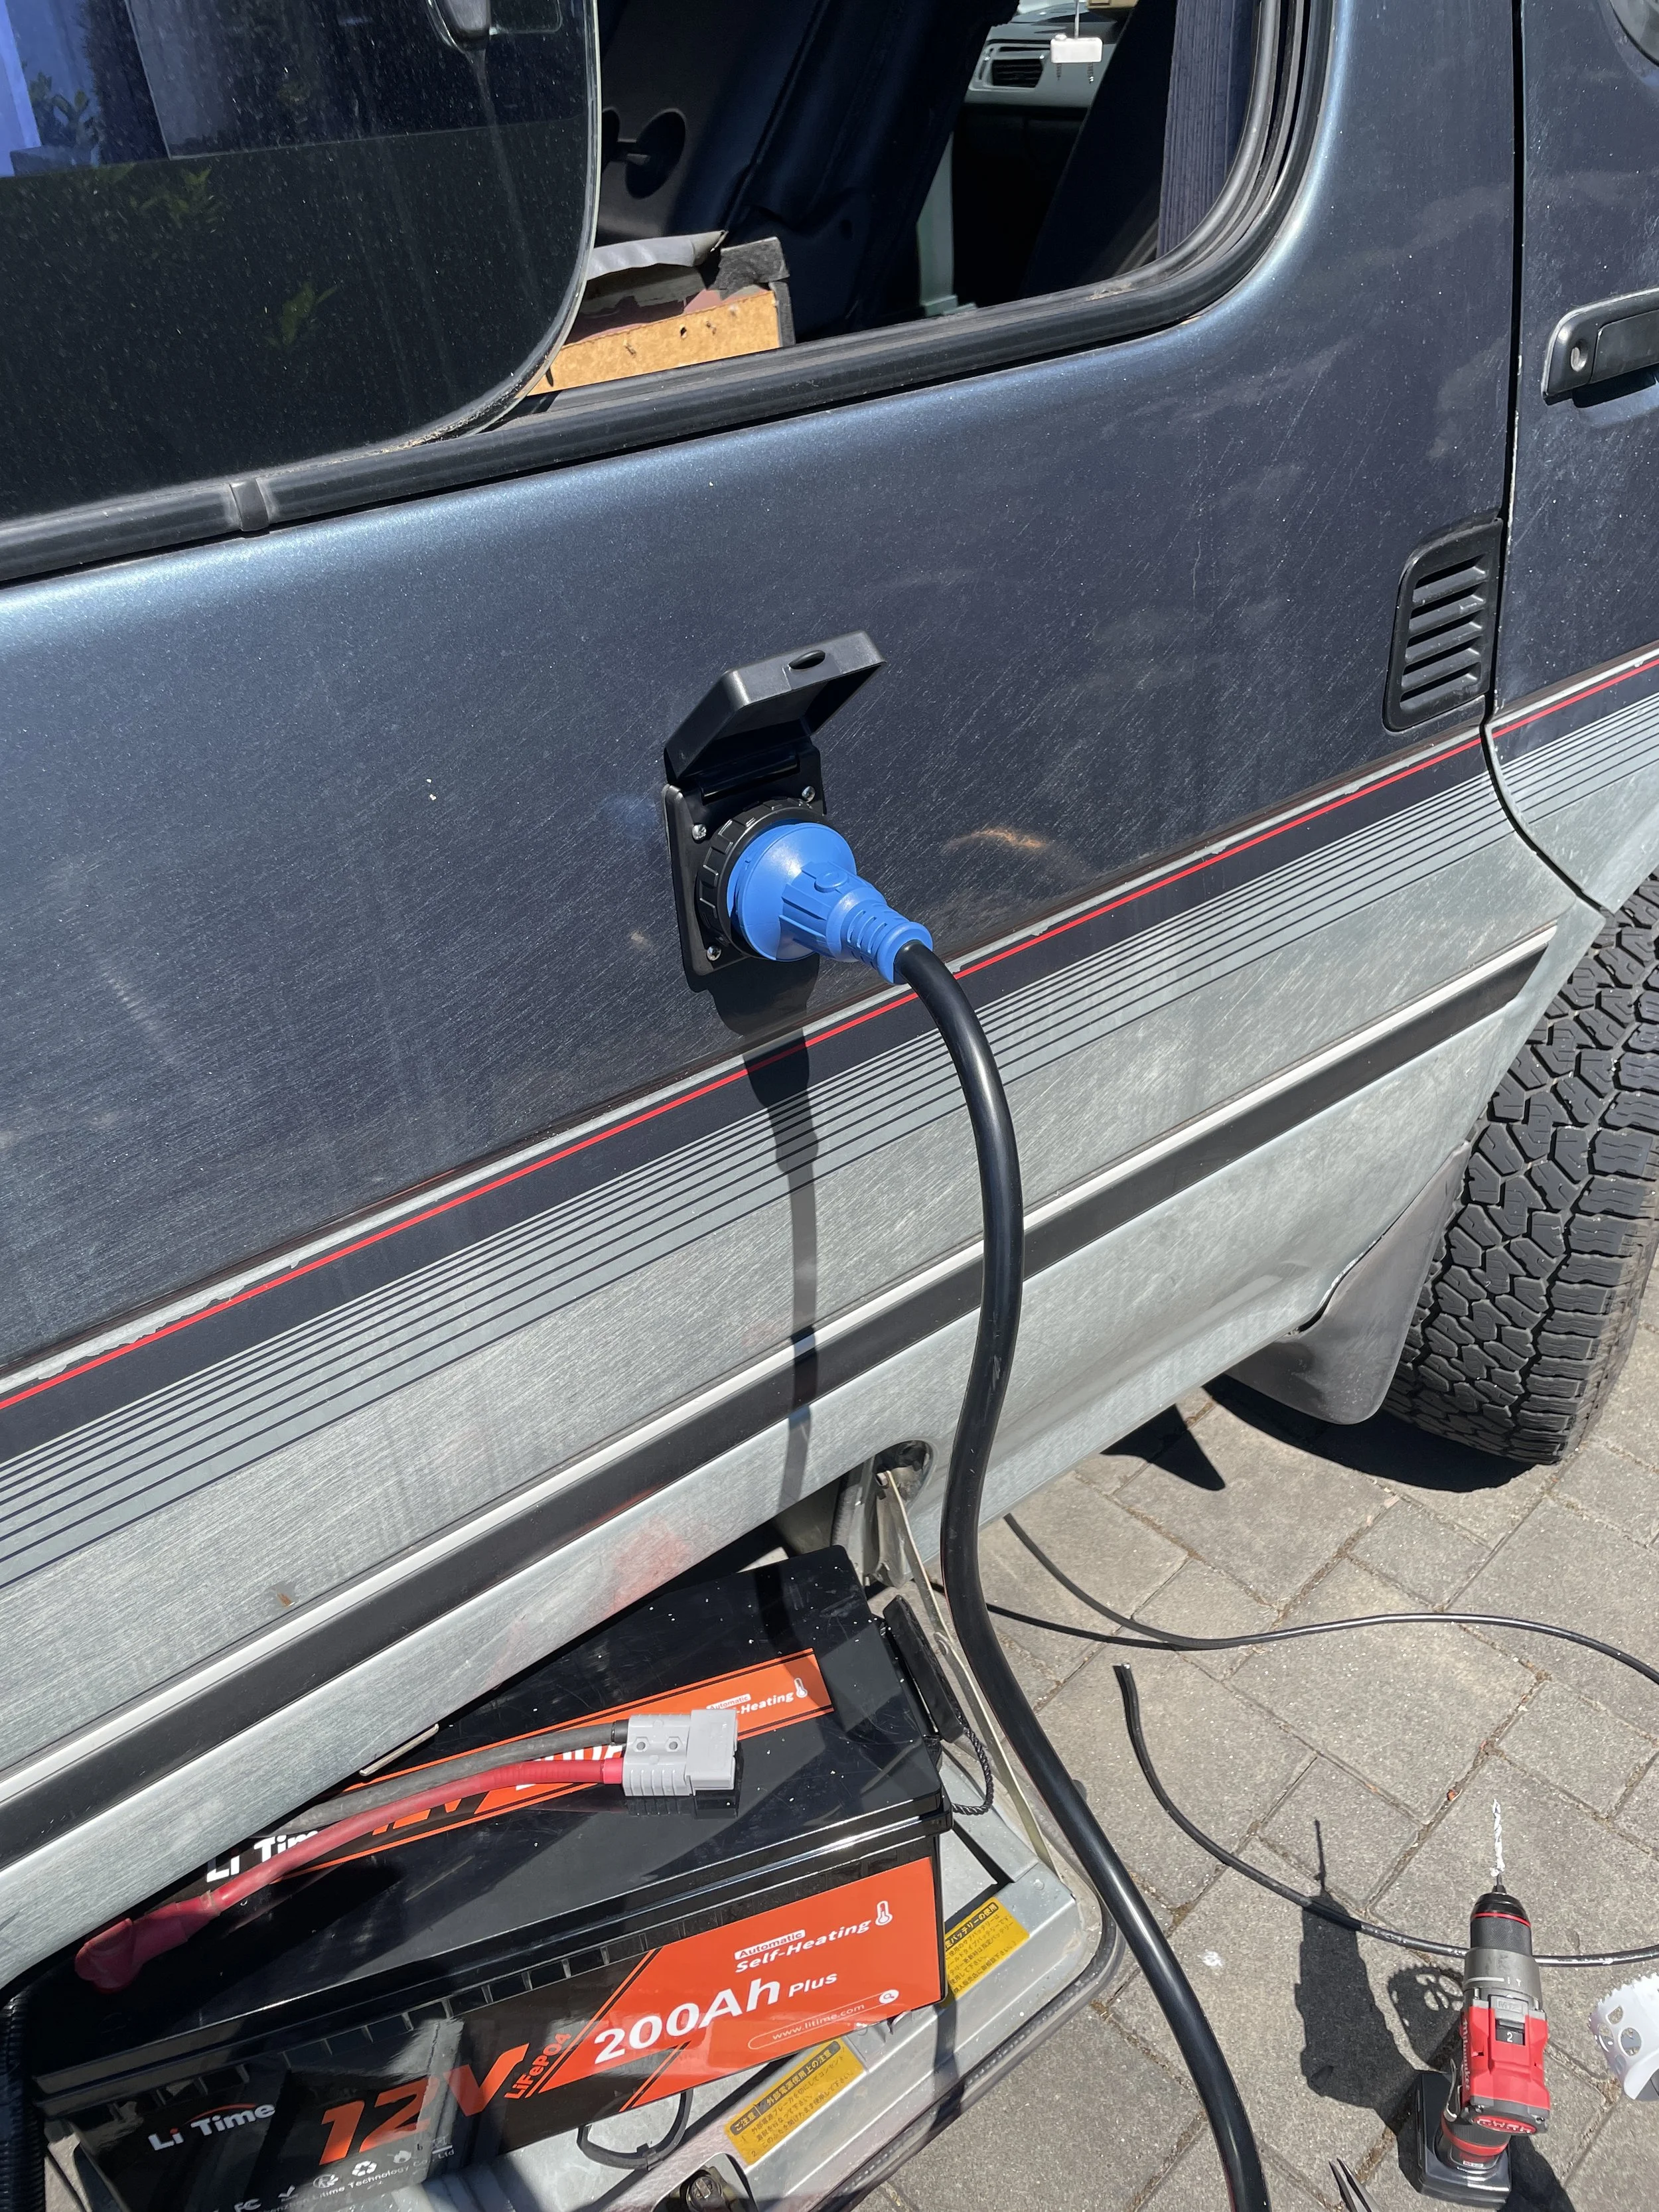
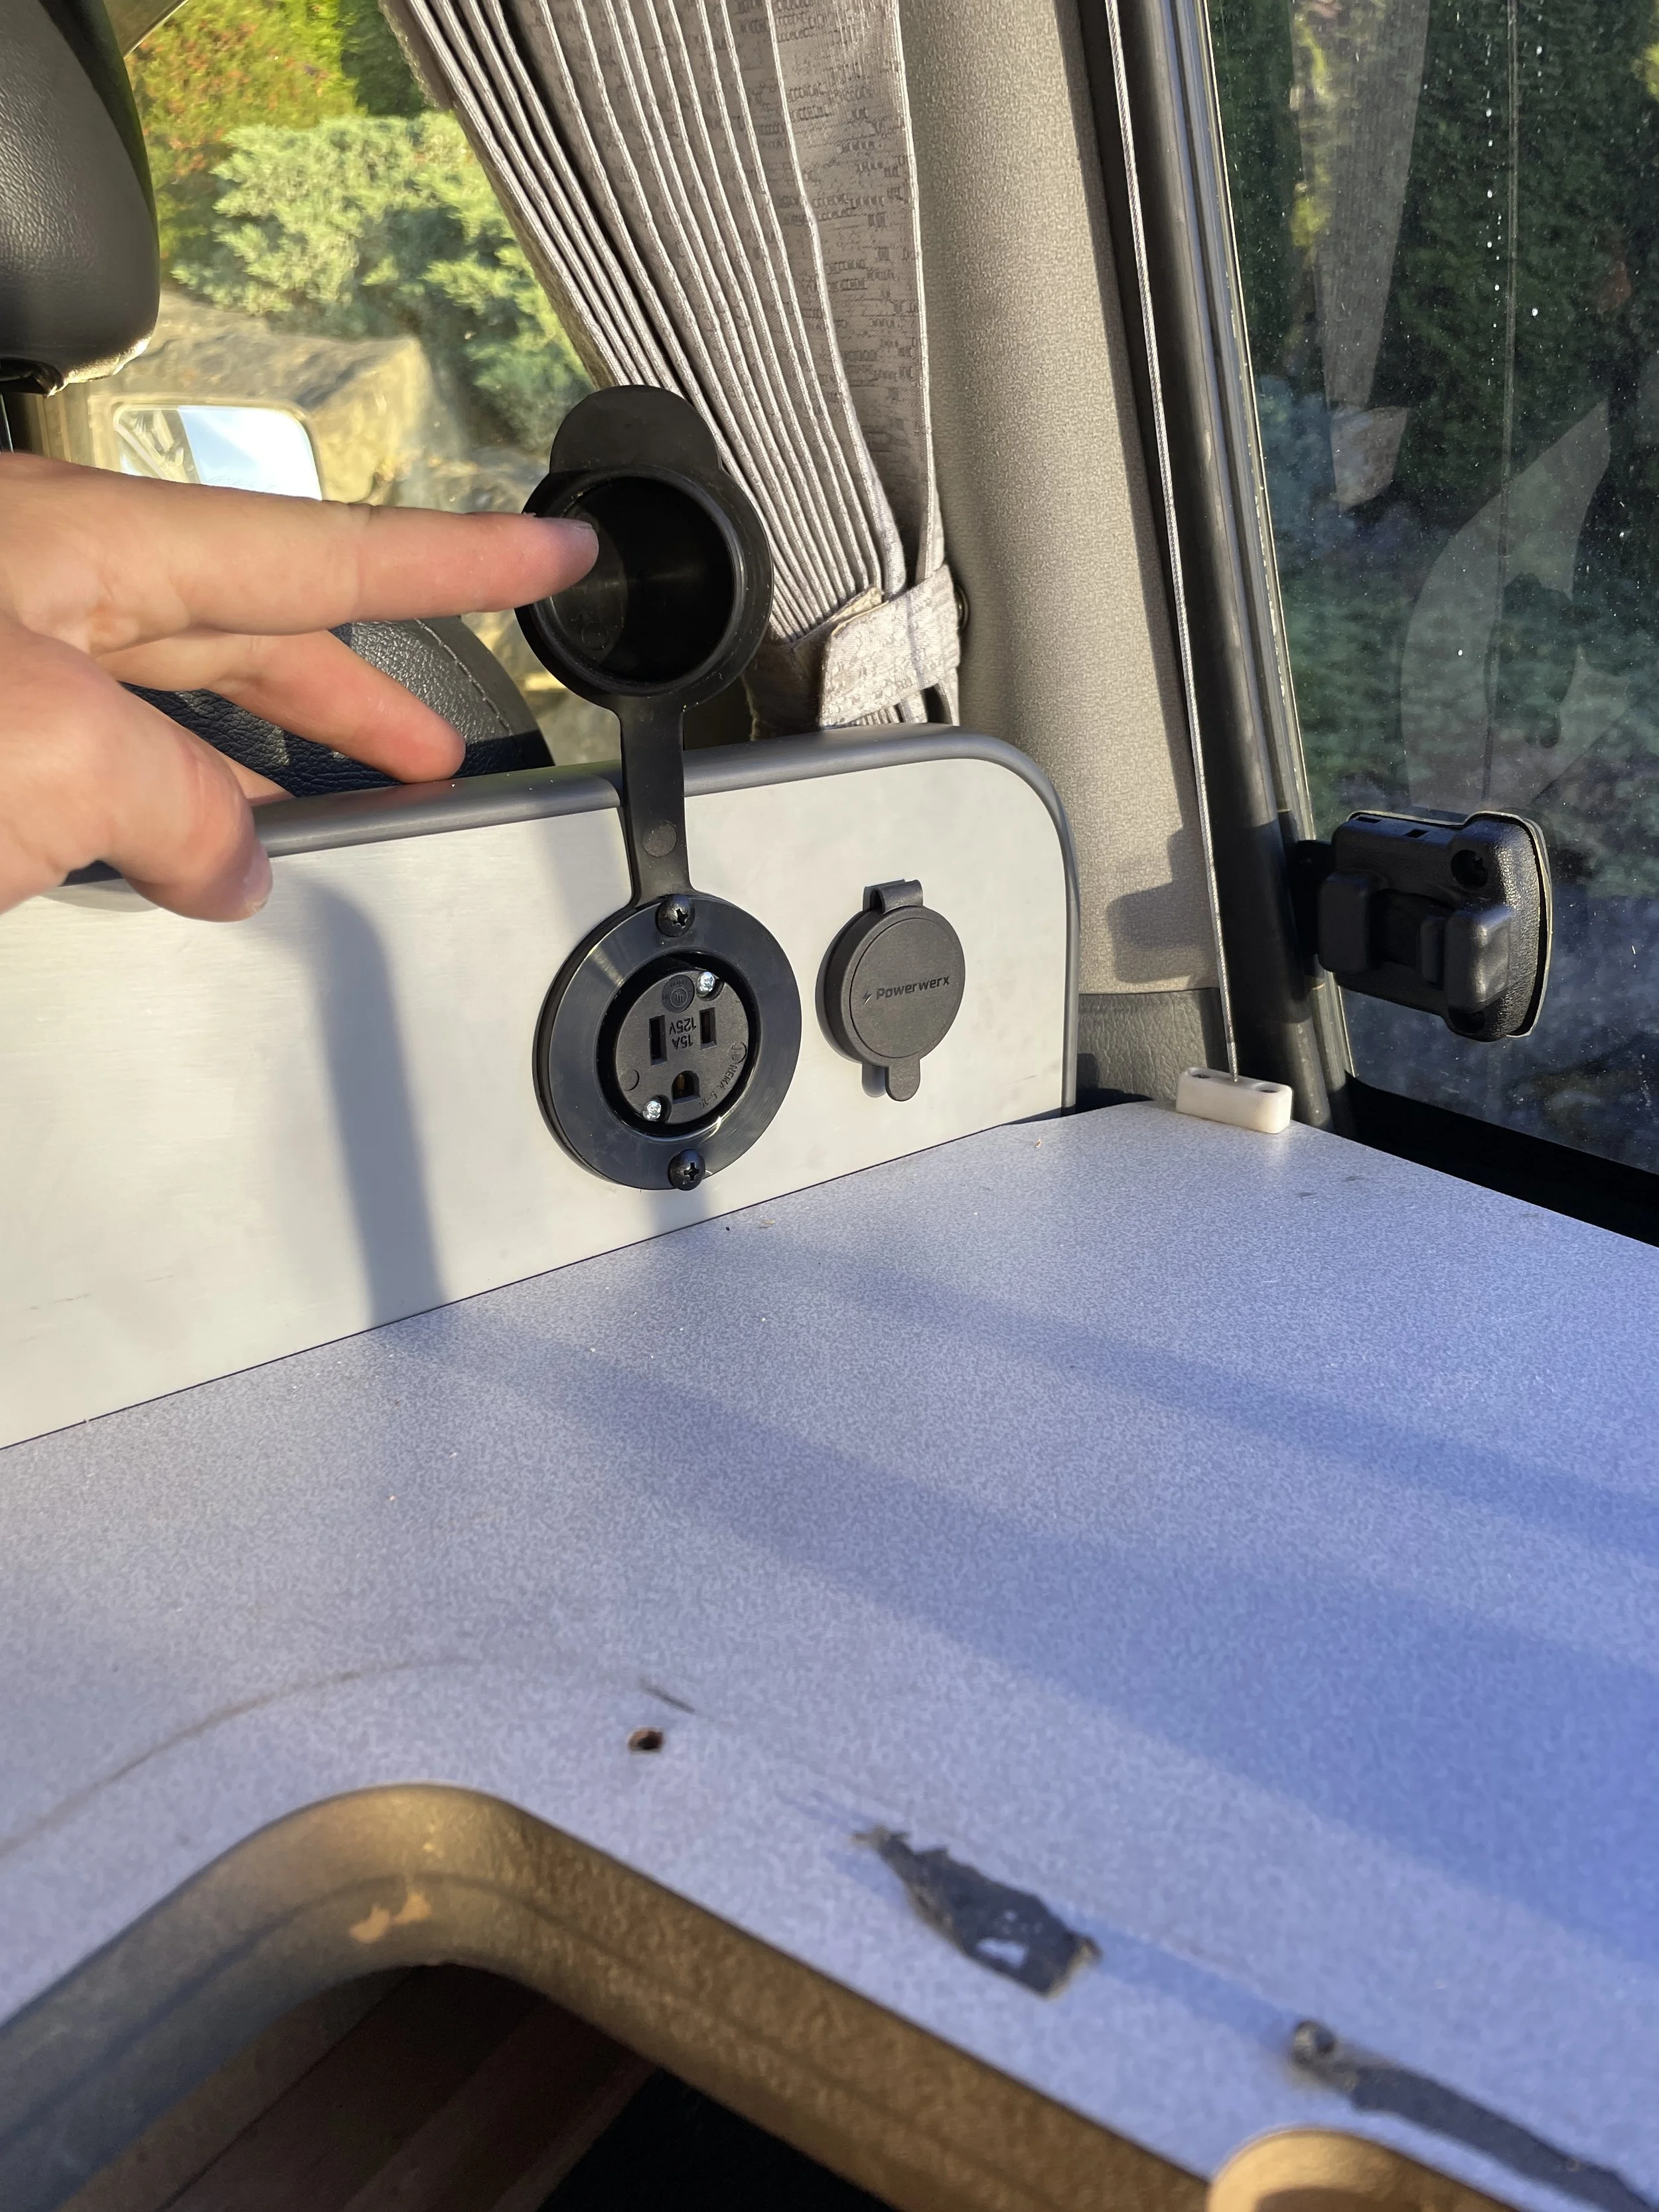
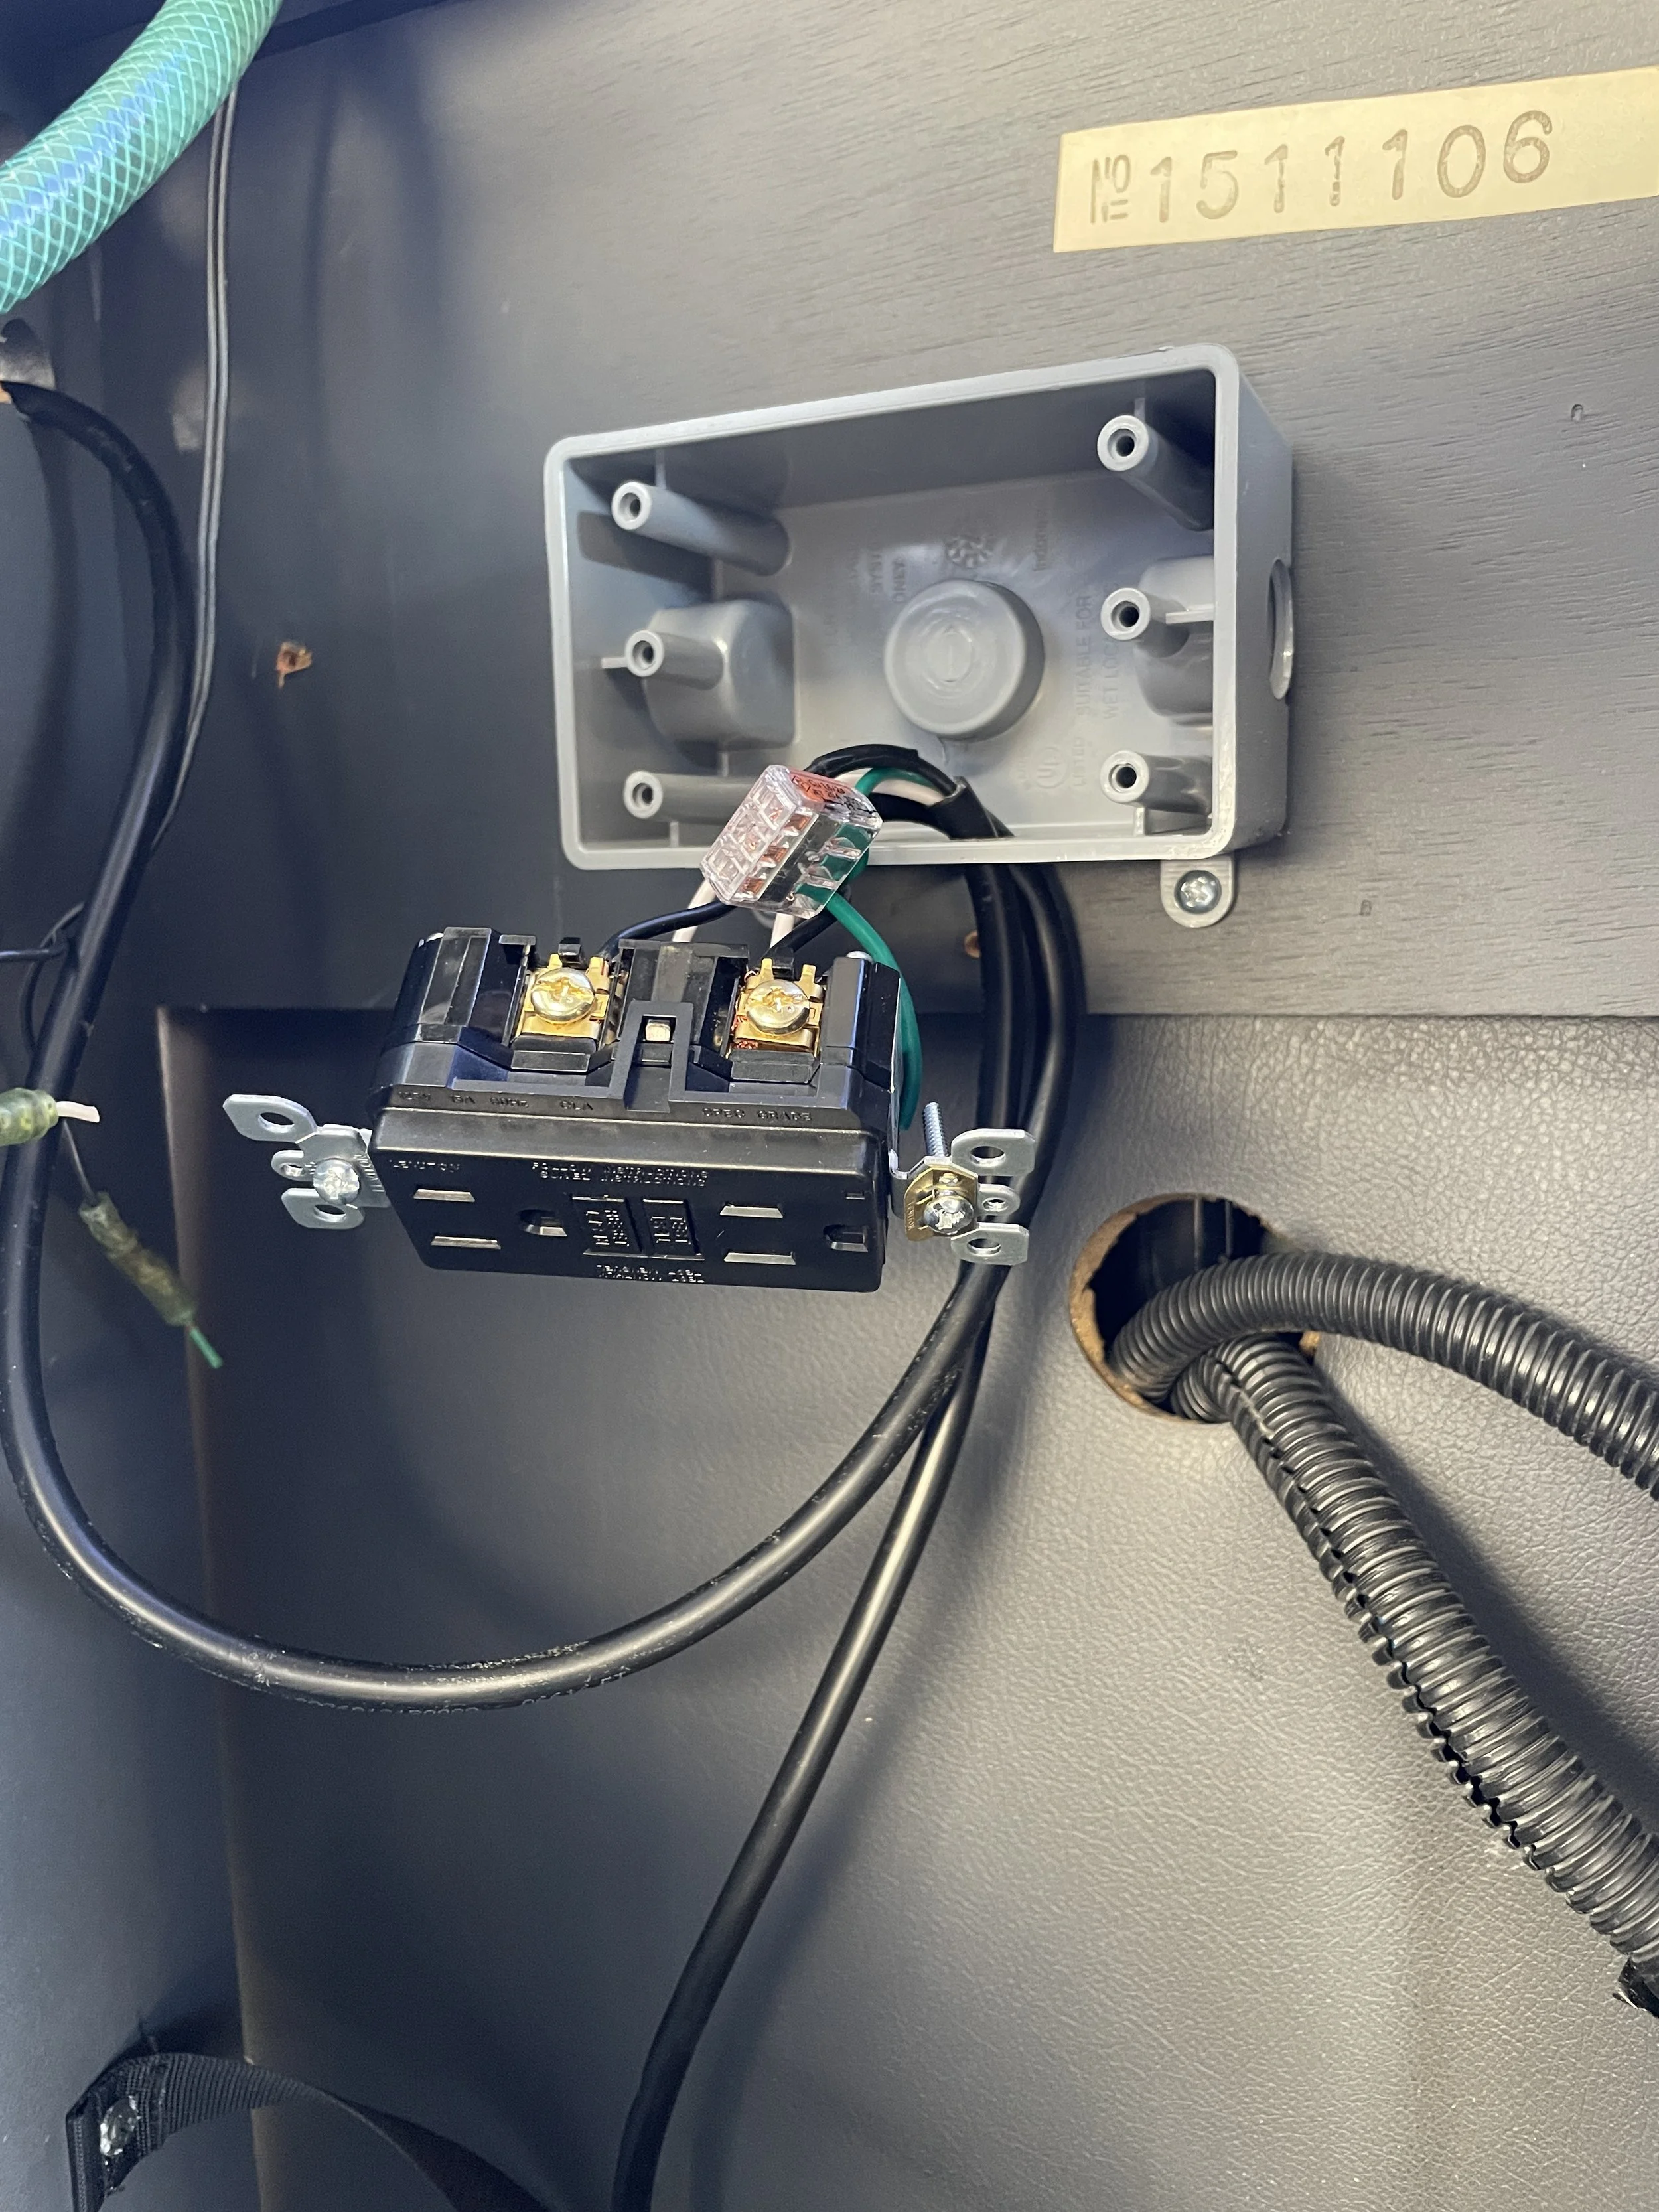
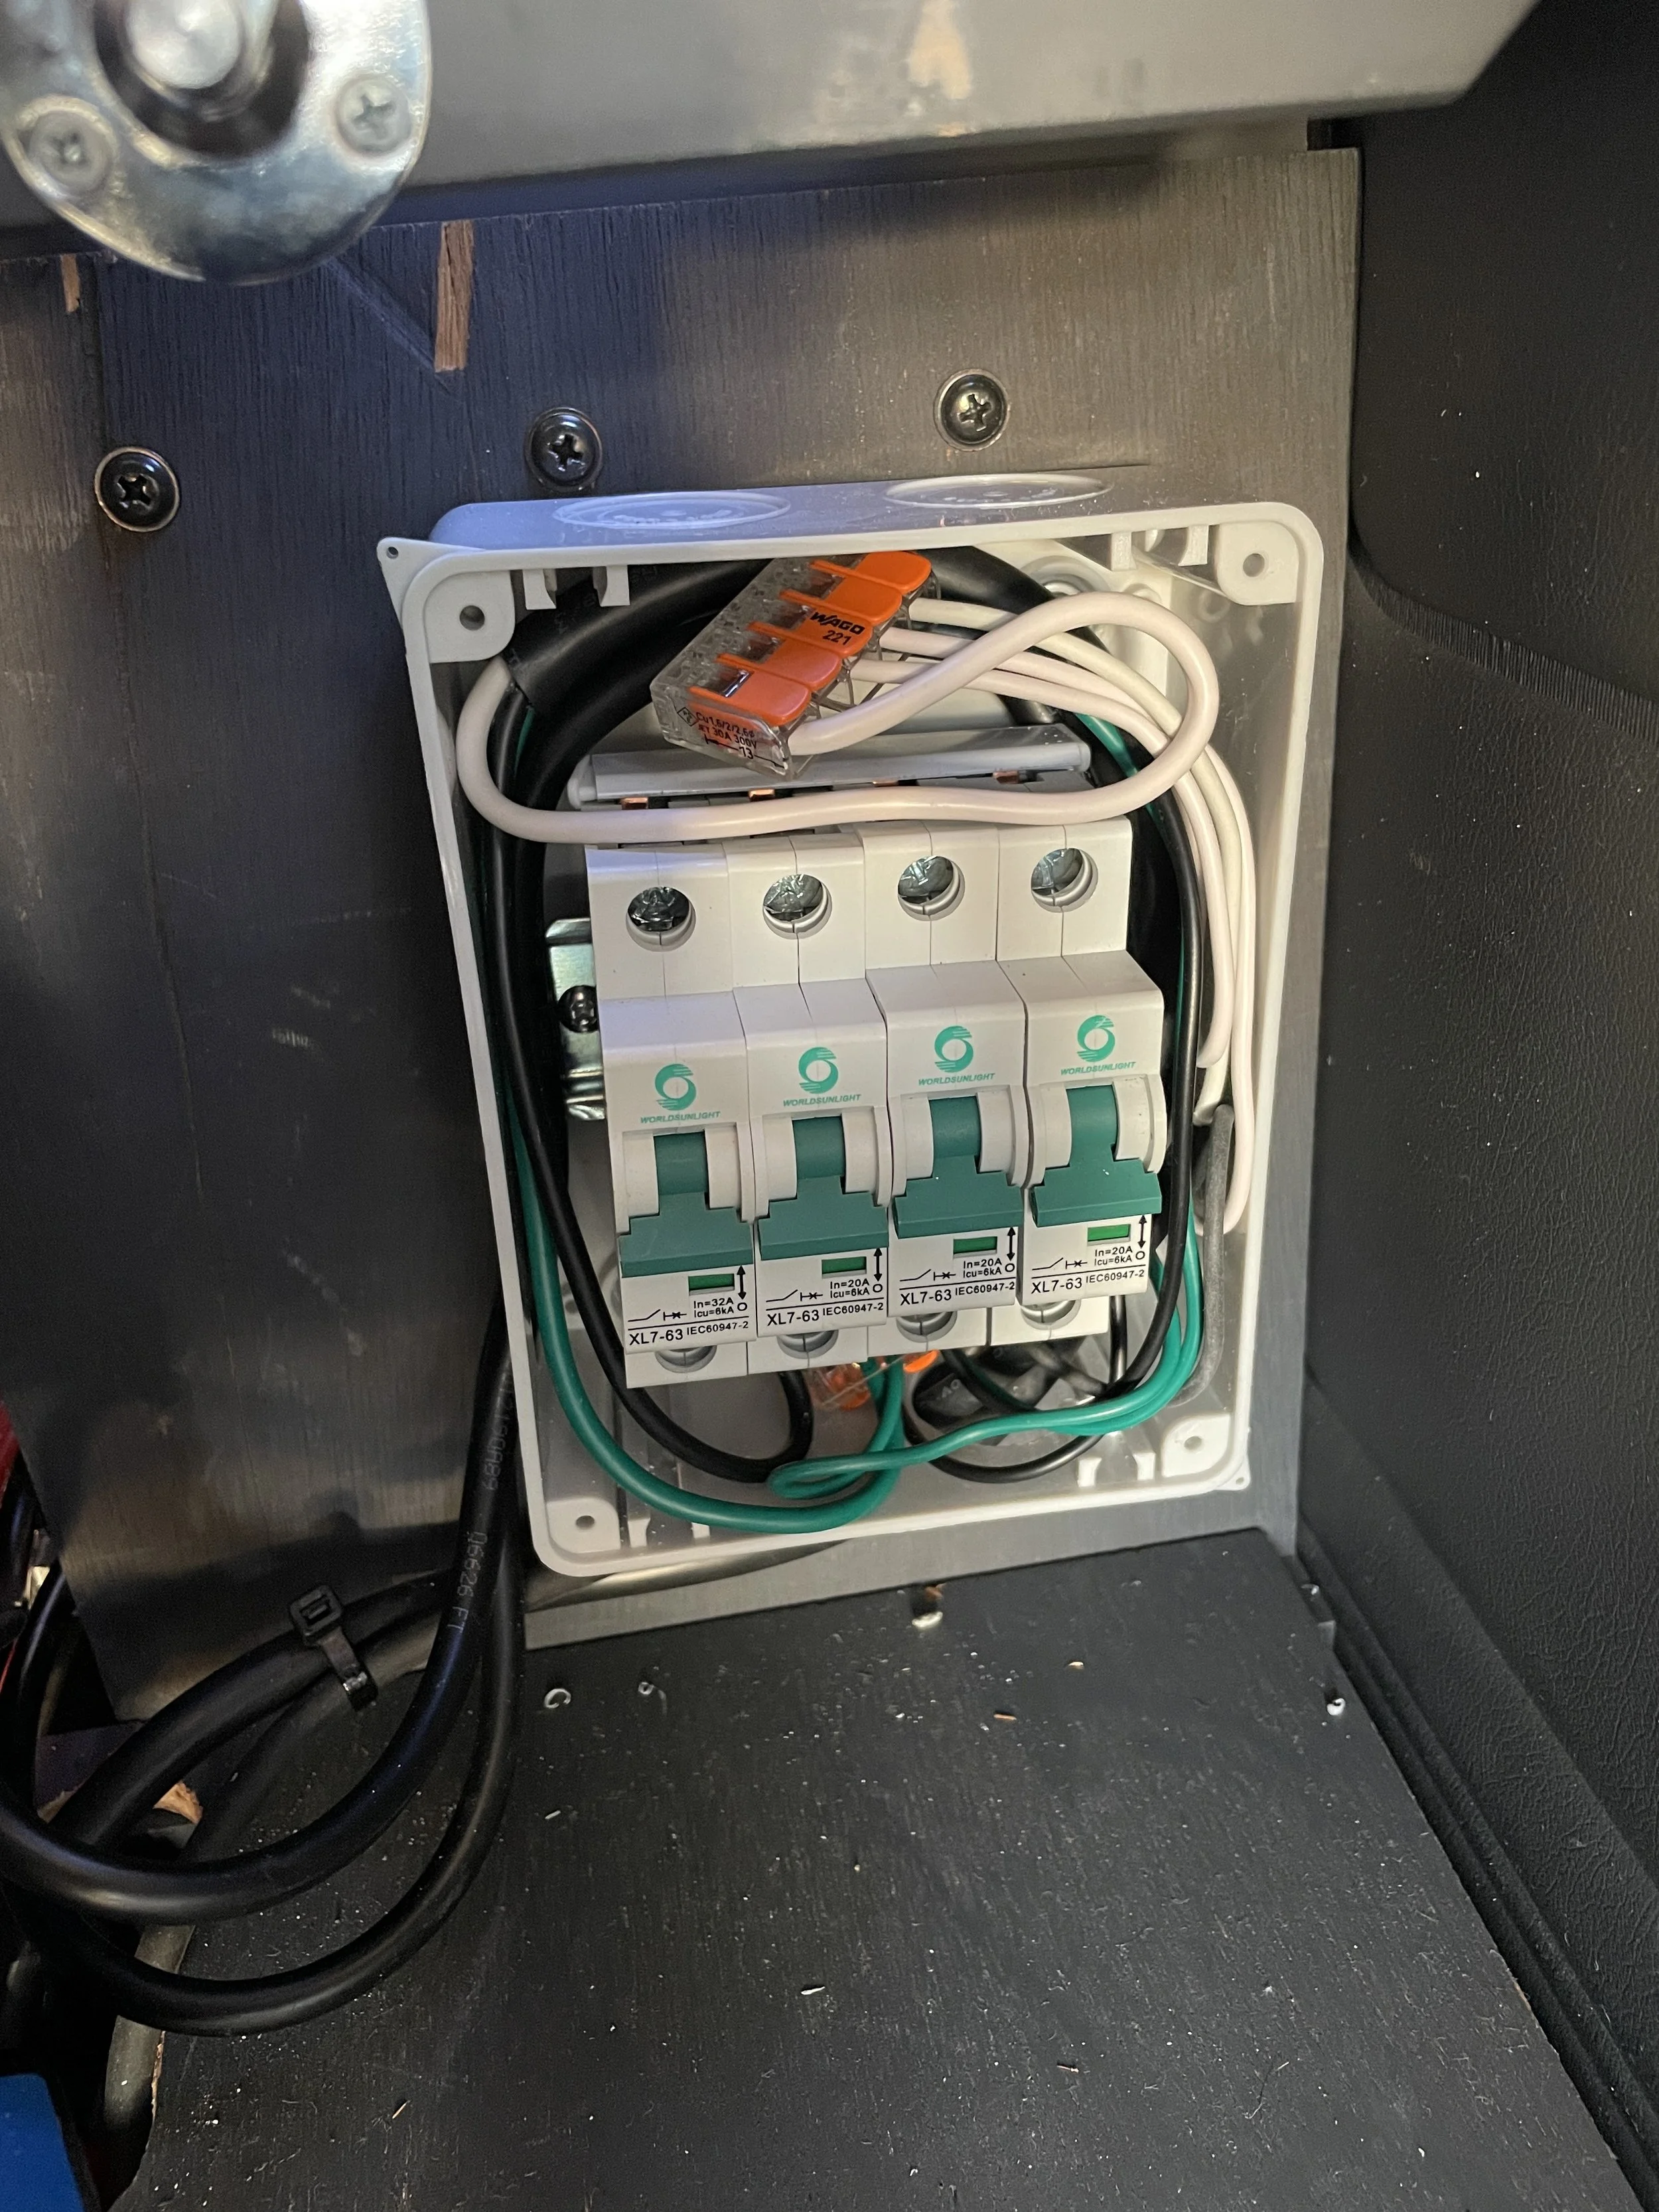
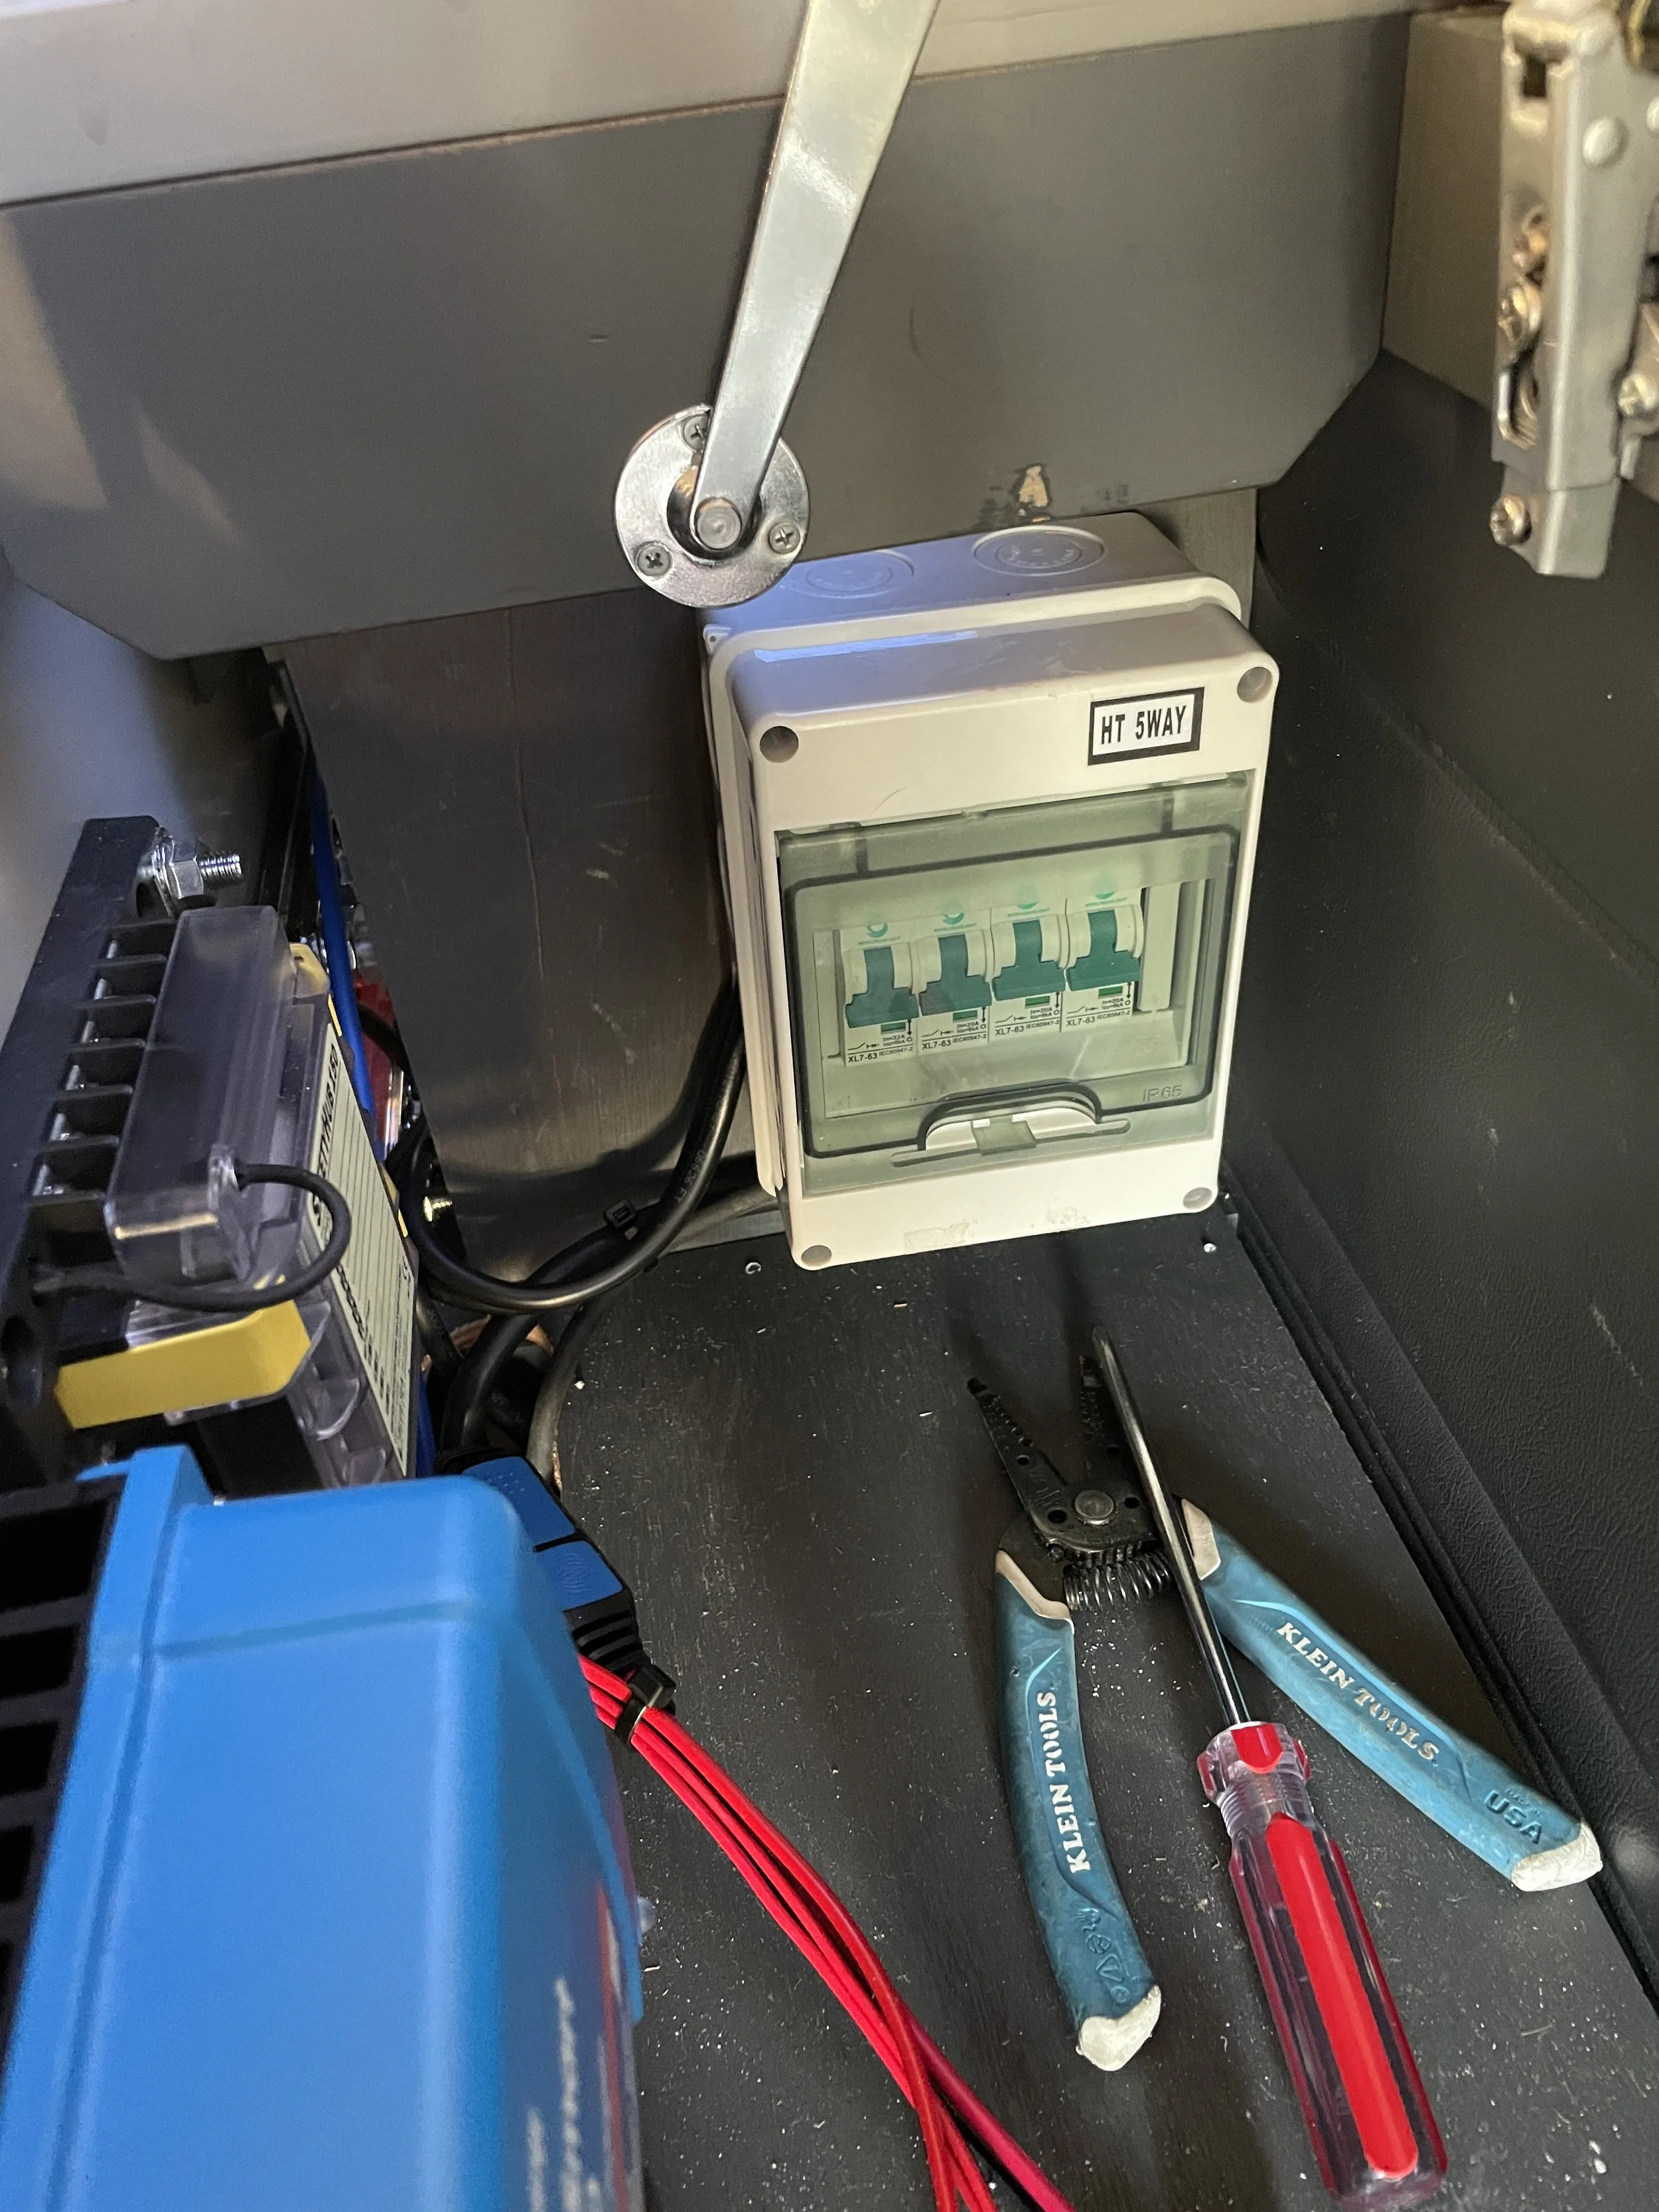
One of my favorite parts of the project was learning how to wire 120VAC in a mobile/RV application. It proved to be quite similar to my experience with simple household wiring projects, just with some considerations for the vibrations and semi-exposed cabling. After shooting some photos to my certified home-inspector friend and getting his approval, I was satisfied with the end result.
The clients wanted to have a system that was robust enough to run a portable induction stove top. To that end, I installed an outlet on the backsplash with a waterproof cover, daisy chained to a GFCI outlet under the sink. Unfortunately, the clients opted not to install an inverter and change-over switch, limiting the system to use when plugged into shore-power only.
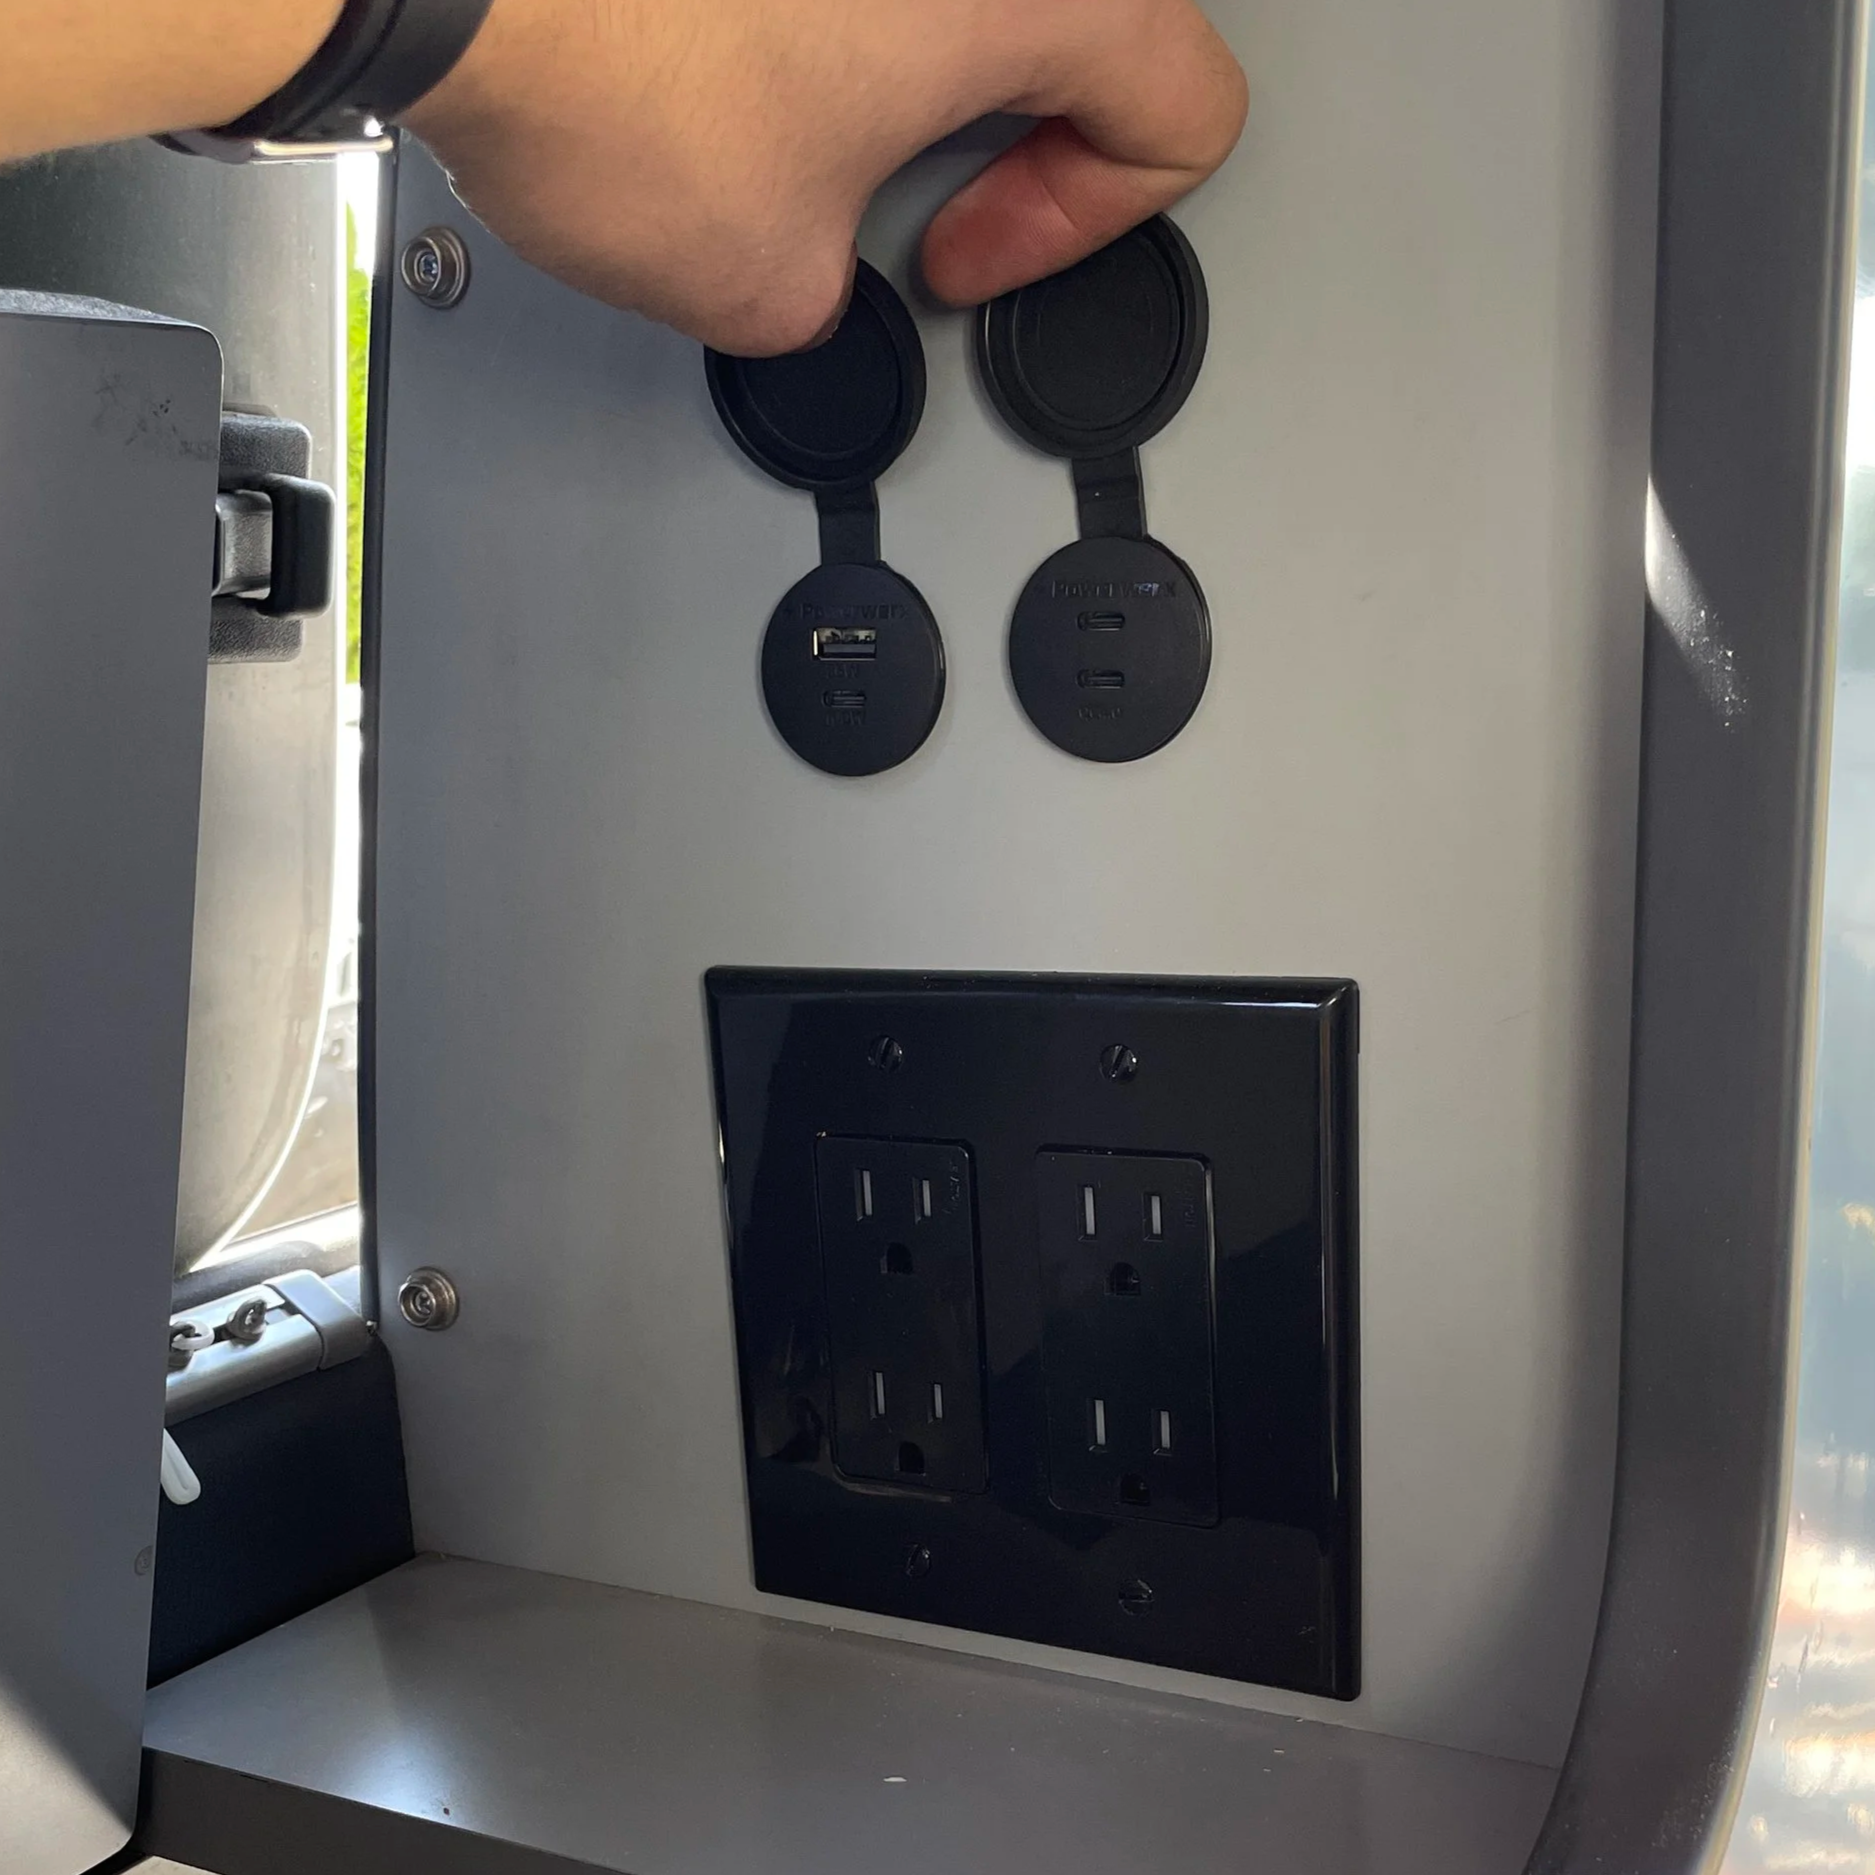
More DC and AC outlets in the lounge/seating for charging laptops and smaller devices. The USB-C ports are USB-C PD to meet the client’s modern fast-charging needs.
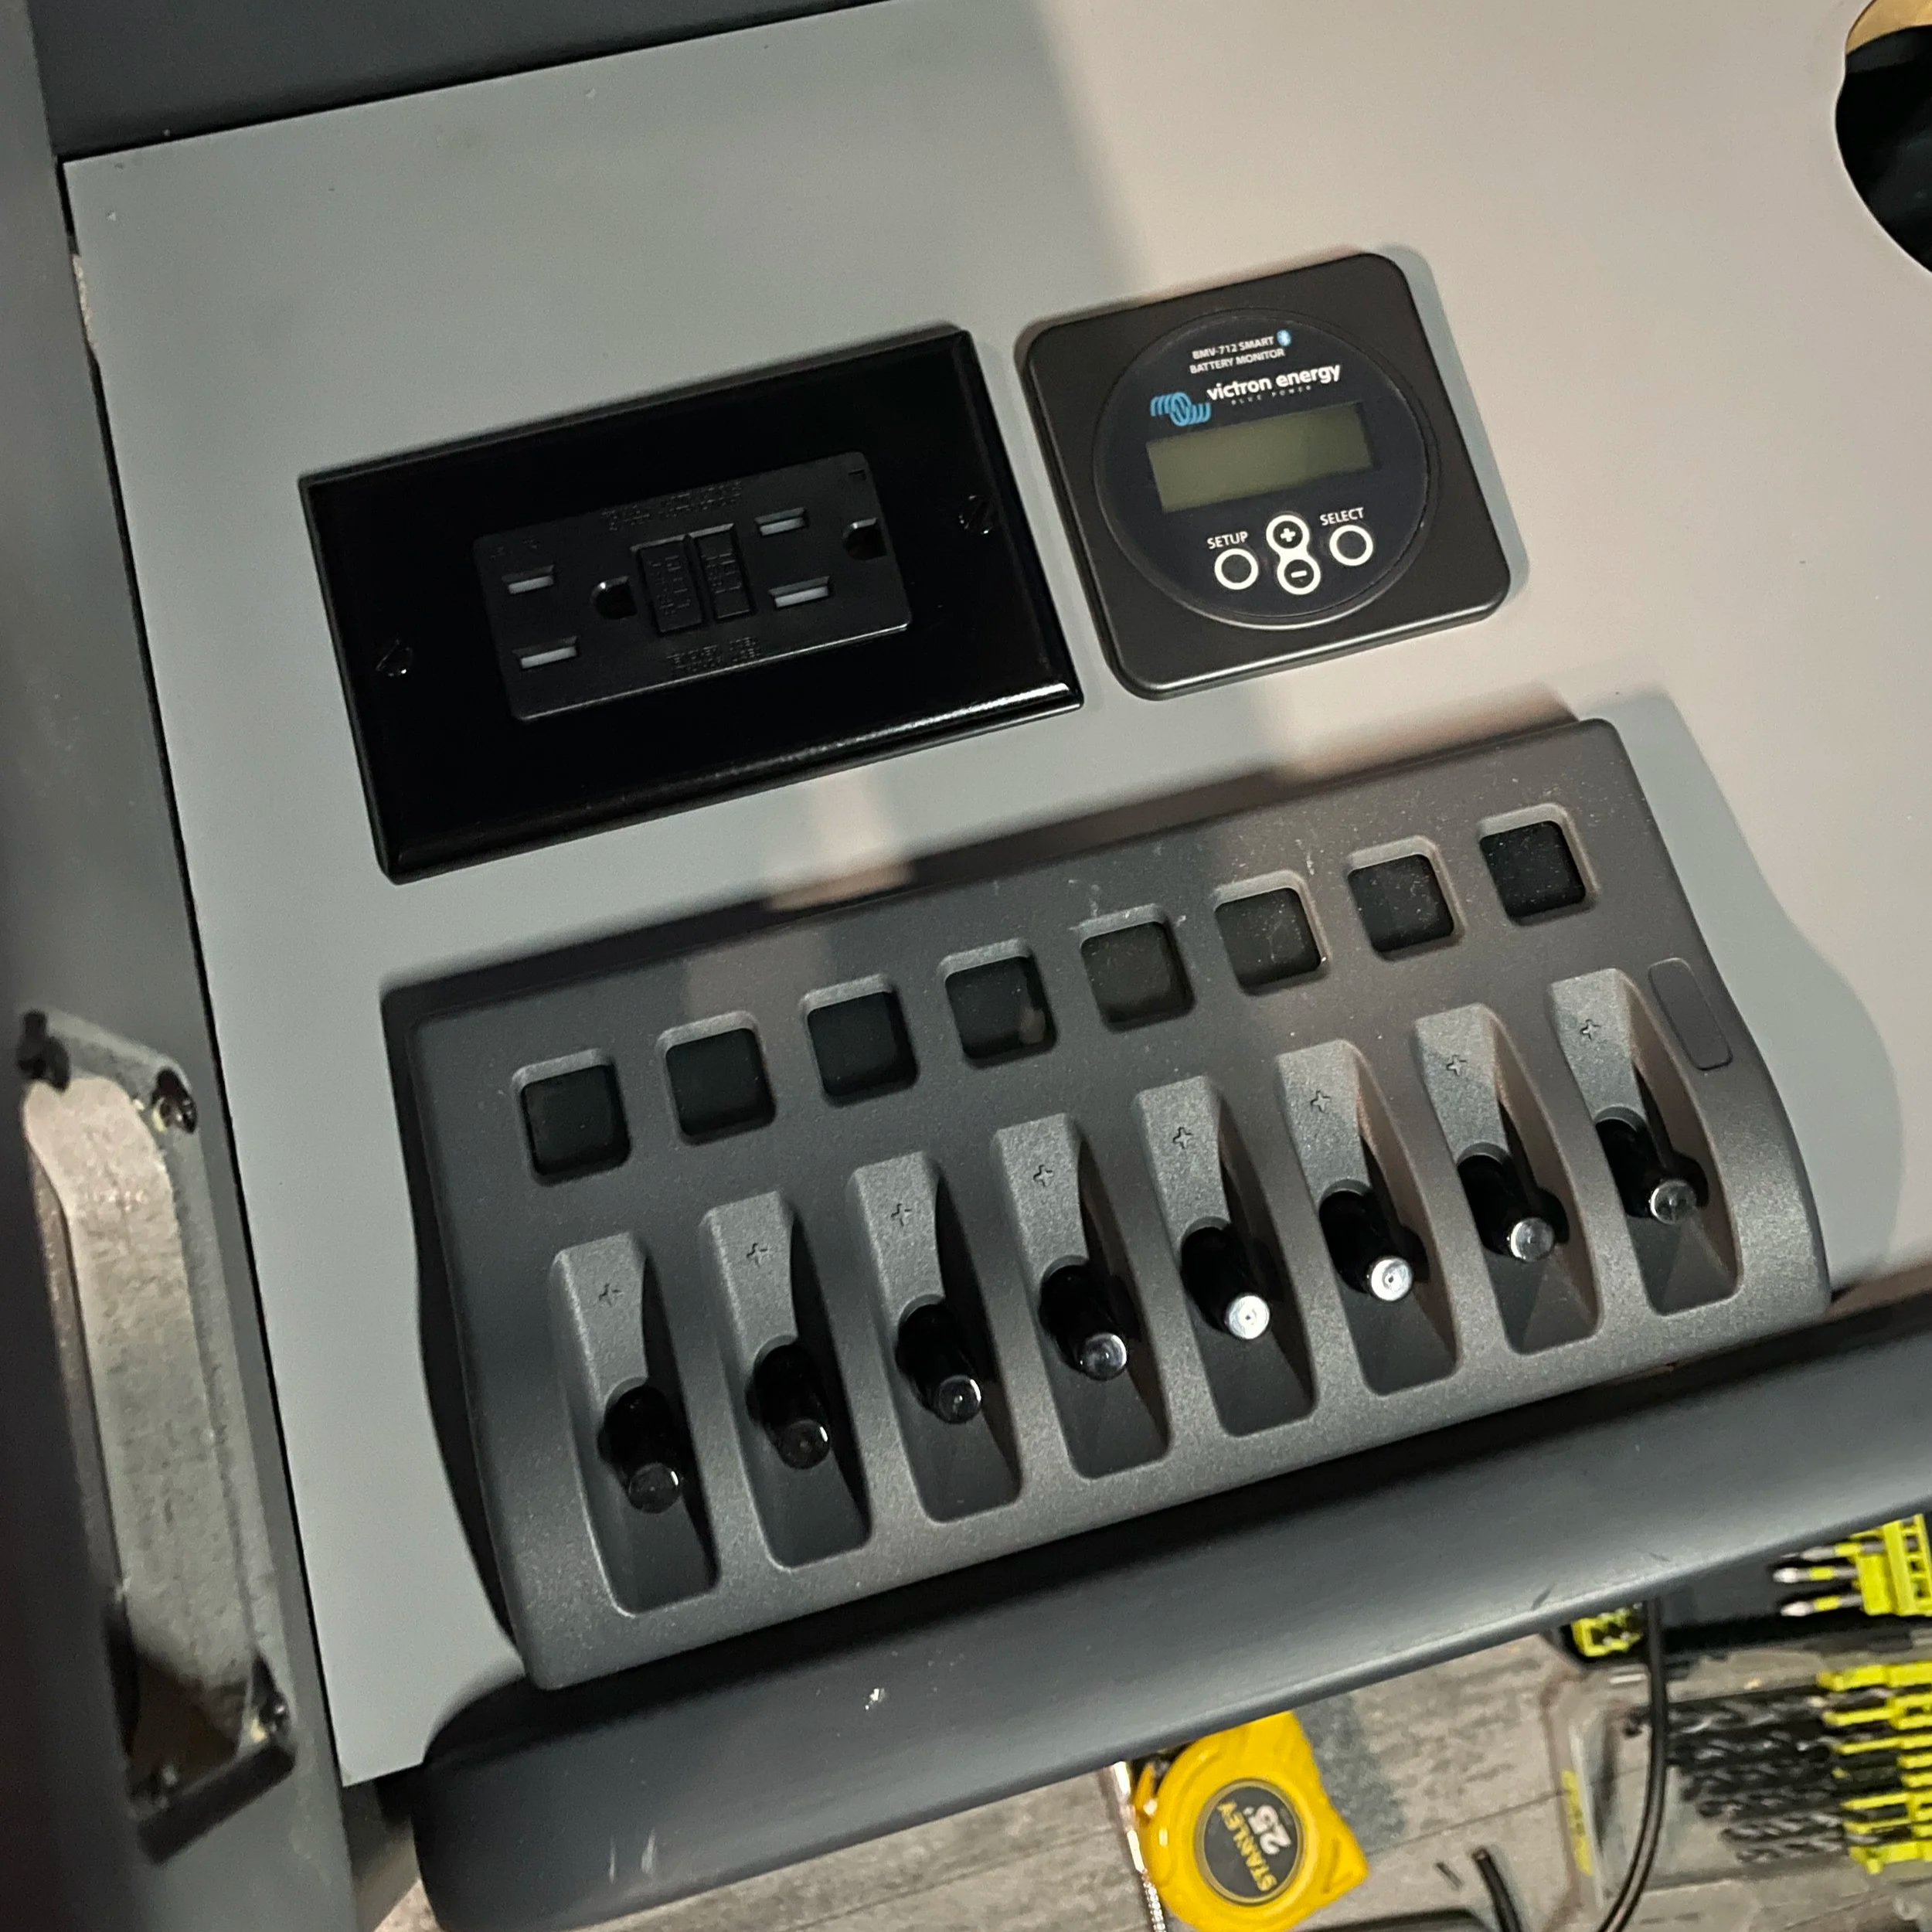
My final contribution to the project was the scalable DC system. Underneath the BlueSea Weatherdeck panel and Victron BMS display is a full suite of BlueSea DC products, including fuse blocks for ATC and MIDI fuses. The goal was to leave the clients with something that could accommodate their future needs, no matter what they are.
