At Baylor, there are two capstone classes in the Engineering program. Junior and senior design are inter-disciplinary project classes where students form teams to design and build a solution to a customer’s problem. Senior design involves working with an individual customer and making a solution to fit their needs and use case. Each team is doing something different. Junior design, on the other hand, is more competition-style. While it isn’t a true competition, every team has the same ruleset and objective and must build a machine to match.
For my semester, the department partnered with Holt Manufacturing to formulate an objective. One of the products Holt manufactures is a diesel fuel tank for their backup generator systems. The tank production involves inserting an inner tank into an outer shell. This was the inspiration for this semester’s objective, which I will roughly outline below.
Import the aluminum tank and team-designed outer box.
Move both parts to an assembly zone. Flip the outer box upright.
Nest both parts together, this must happen plumb and level without dropping the block.
Move both parts to an export zone.
Repeat a minimum of 60 times in an hour for under $500.
I was the CAD lead for my team and also spearheaded the electro-mechanical subsystems integration. This project played to my strengths due to my knowledge of OnShape and experience with both mechanical components and electronics/microcontrollers.
Ultimately, our team completed 135 successful assemblies during the one hour test. We had no major issues; only 2 user errors and 6 instances where the block dropped a little over the 0.25” limit. We also came in well under budget at $330.16.
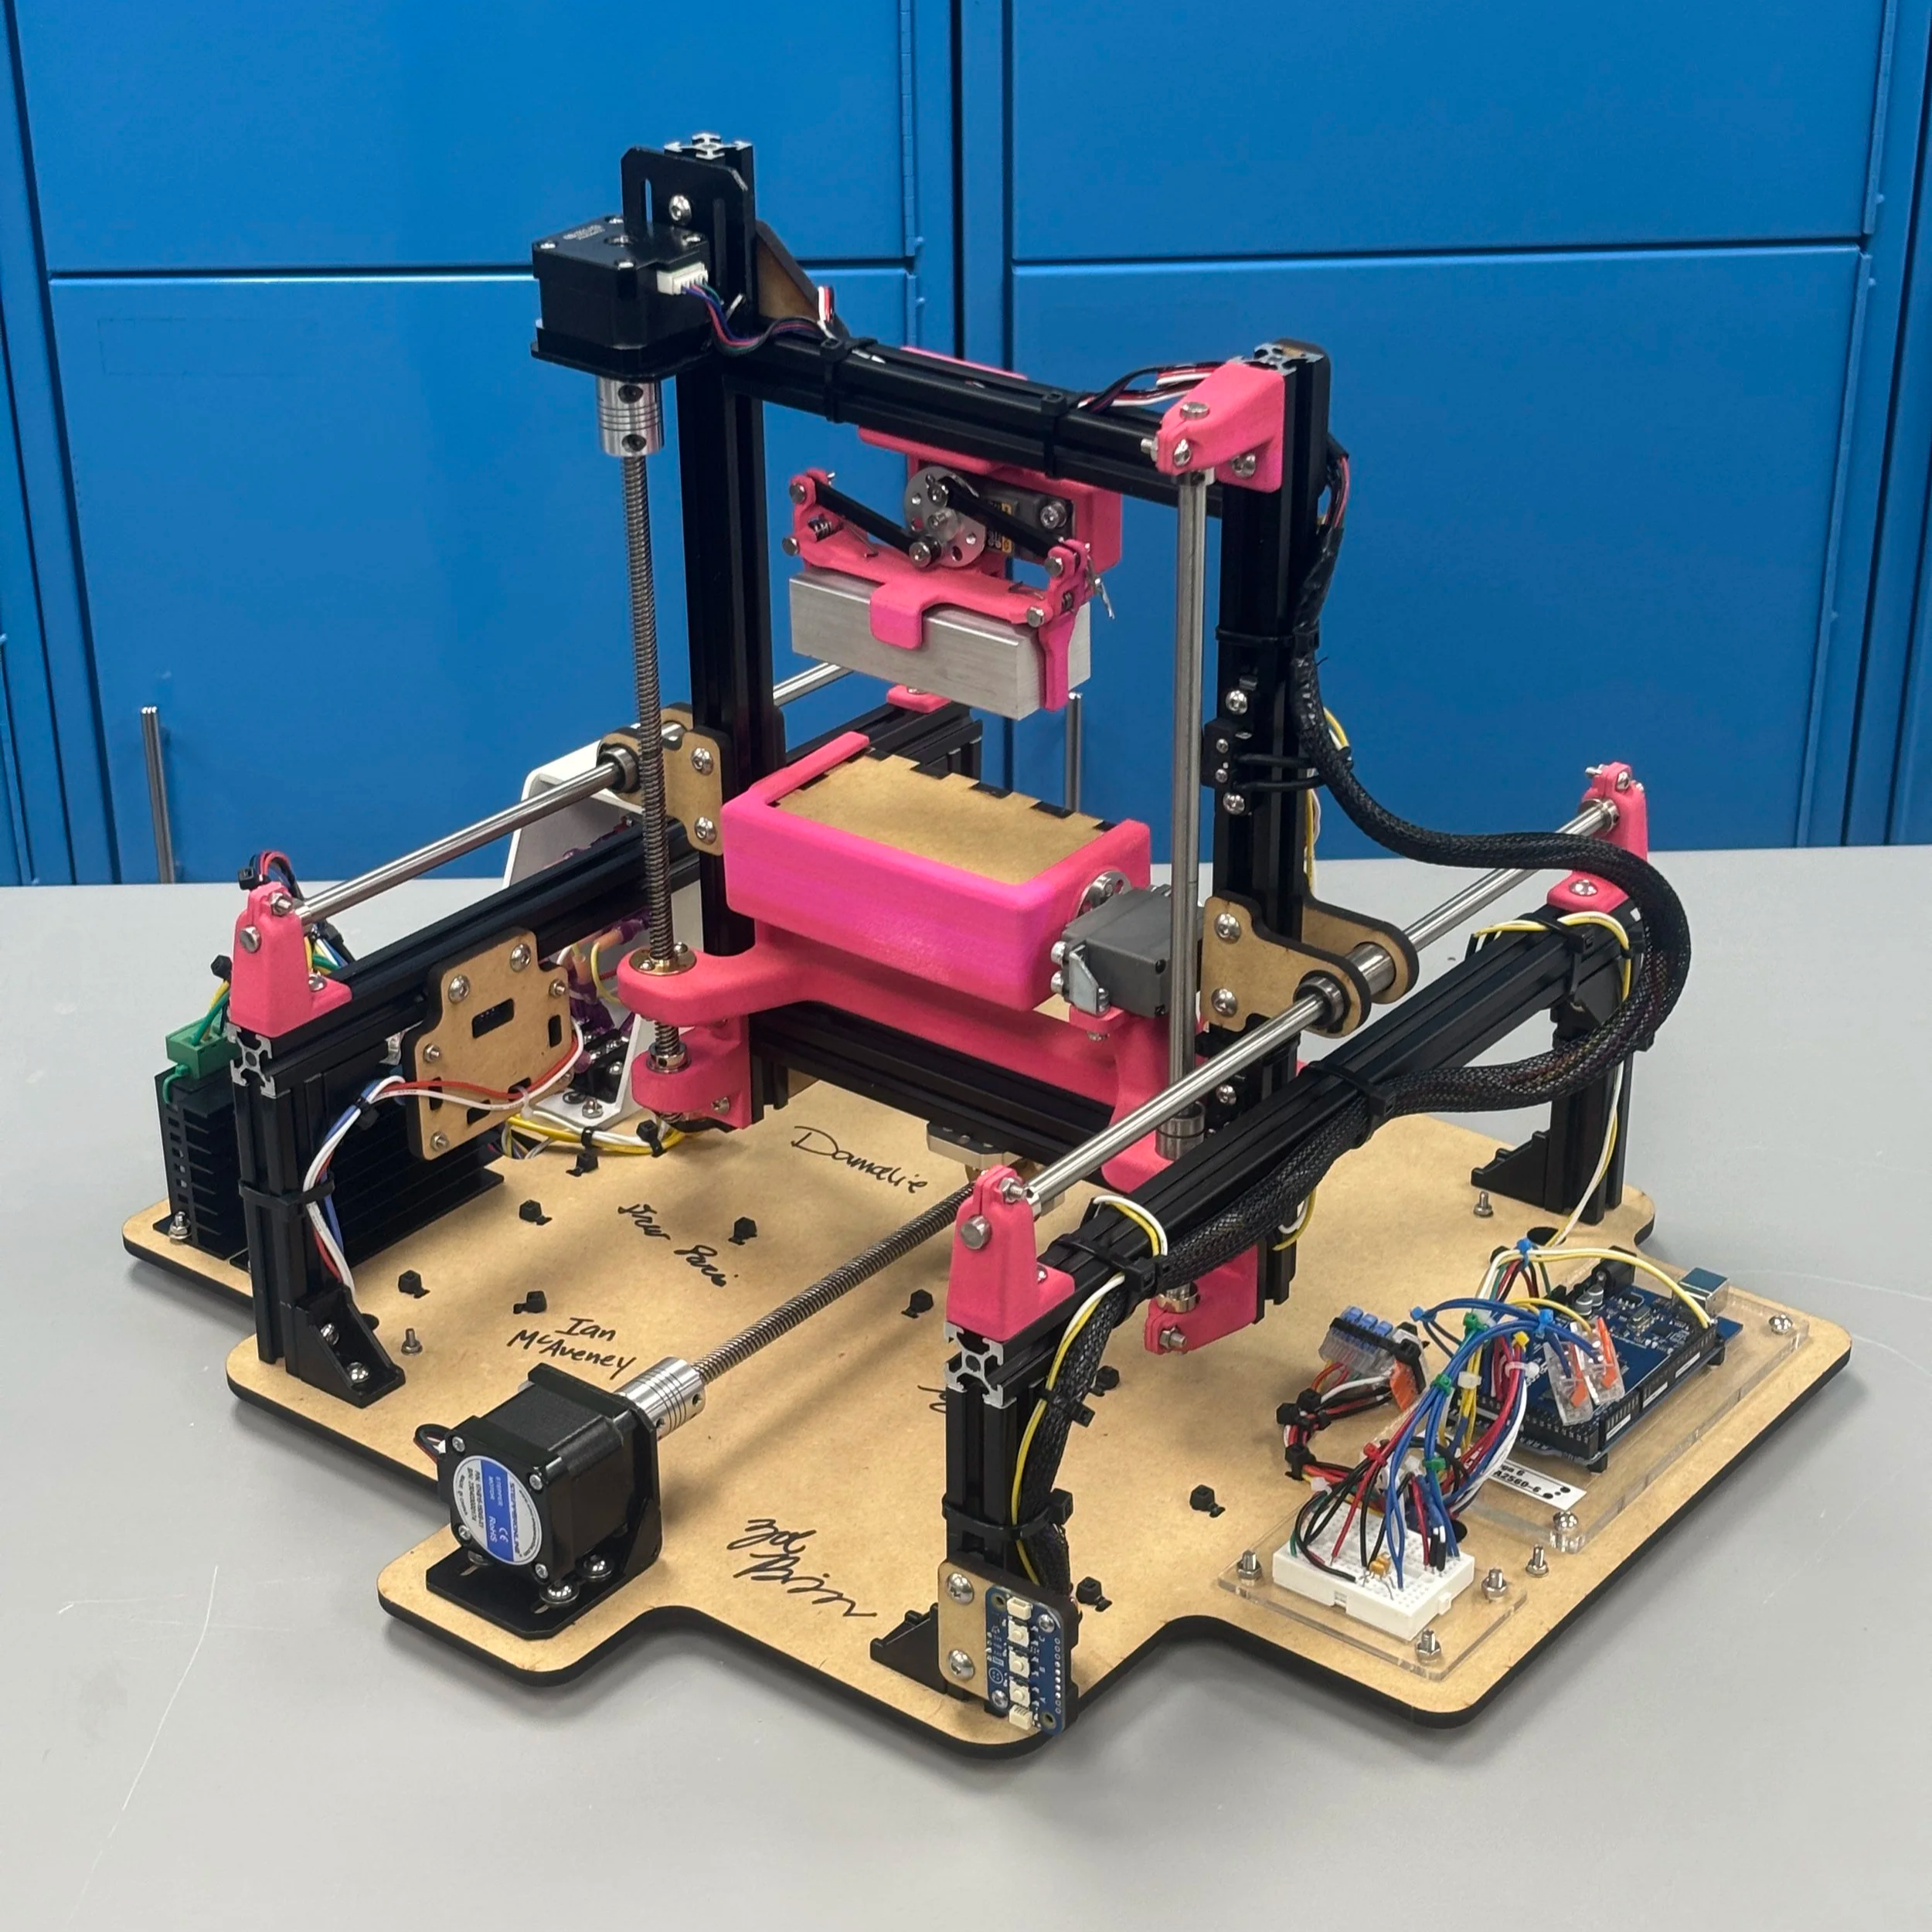
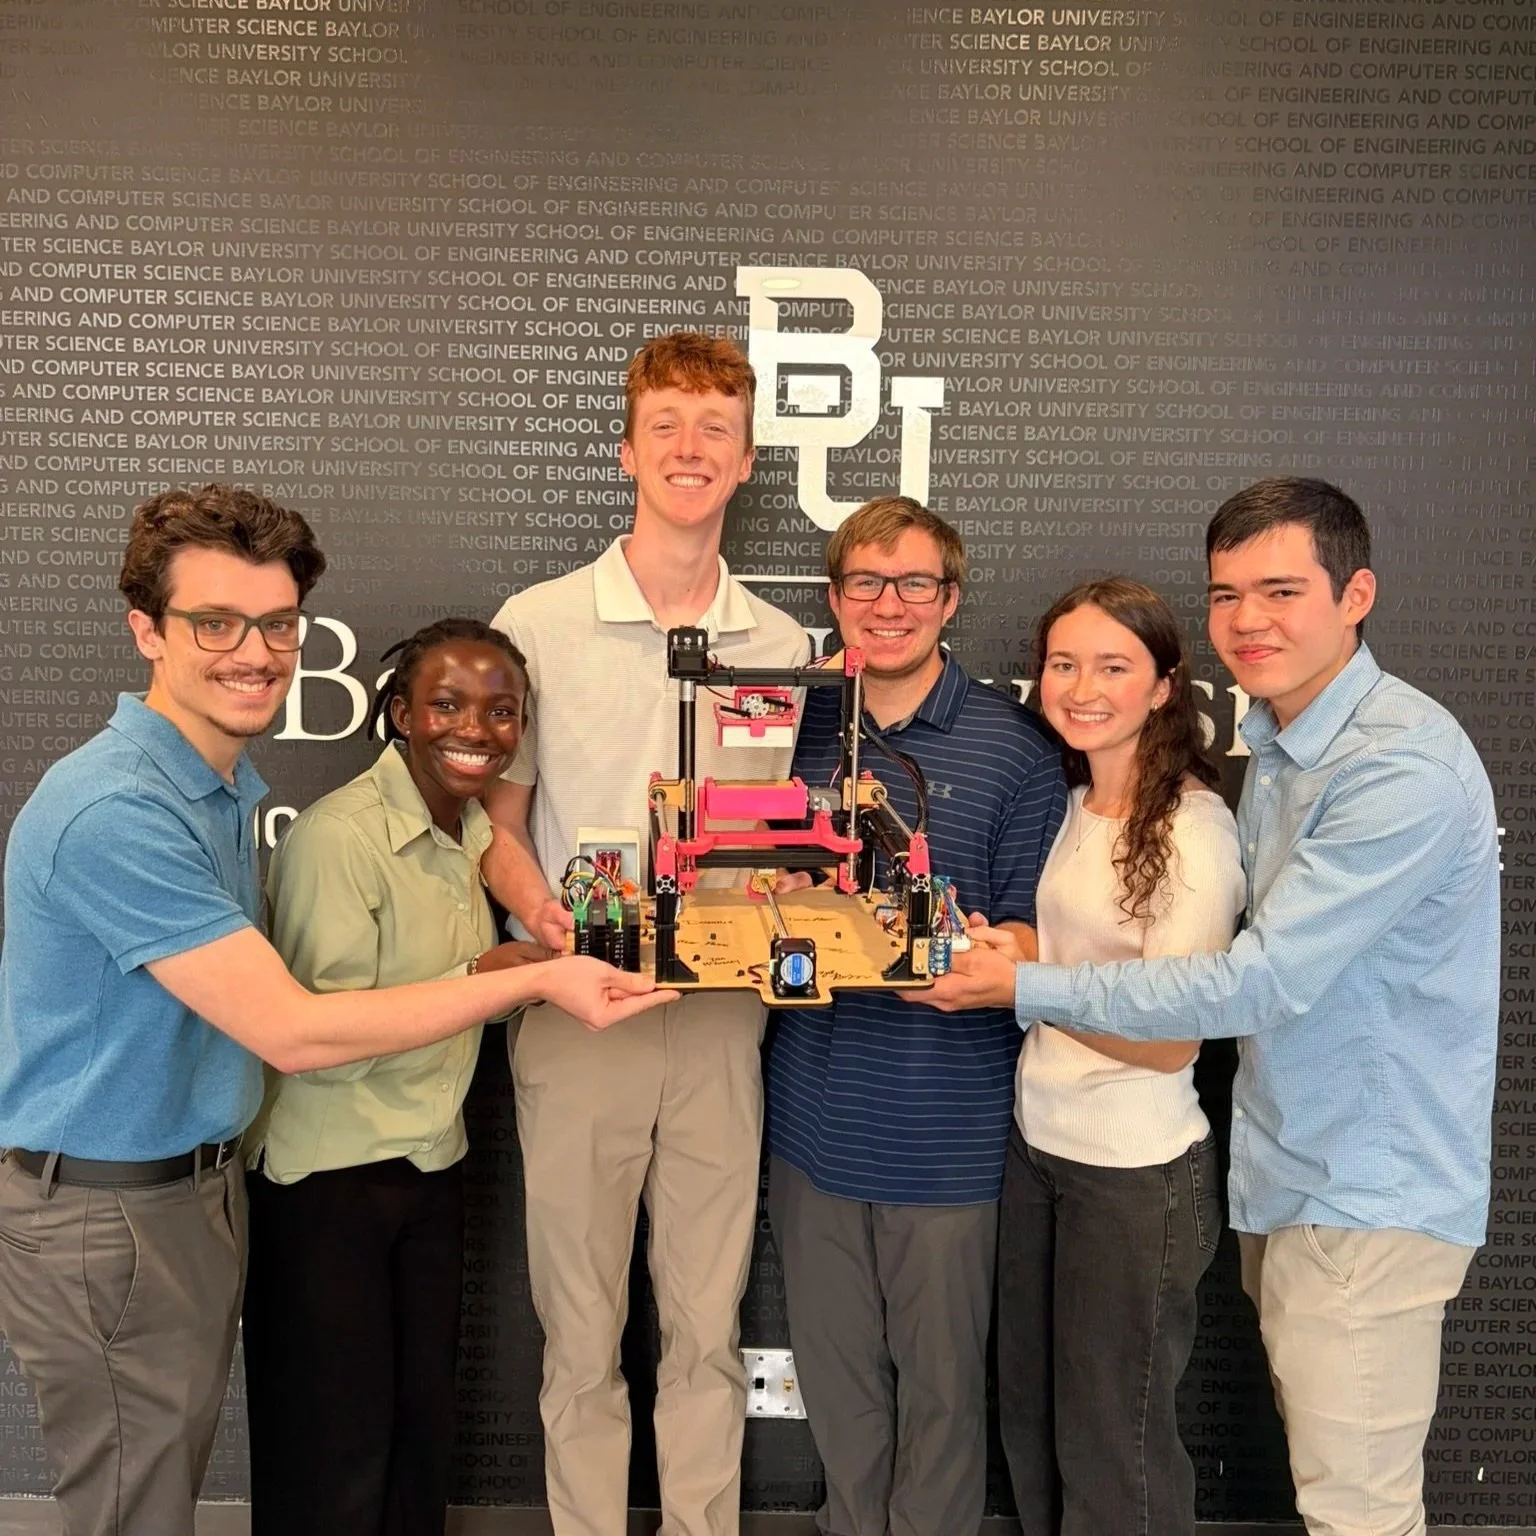
Our final project, “Box^2”! Thank you Damalie (EE), Tannar (EE), Ian (ME), Drew (ME), and Zoe (ME) for an awesome semester and being such stellar teammates.
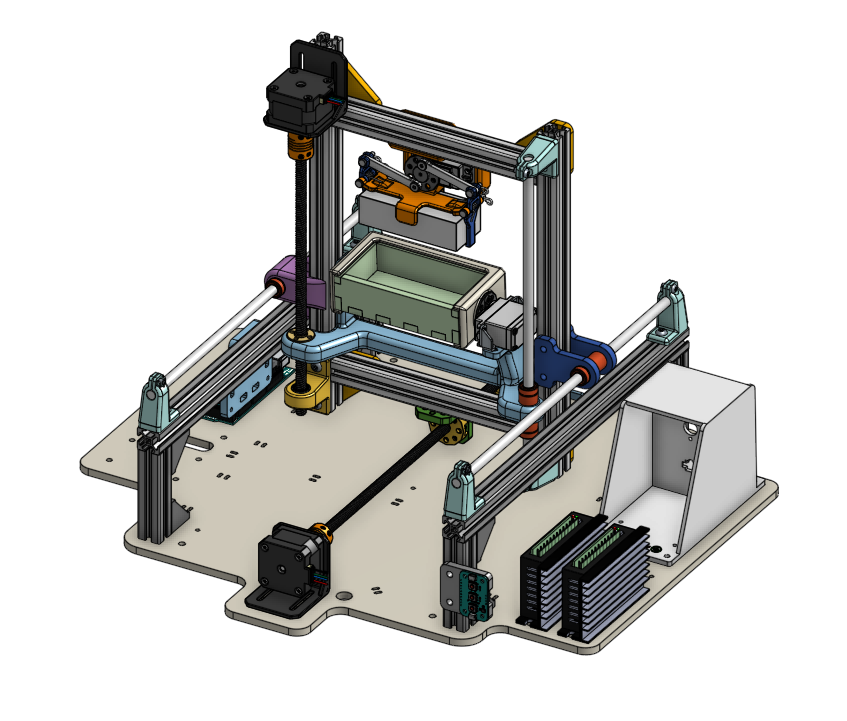
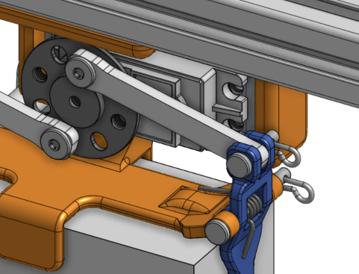
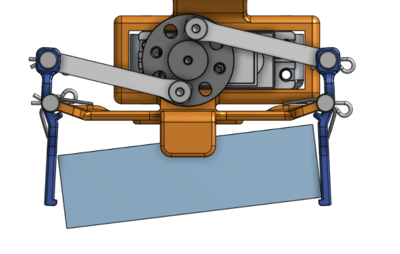
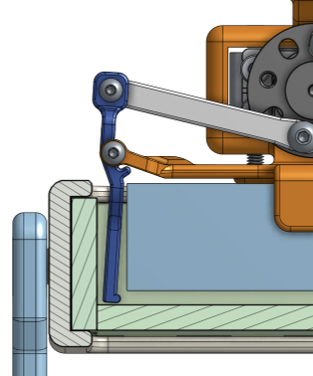
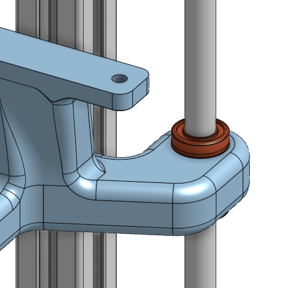
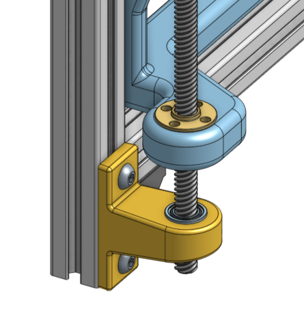
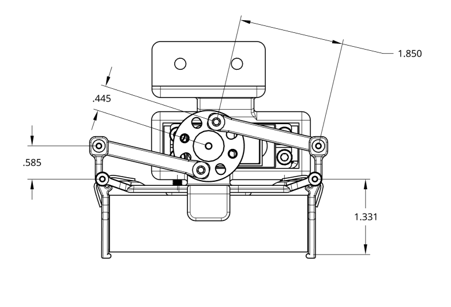
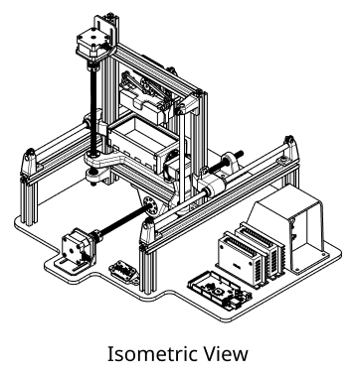
Above are some samples of the CAD from our team. The complete model can be viewed with our public OnShape link:
https://cad.onshape.com/documents/e9825b7f9614ee7664ff986b/w/9ebb801252e91e8fd85fd7d2/e/80fb804a65bcc43ccf641764?renderMode=0&uiState=6ab74eb212d2df4f7179688e
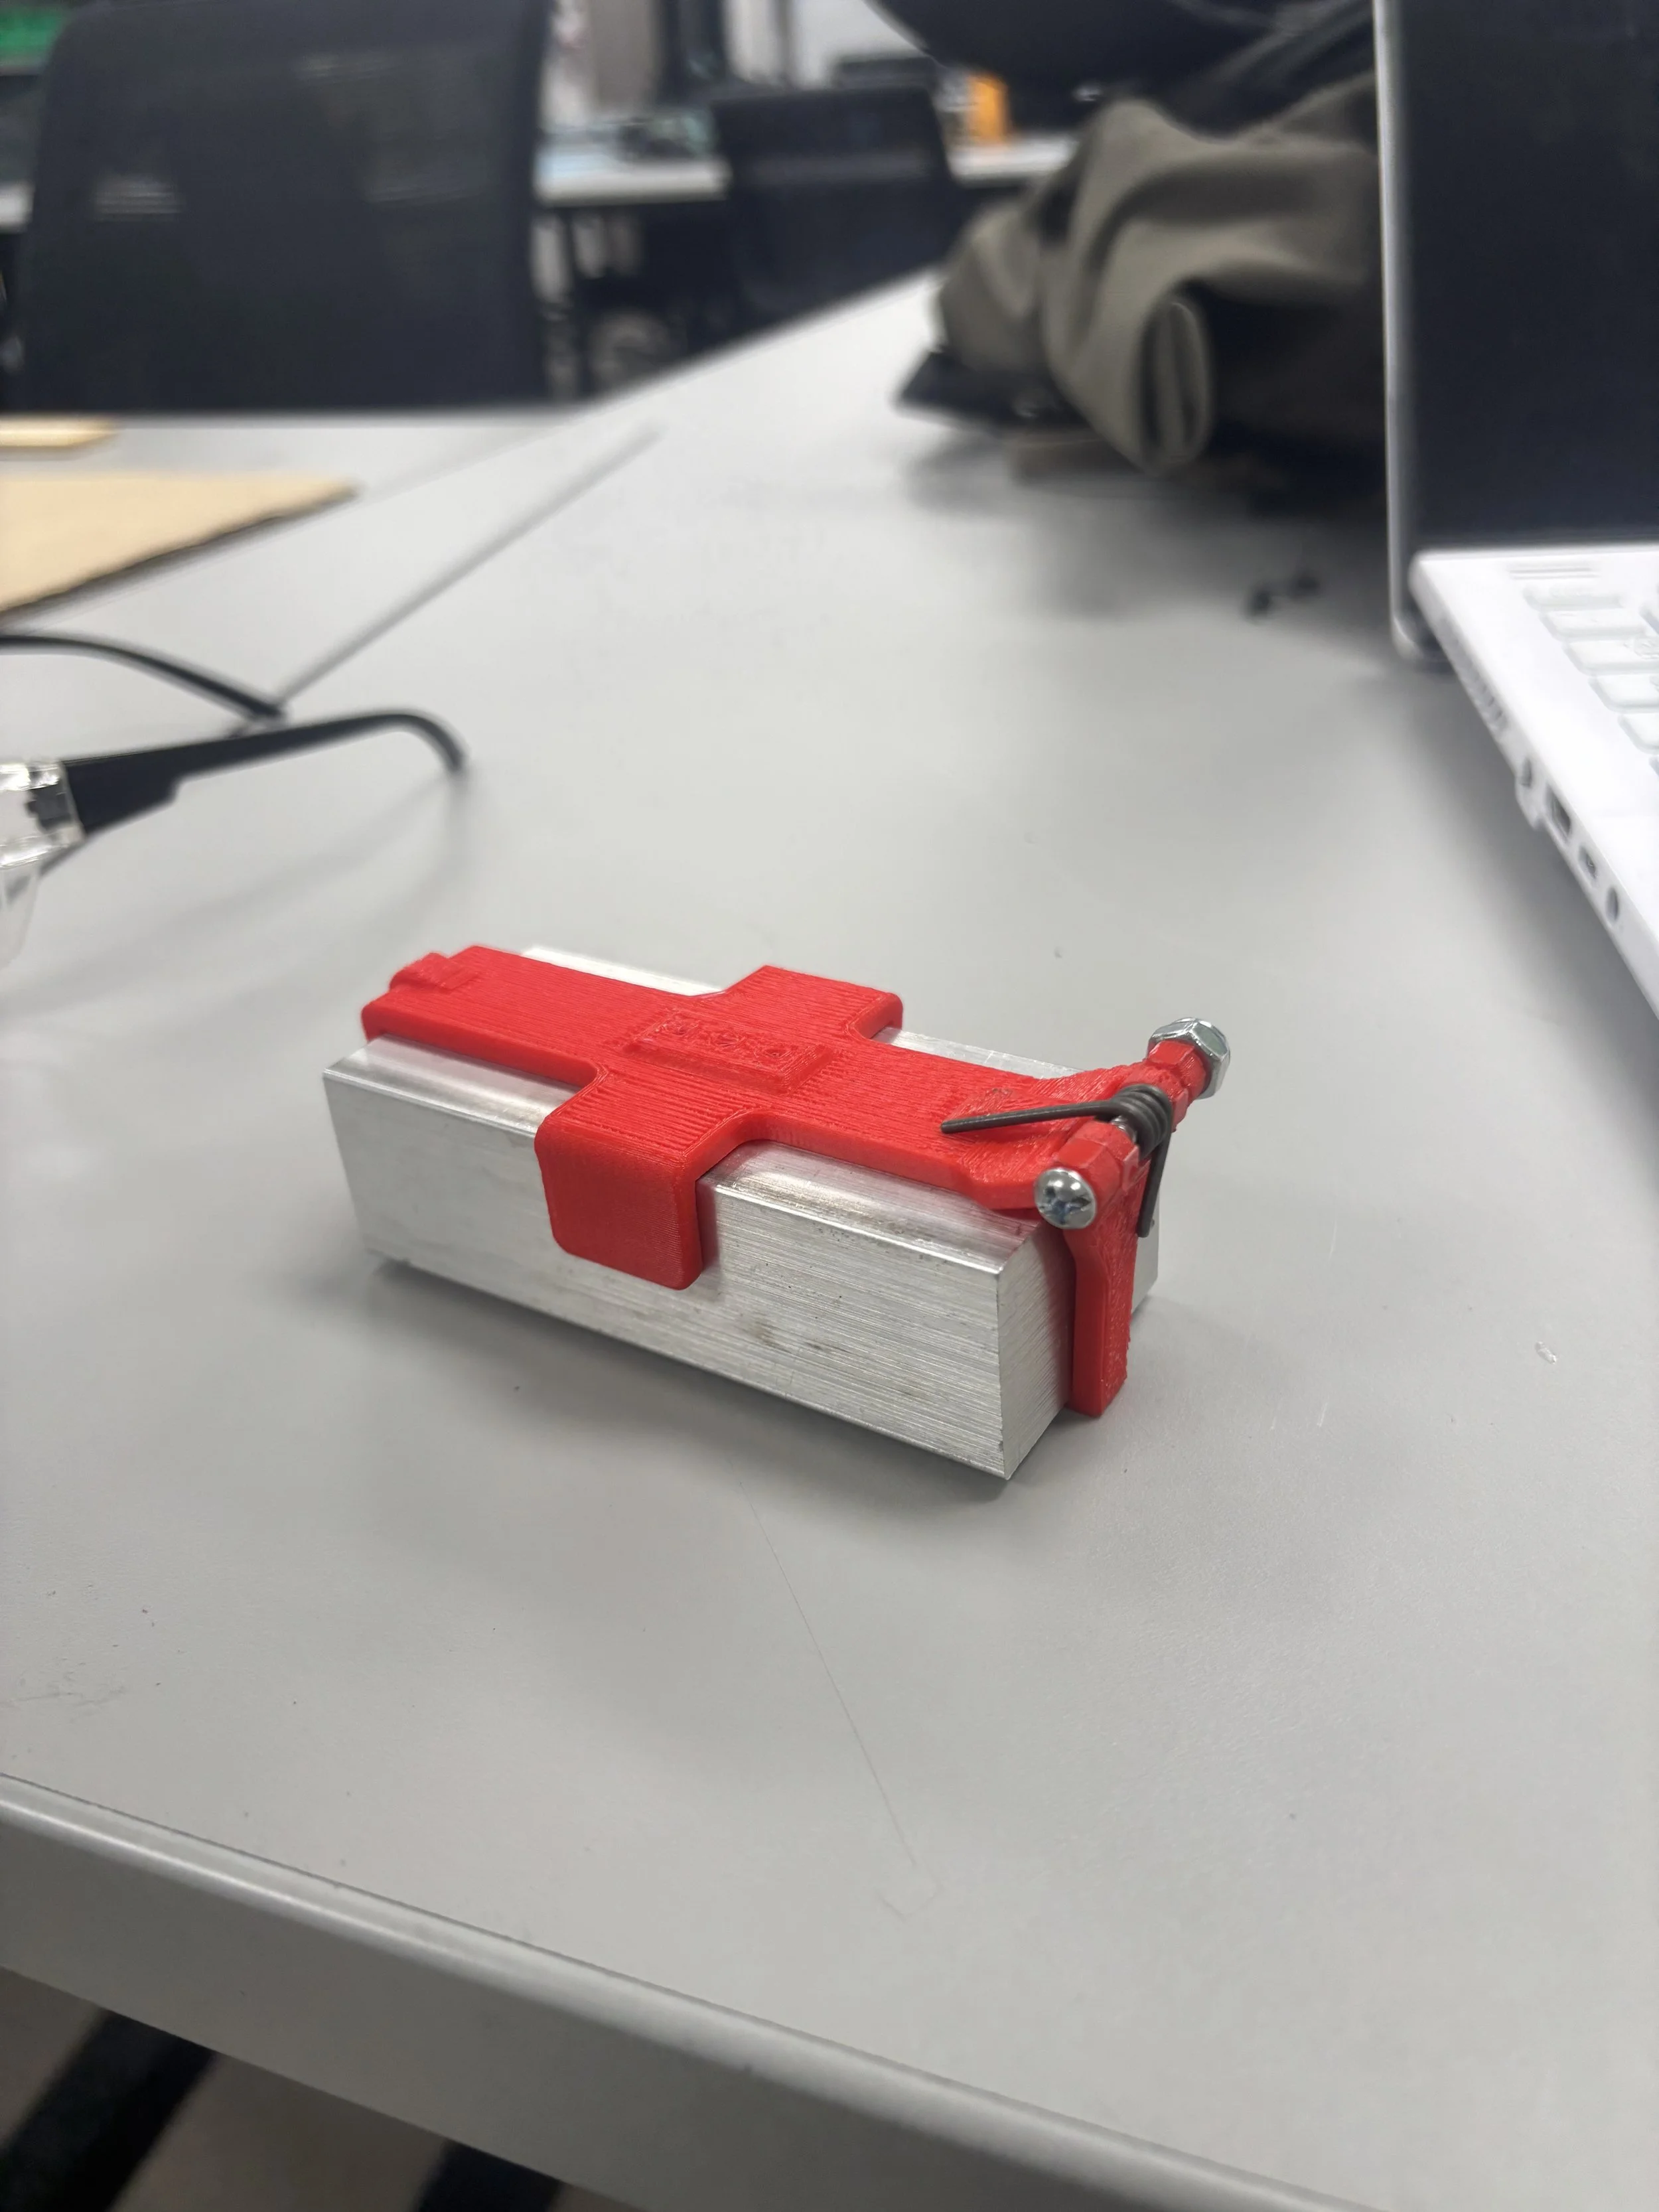
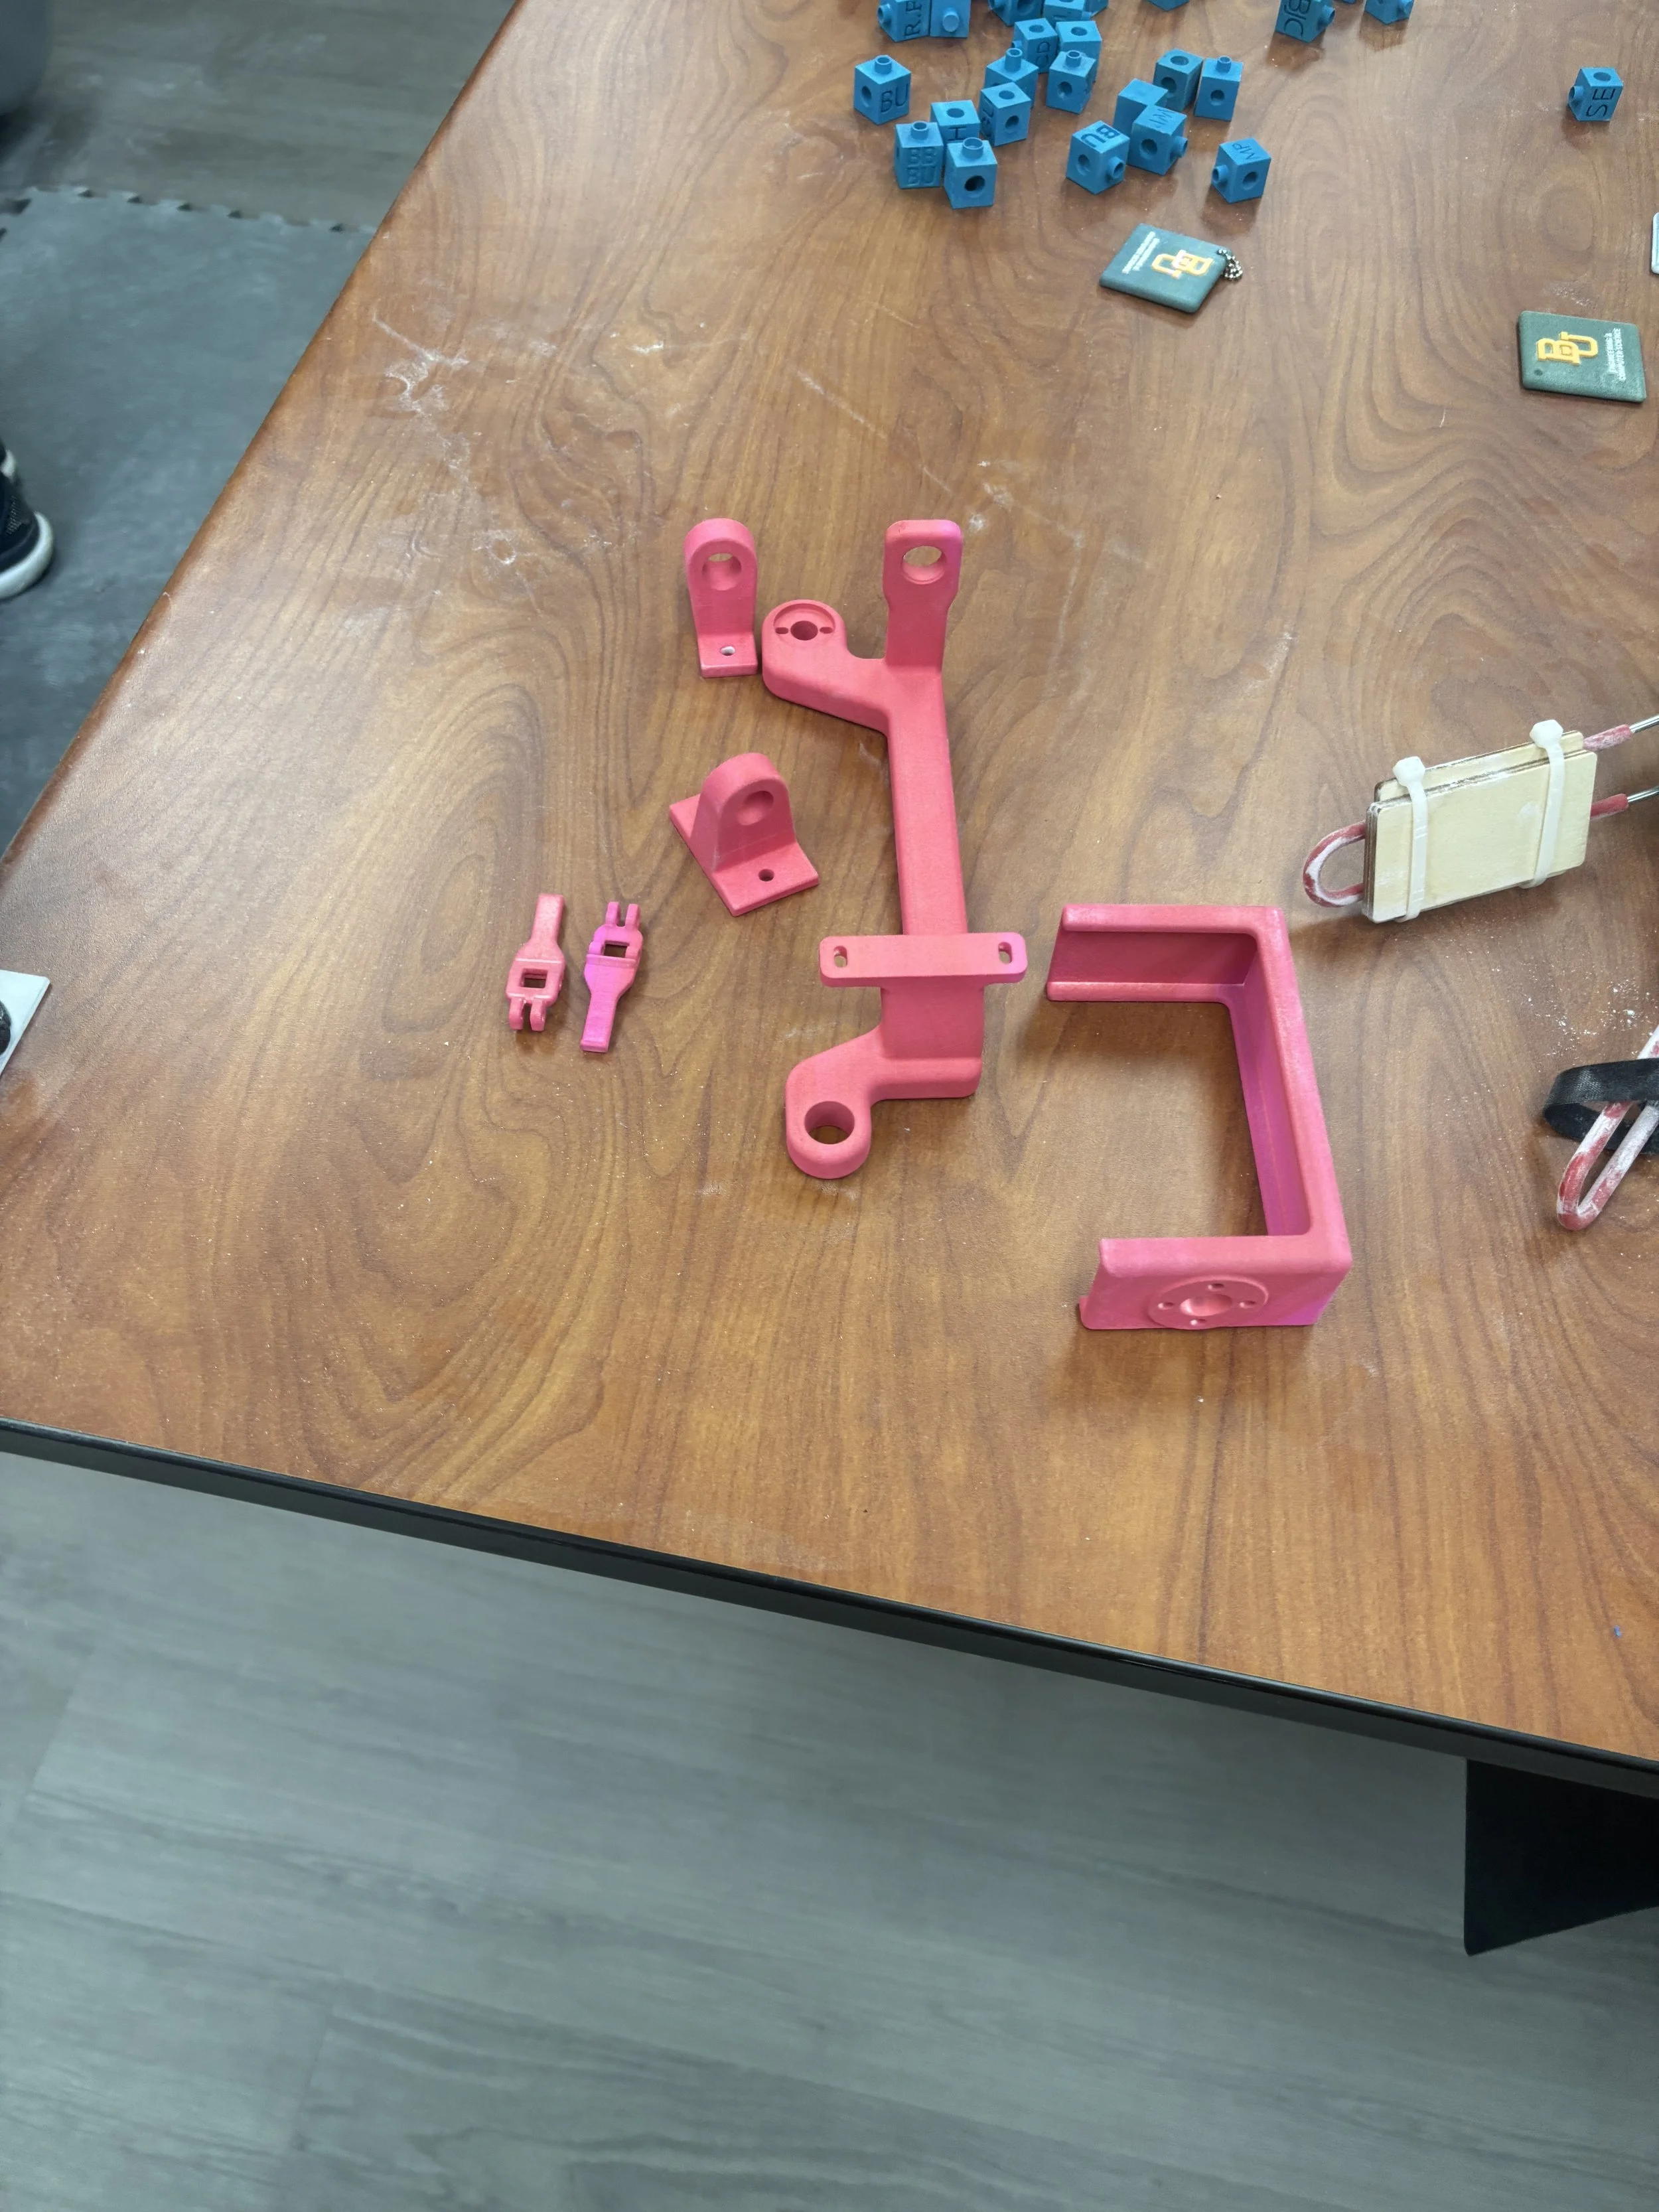
Below are some of our 3D printed prototypes (FDM PLA) and final parts (MJF nylon).
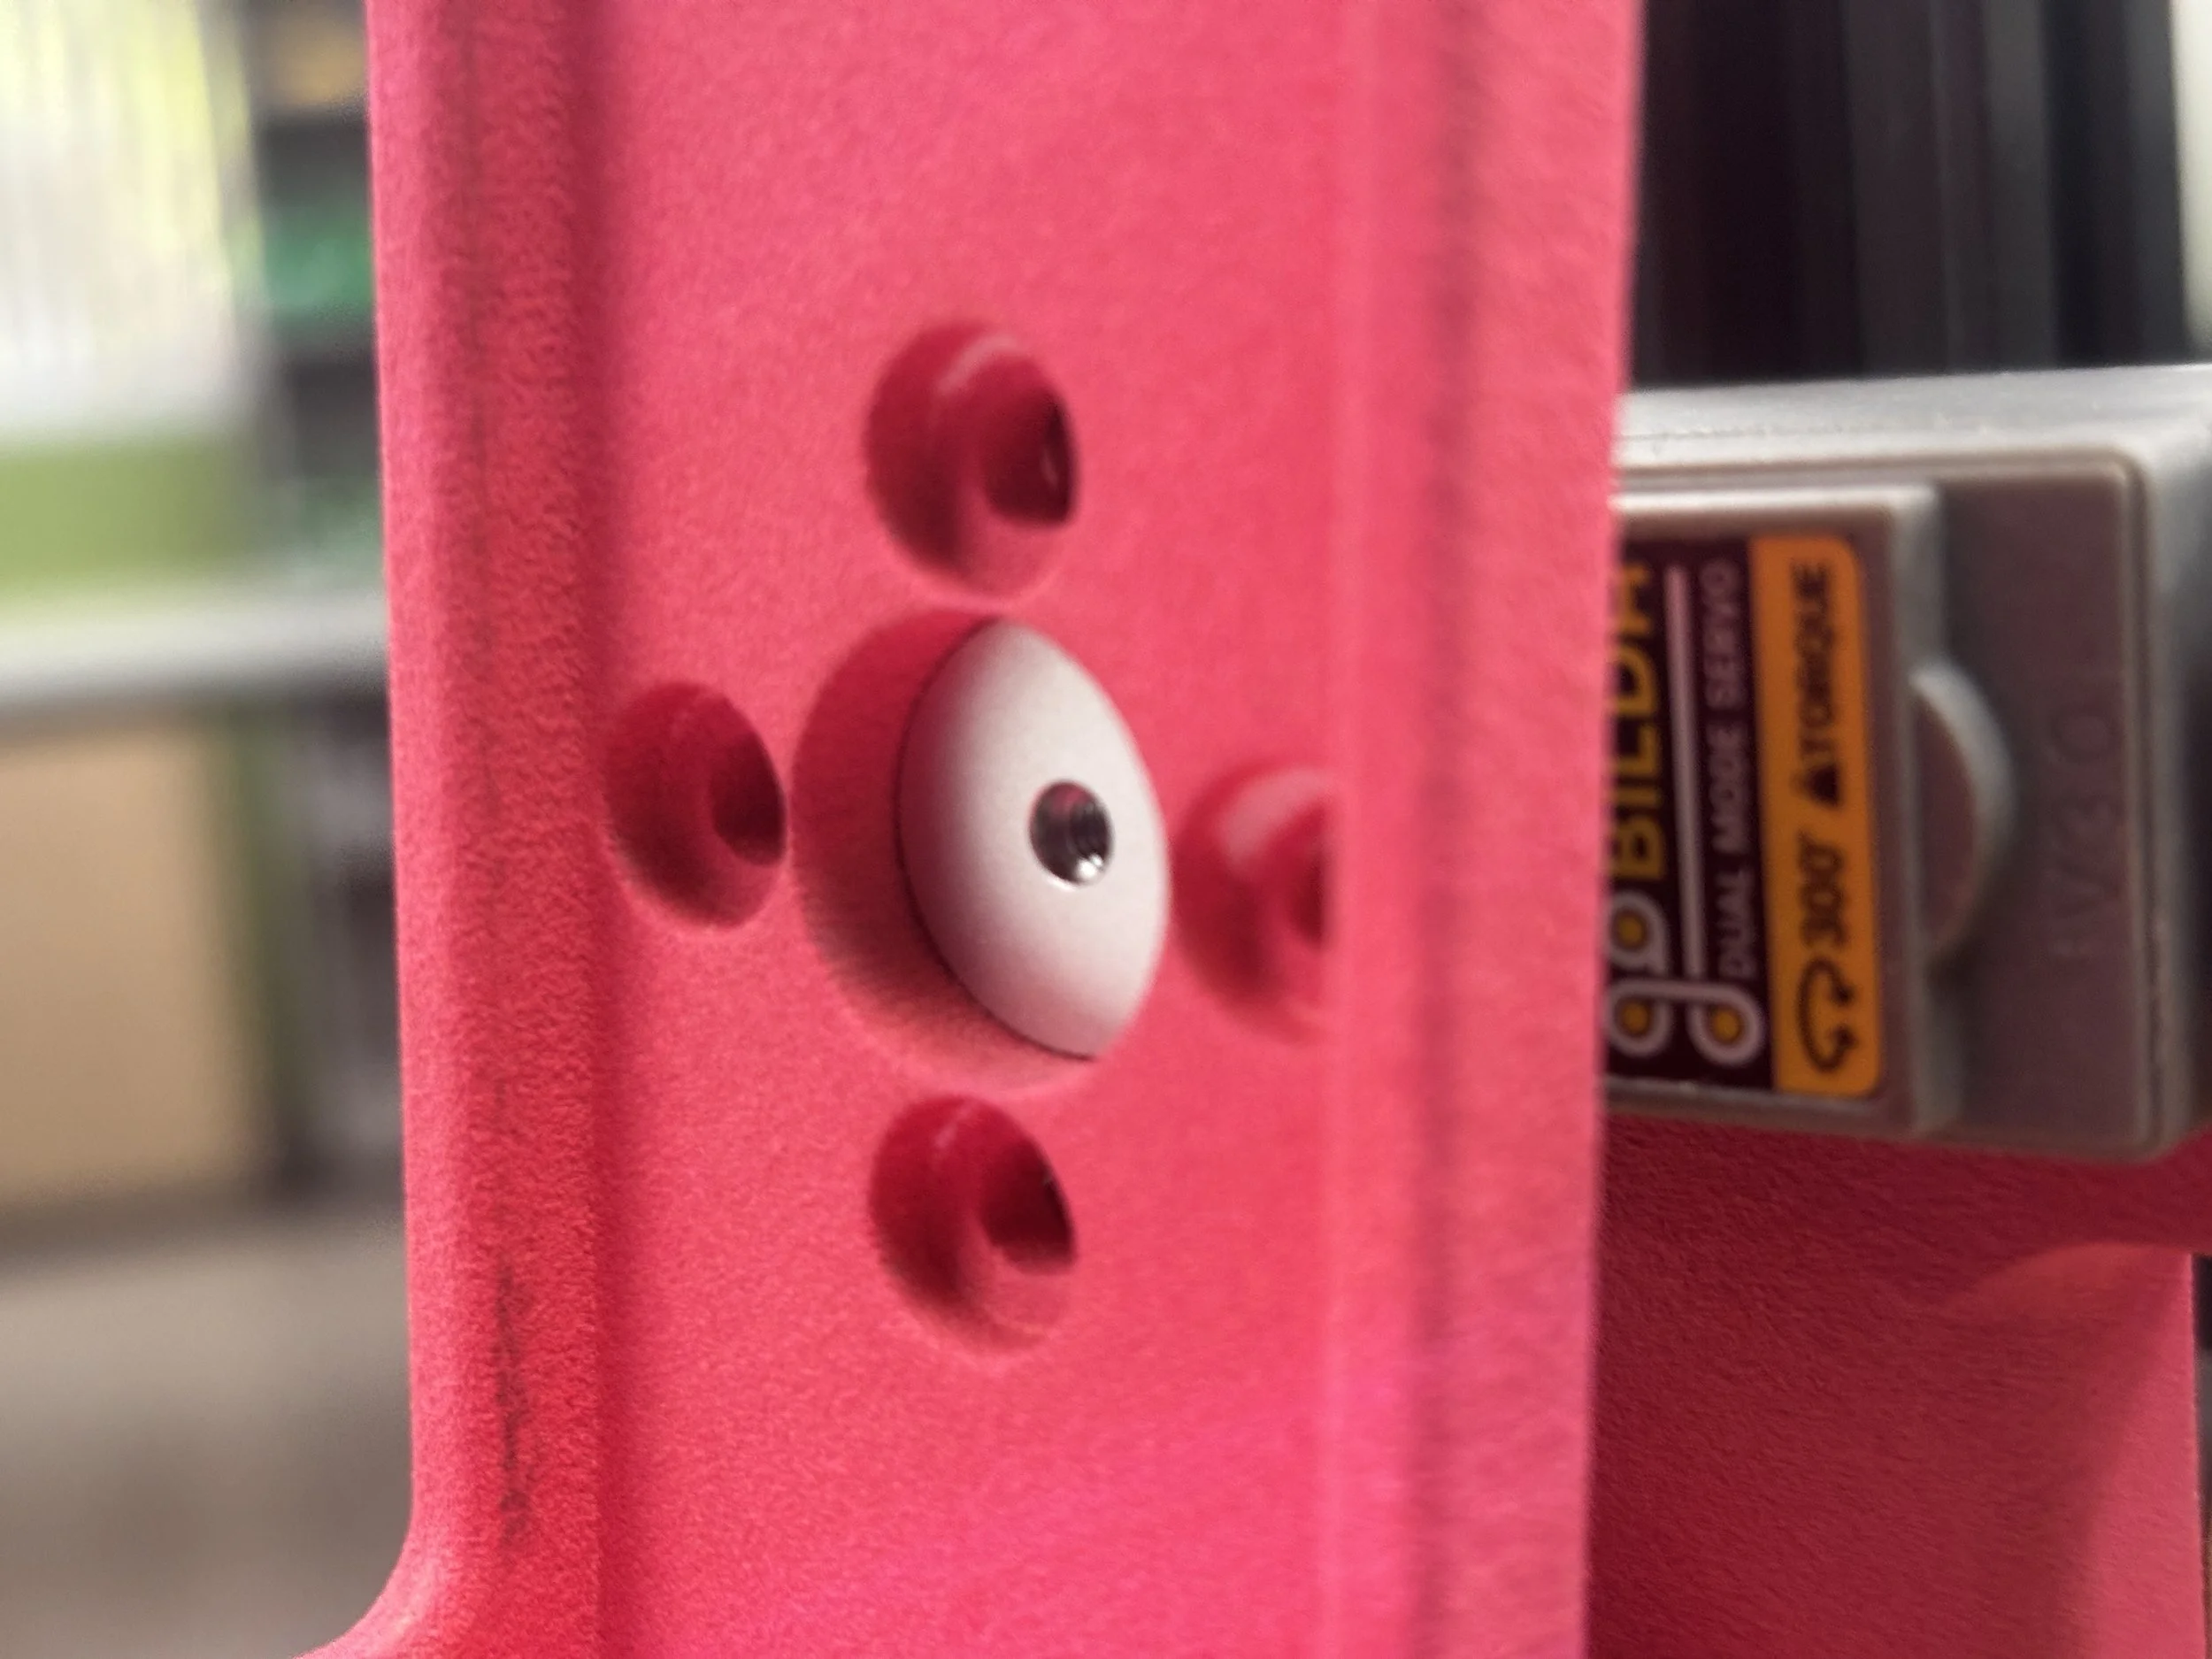
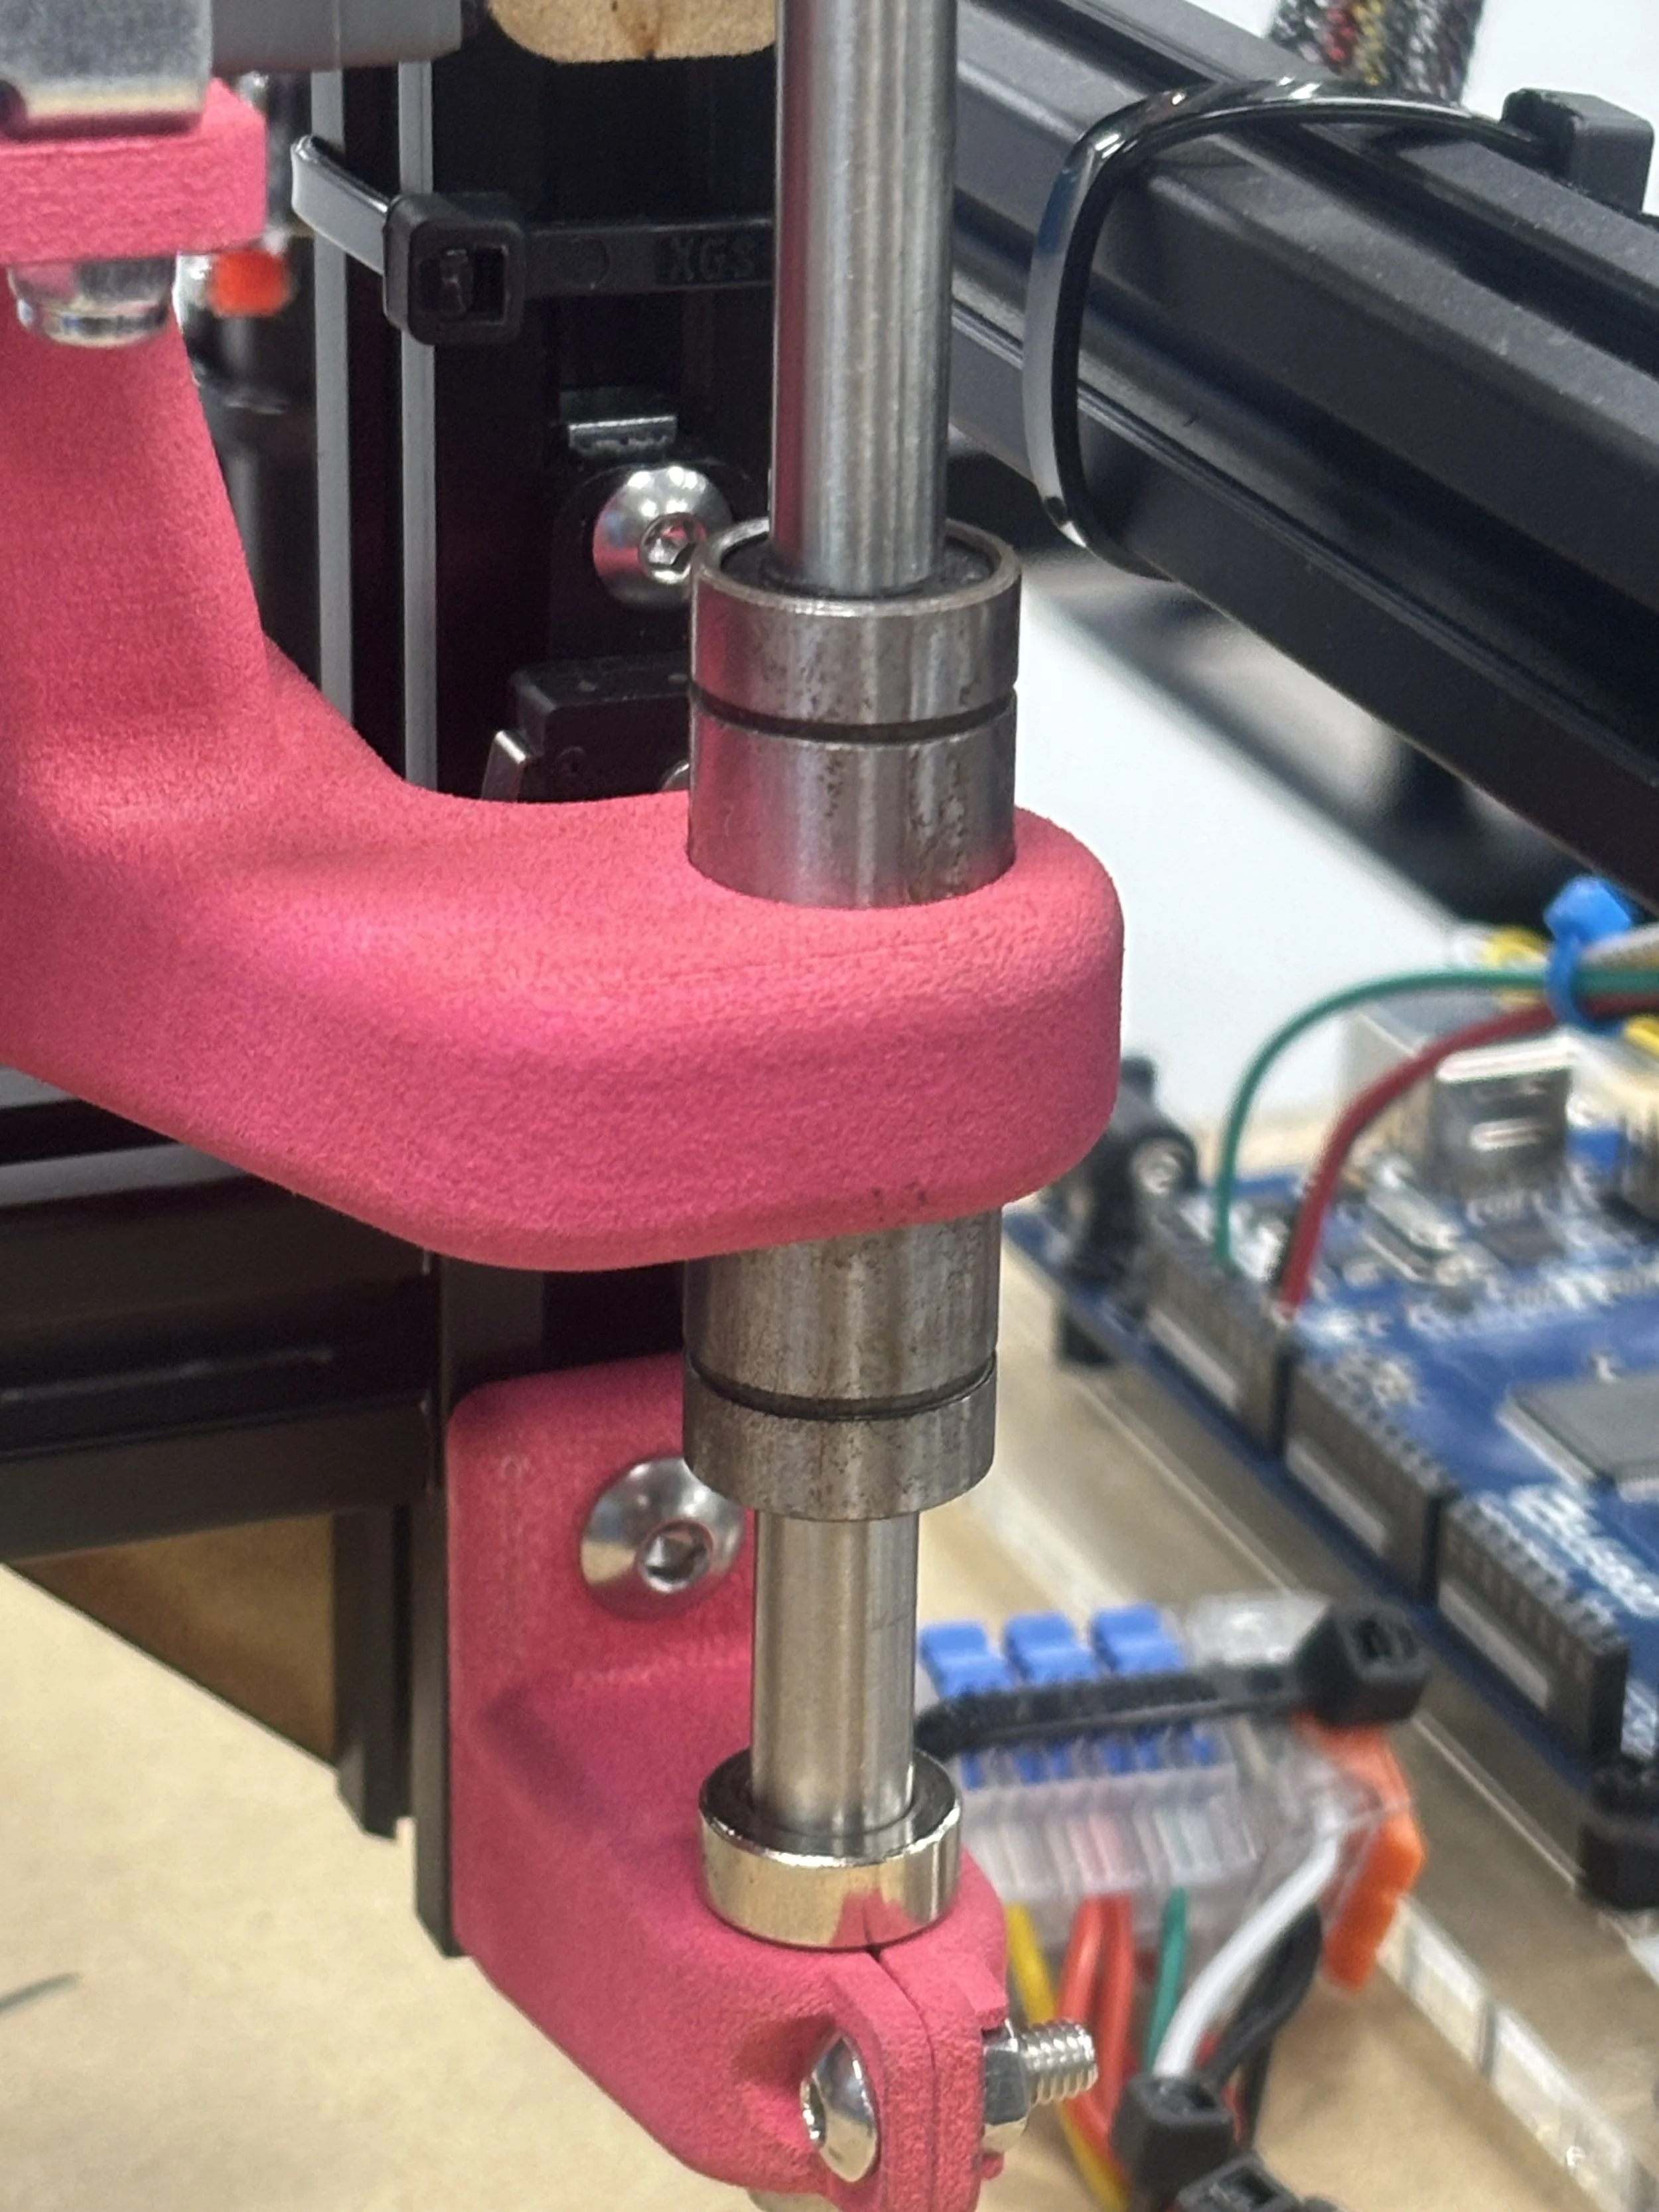
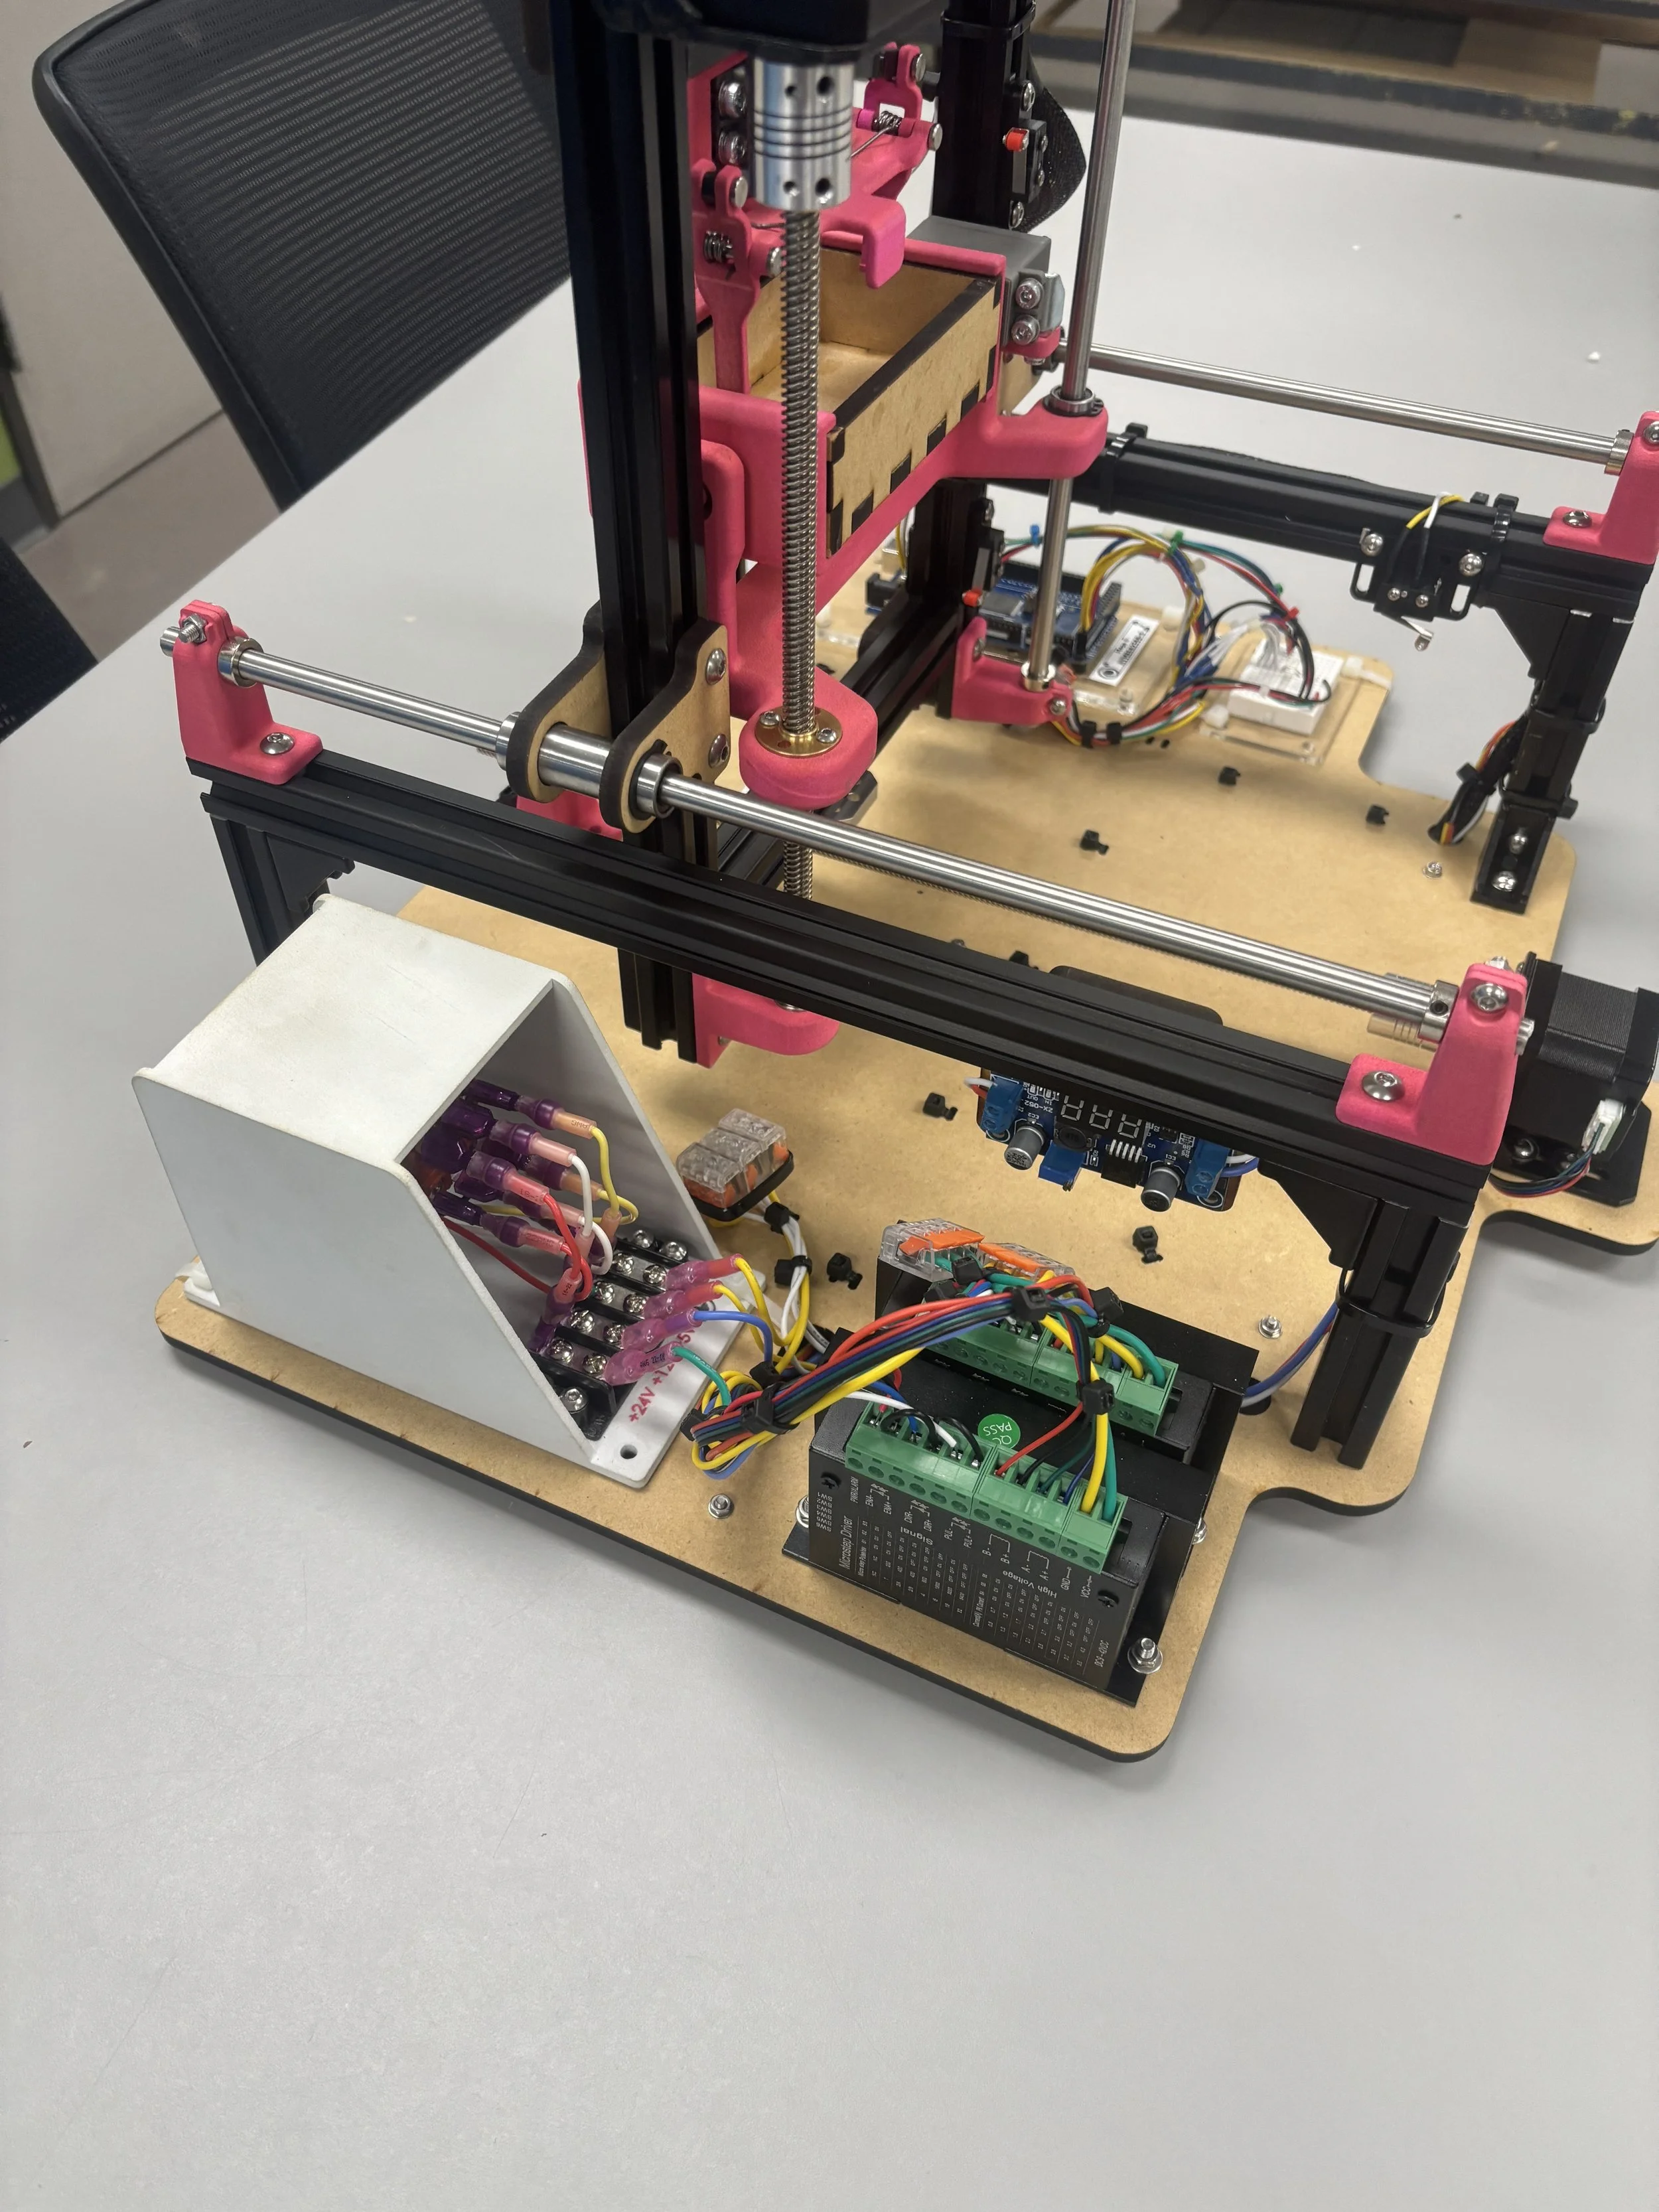
Finally, below are some images from electrical-mechanical integration and final assembly. Damalie and I spent hours building the wire loom and terminating all the connections in the right locations. We’re particularly proud of how we managed to secure and hide as much of the wiring as possible.
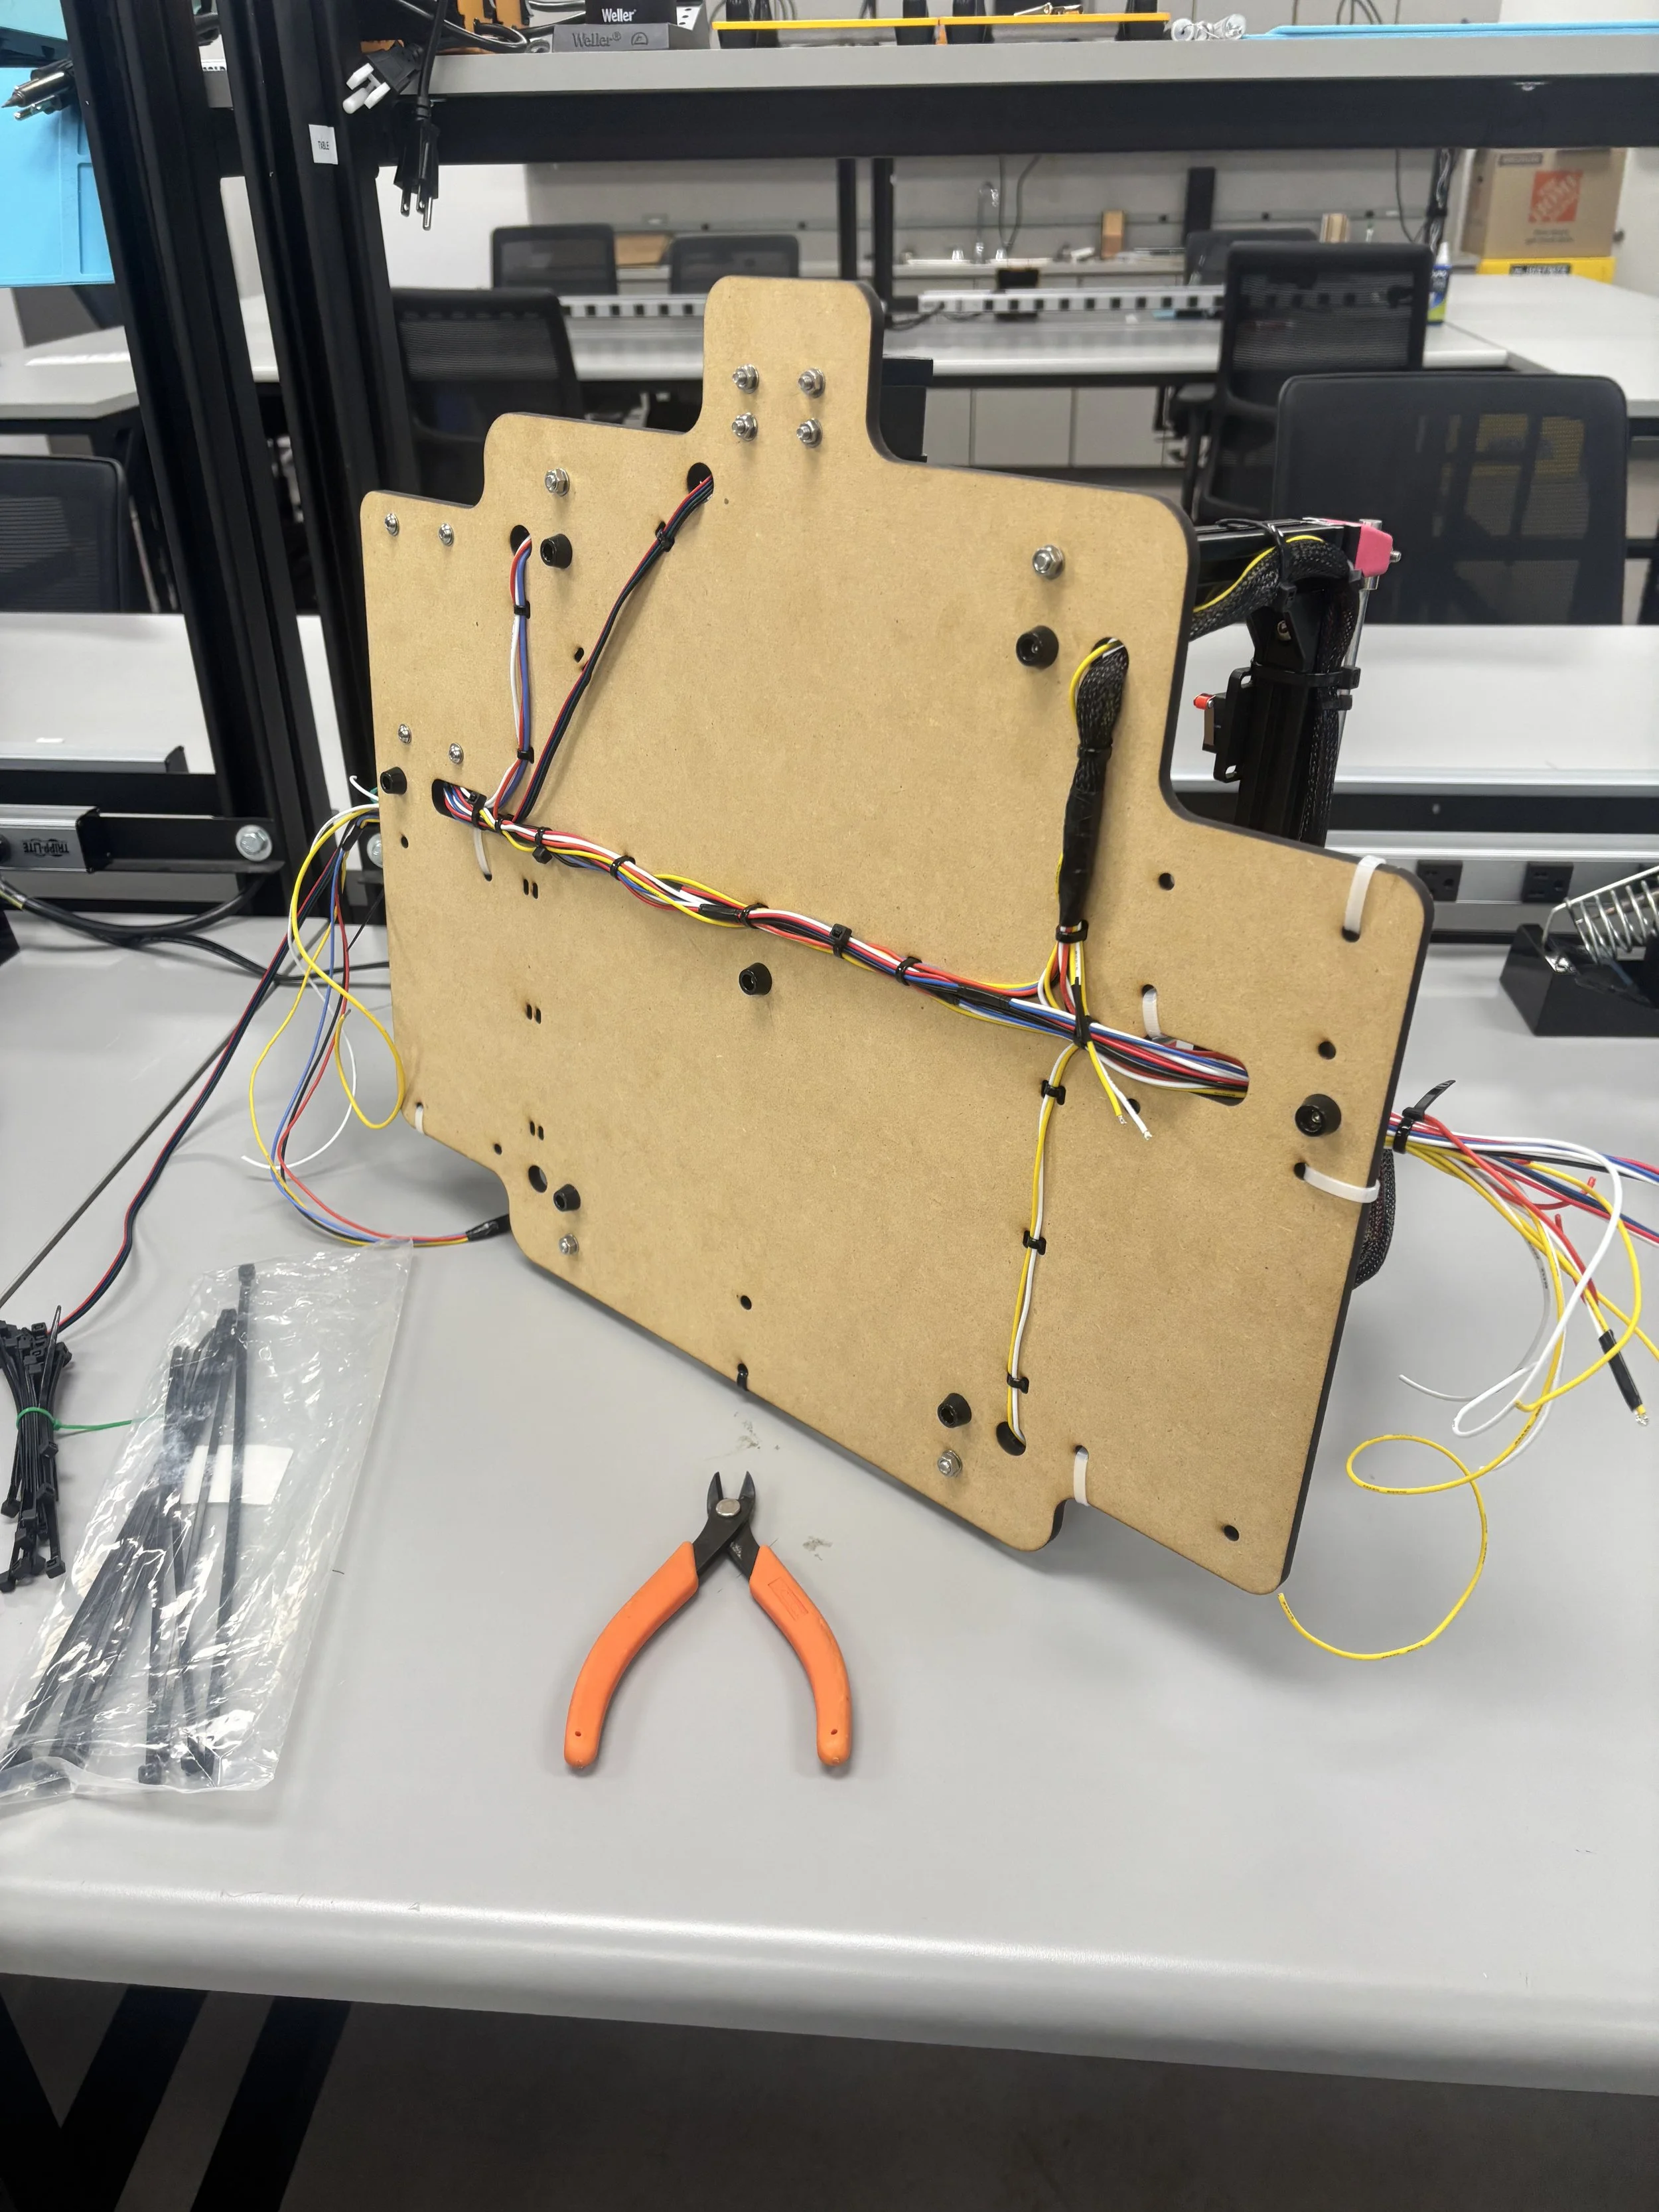
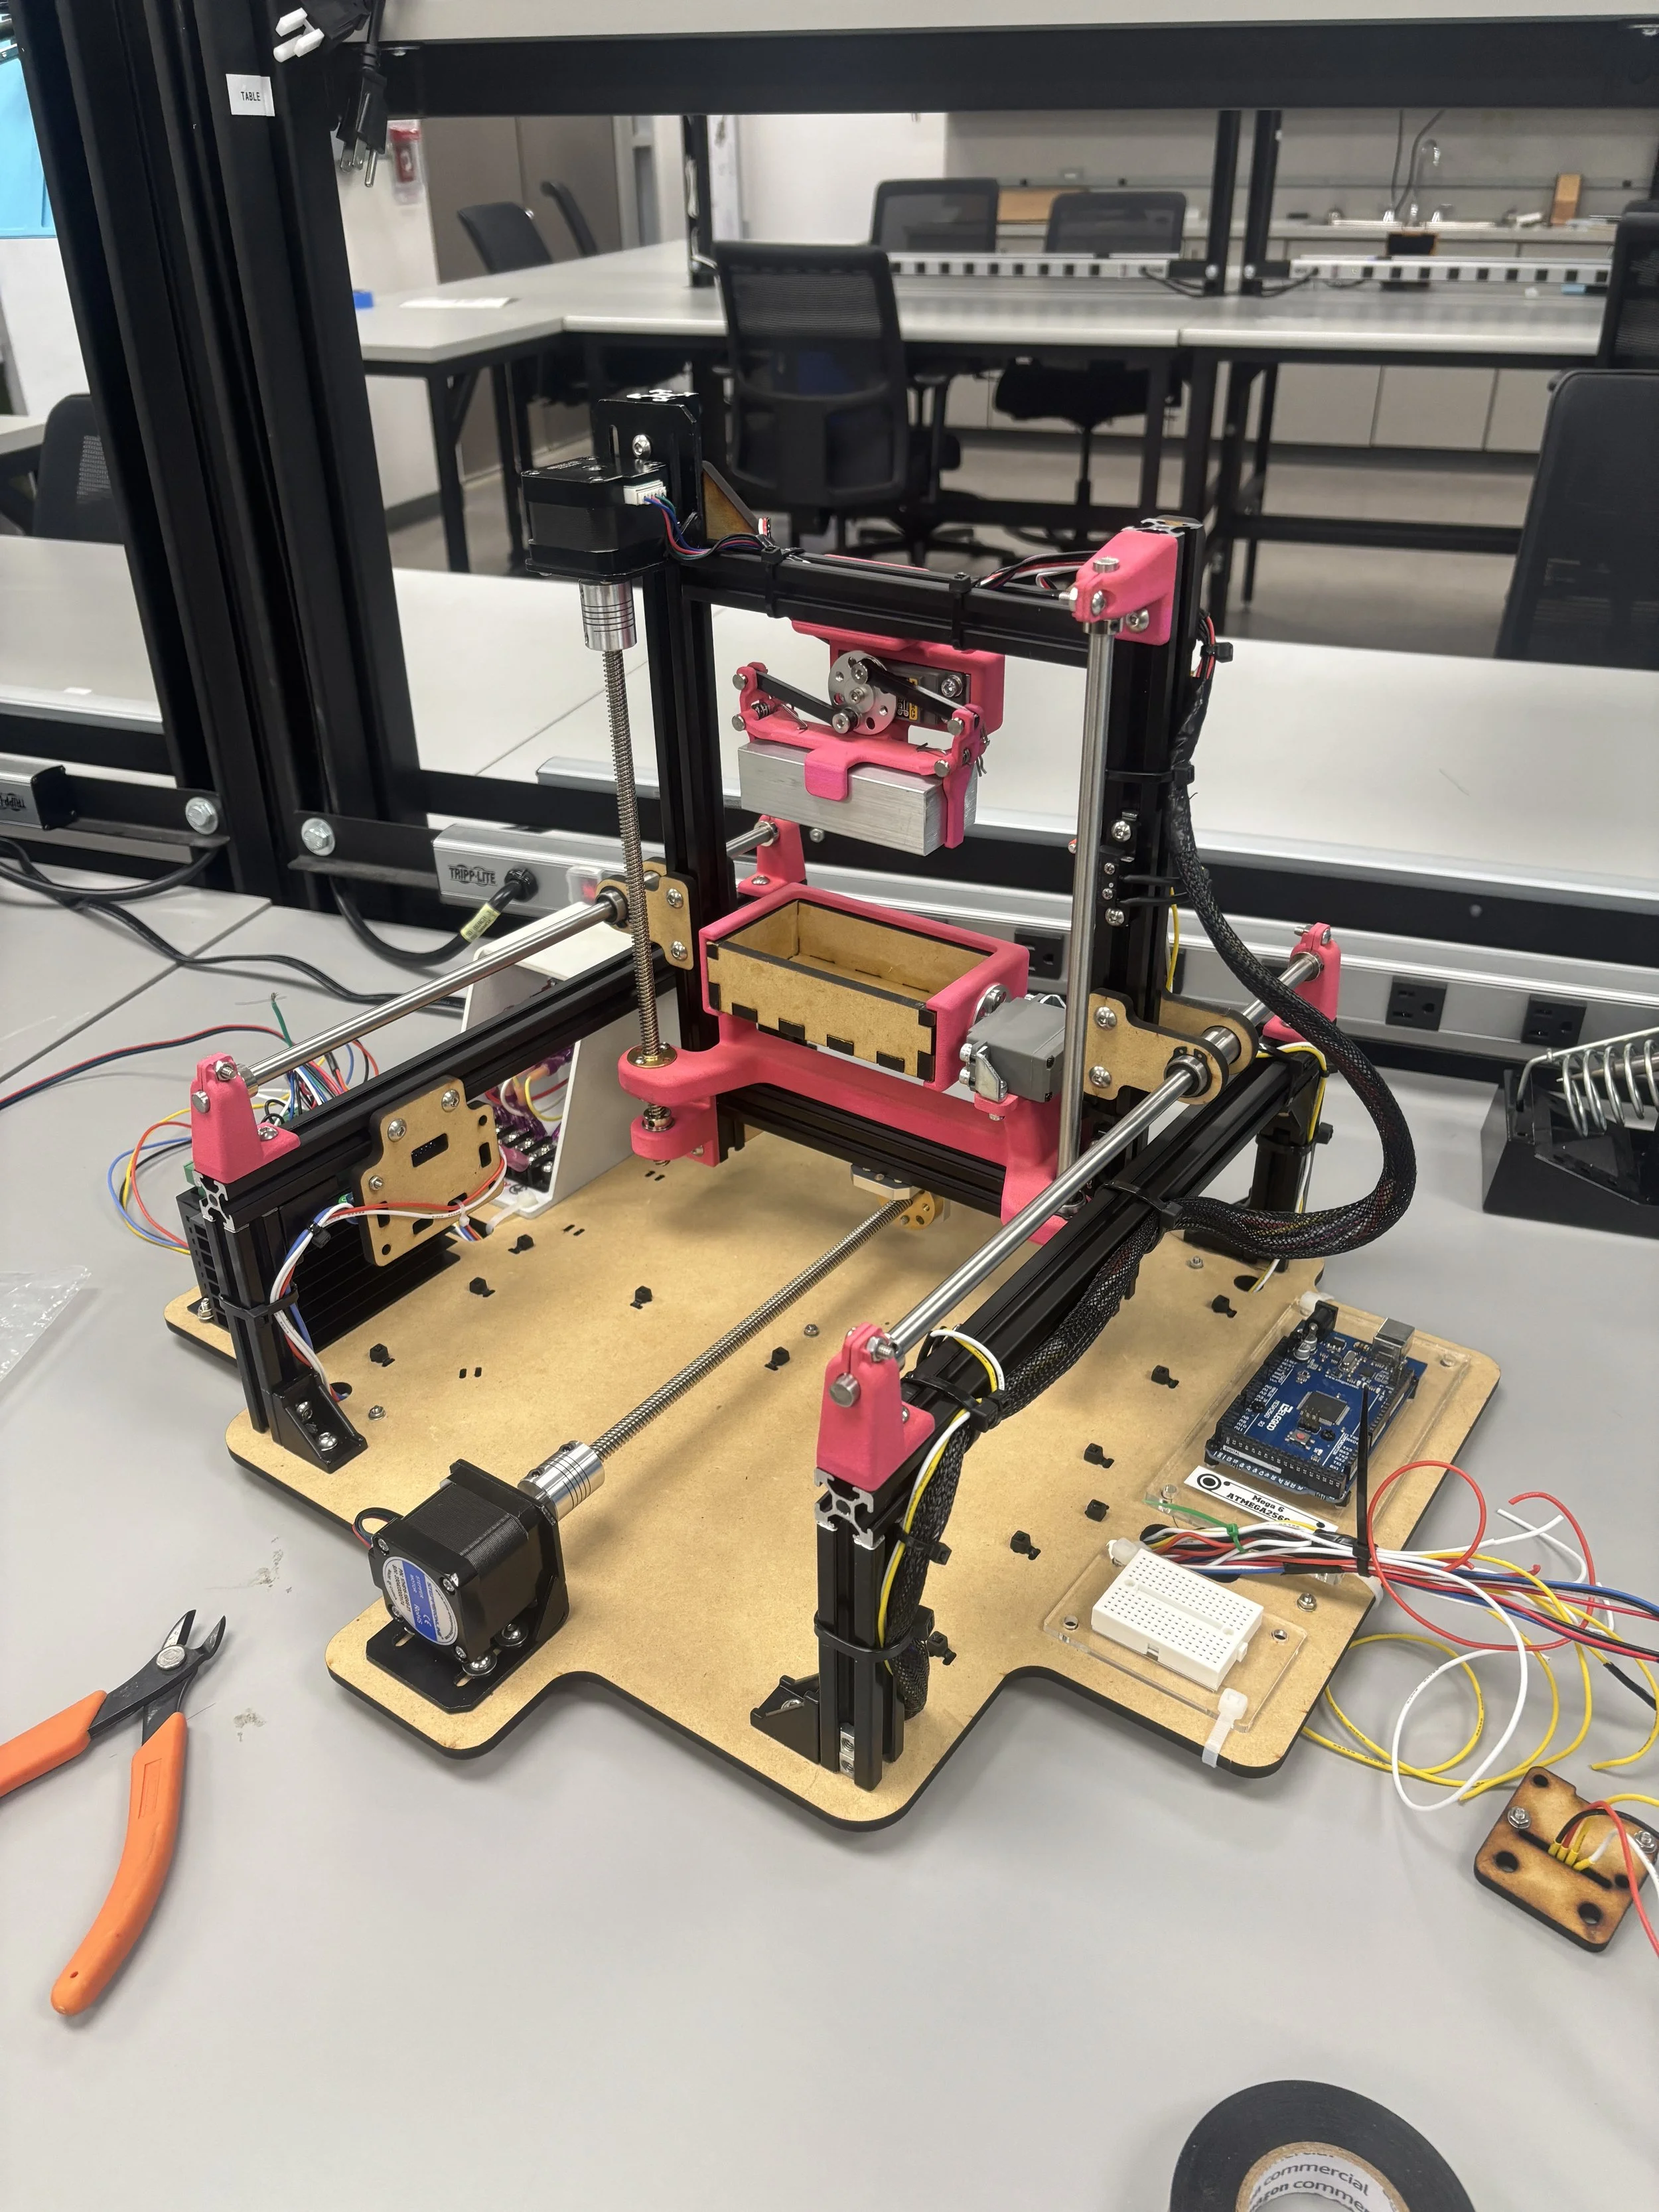
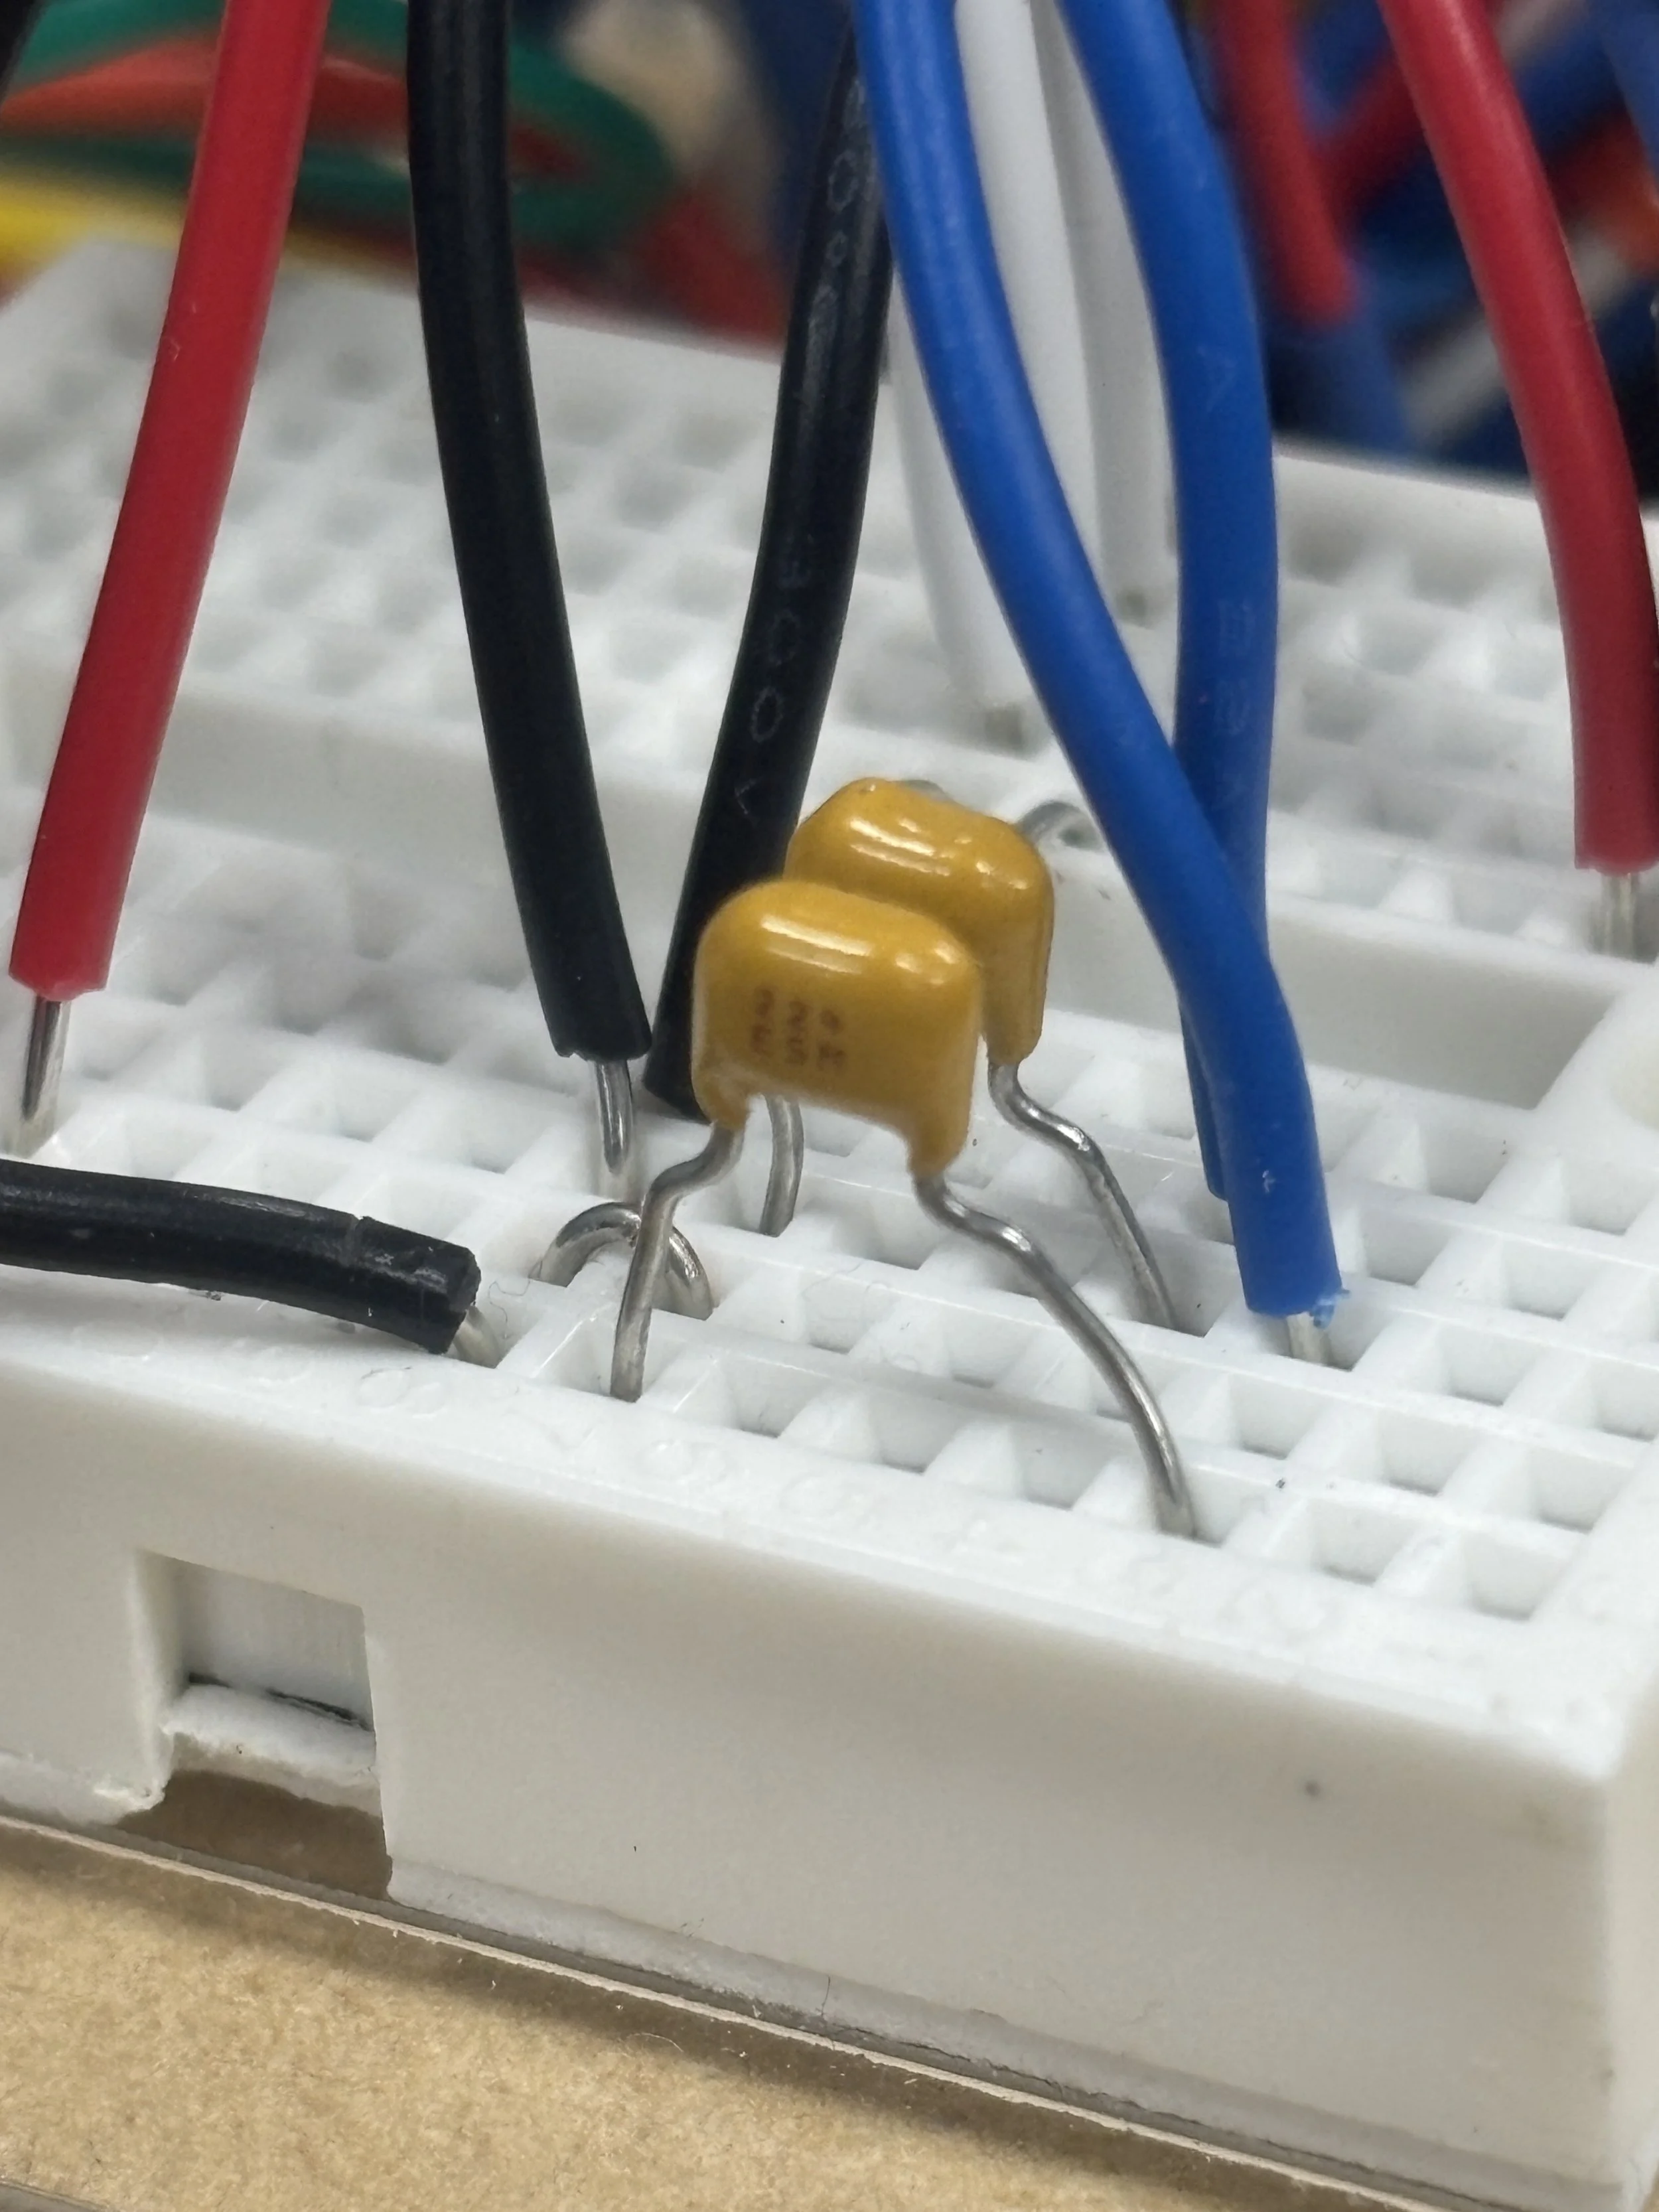
The hardest part of the project to troubleshoot was an EM interference issue. For days, we ran tests and couldn’t figure out why the machine would skip a certain operational step. Luckily, I wrote a little script that would output the machine state in the Arduino’s serial data. Zoe and I figured out that one limit switch was “tripping” when the steppers activated without actually being tripped. After probing with a multimeter, the added capacitance allowed the machine to run smoothly with the meter attached. Being two MechE’s, we were initially confused what was going on. After figuring it out, we ran upstairs to the circuit lab and asked the professor for some 0.1 microfarad capacitors. The caps acted as a filter, shunting the high frequency interference to ground, and the machine ran without a hitch after that.
