I remember getting a rather odd text message from my dad fall semester of my sophomore year; his 4Runner suddenly went into limp-mode and wouldn’t exceed 5mph. He couldn’t figure it out, and I certainly couldn’t help from 2000+ miles away. He took it to the local shop at the top of the hill and, after weeks and thousands of dollars, they couldn’t diagnose the issue. Oh well, I’d finish up my finals and take a peek when I got back.
Luckily, Baylor’s winter break is a generous one month long. That should be enough time to diagnose and fix the issue.
As an inexperienced diagnostician, I noticed error codes for the intake air sensors and throttle position sensors. I initially decided to throw some parts at the issue because they were cheap. After a new MAF sensor and throttle didn’t fix the issue, I popped in a spare ECU and the issue still wasn’t fixed. At this point, I needed to leverage some help from the internet.
Tacomaworld.com is a Toyota internet forum that I had lurked on for a while. Every once in a while, you can find some really savvy members. I managed to connect with an automotive tech from Texas who helped point me in the right direction. We started methodically working through the check engine codes and running all the tests per the Toyota manual. Eventually, we found that the +BM voltage to the ECU was reading 39mV. That is the positive voltage reference for the ECU CANBUS; it should be closer to the nominal 12V. Perhaps we found our gremlin!
Tracing back the wire through all the various multipin connectors under the dash, I found some nasty, green, corroded copper pins by the driver kick panel. With a careful splice and re-pin job, she was running again! My dad was elated, and the fix ultimately cost an OBD2 adapter, some wire, solder, and a bit of my time.
I’m certainly no master diagnostician, and I fully leveraged the help of my new-found friend via the internet, but I absolutely learned some new skills. I am now familiar with how to use the testing protocols in the factory service manuals now and how to read the factory wiring diagrams. I’d say that’s not too bad considering I’m not a sparky or an EE.
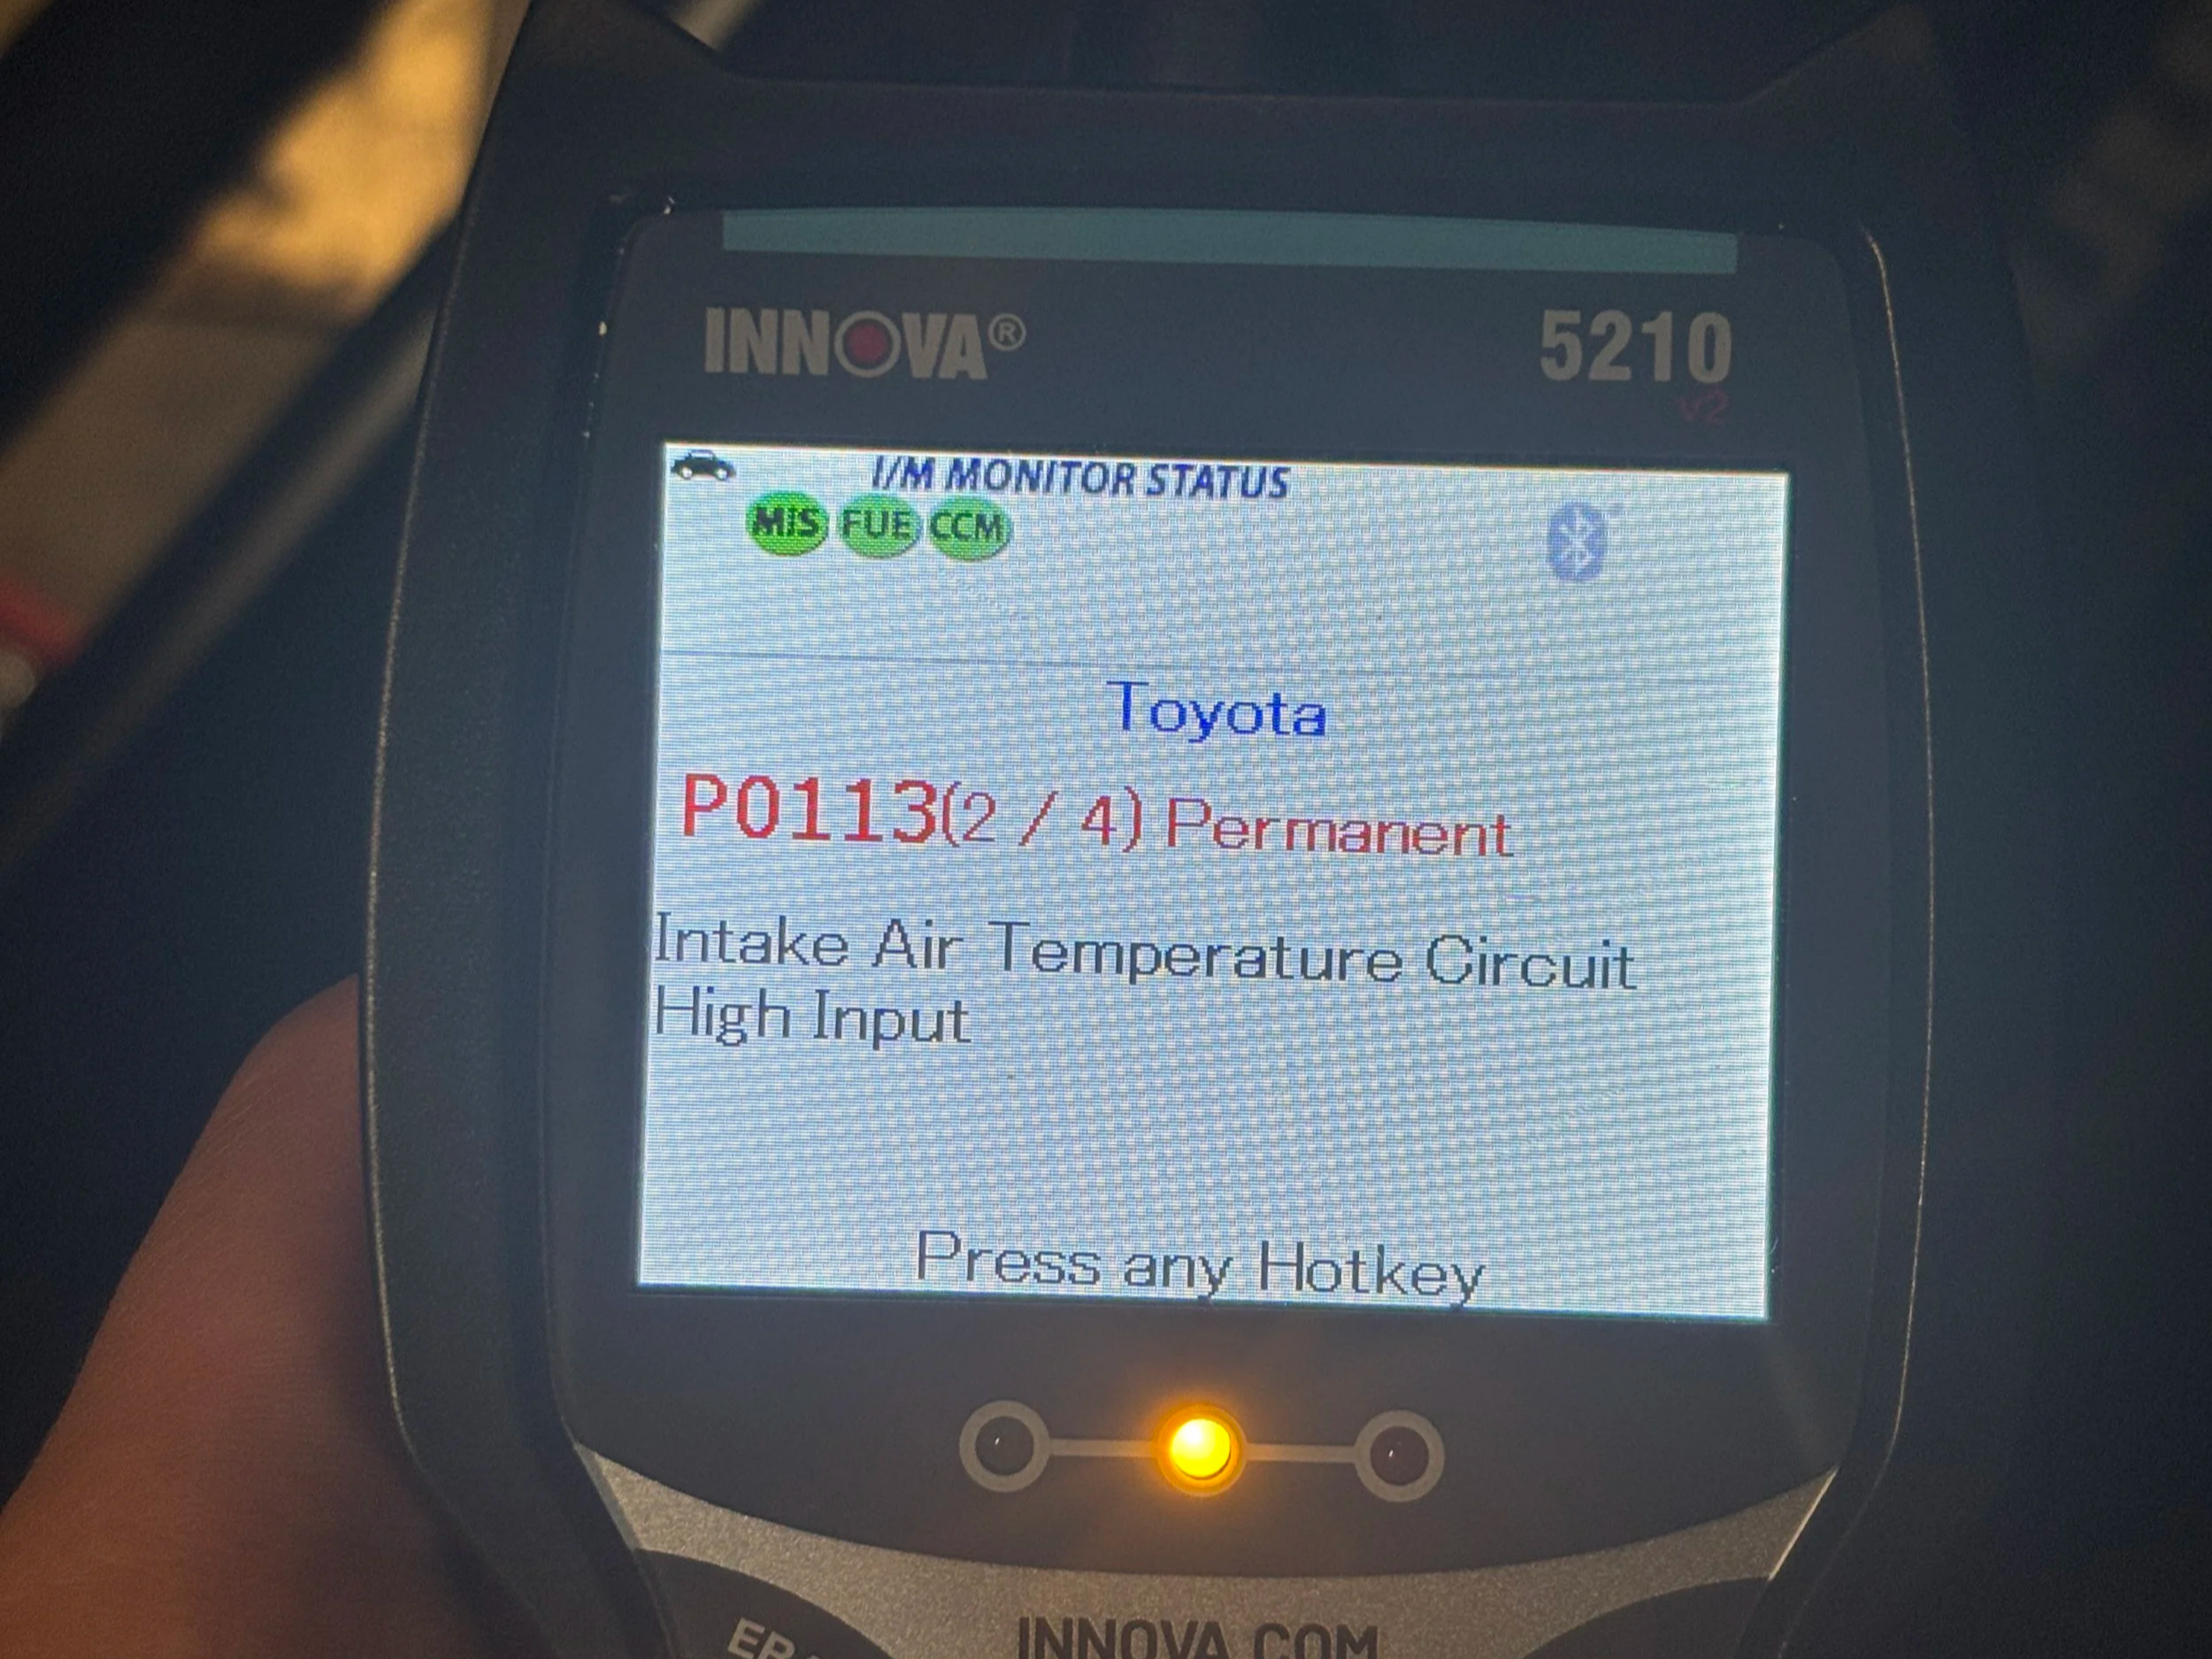
The code scanner, a helpful tool for quick checks but clearly wasn’t intended for in-depth diagnosis.
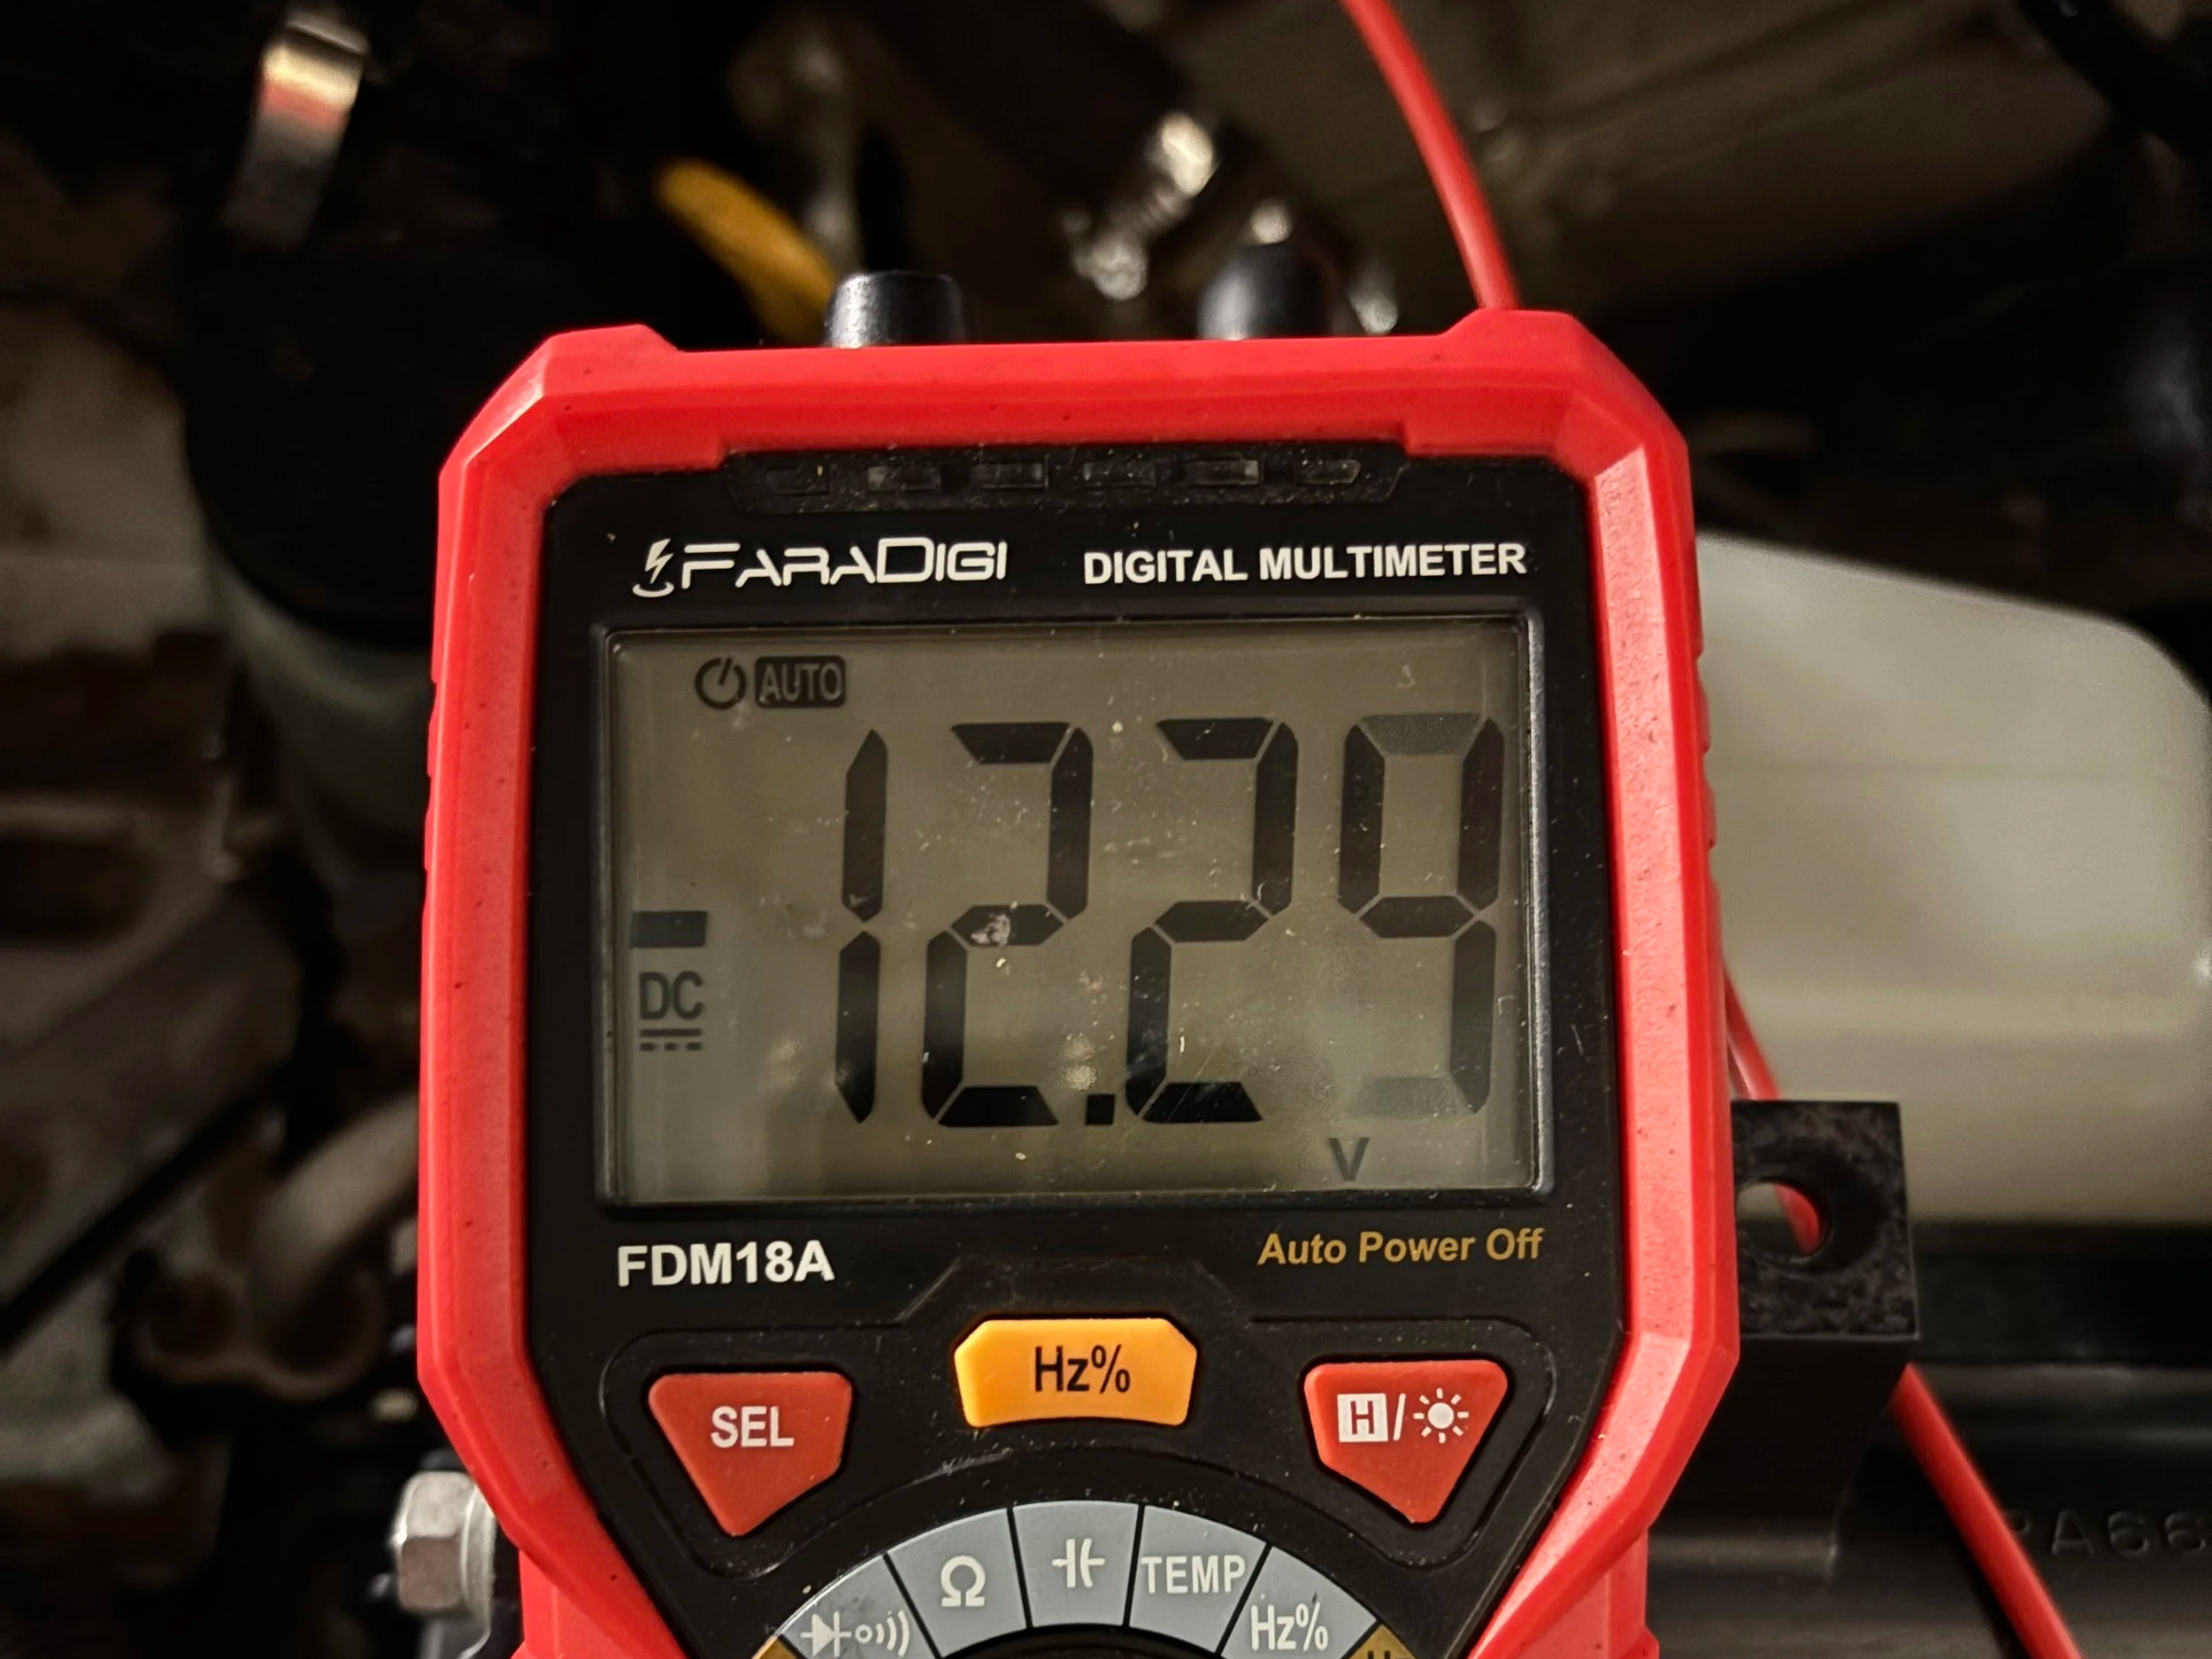
The humble multimeter… another awesome tool (that too many ME students struggle to operate) but, with modern vehicles being so complex, it would be impossible to probe every circuit. Modern computer diagnostic tools are needed to get started in the right direction.
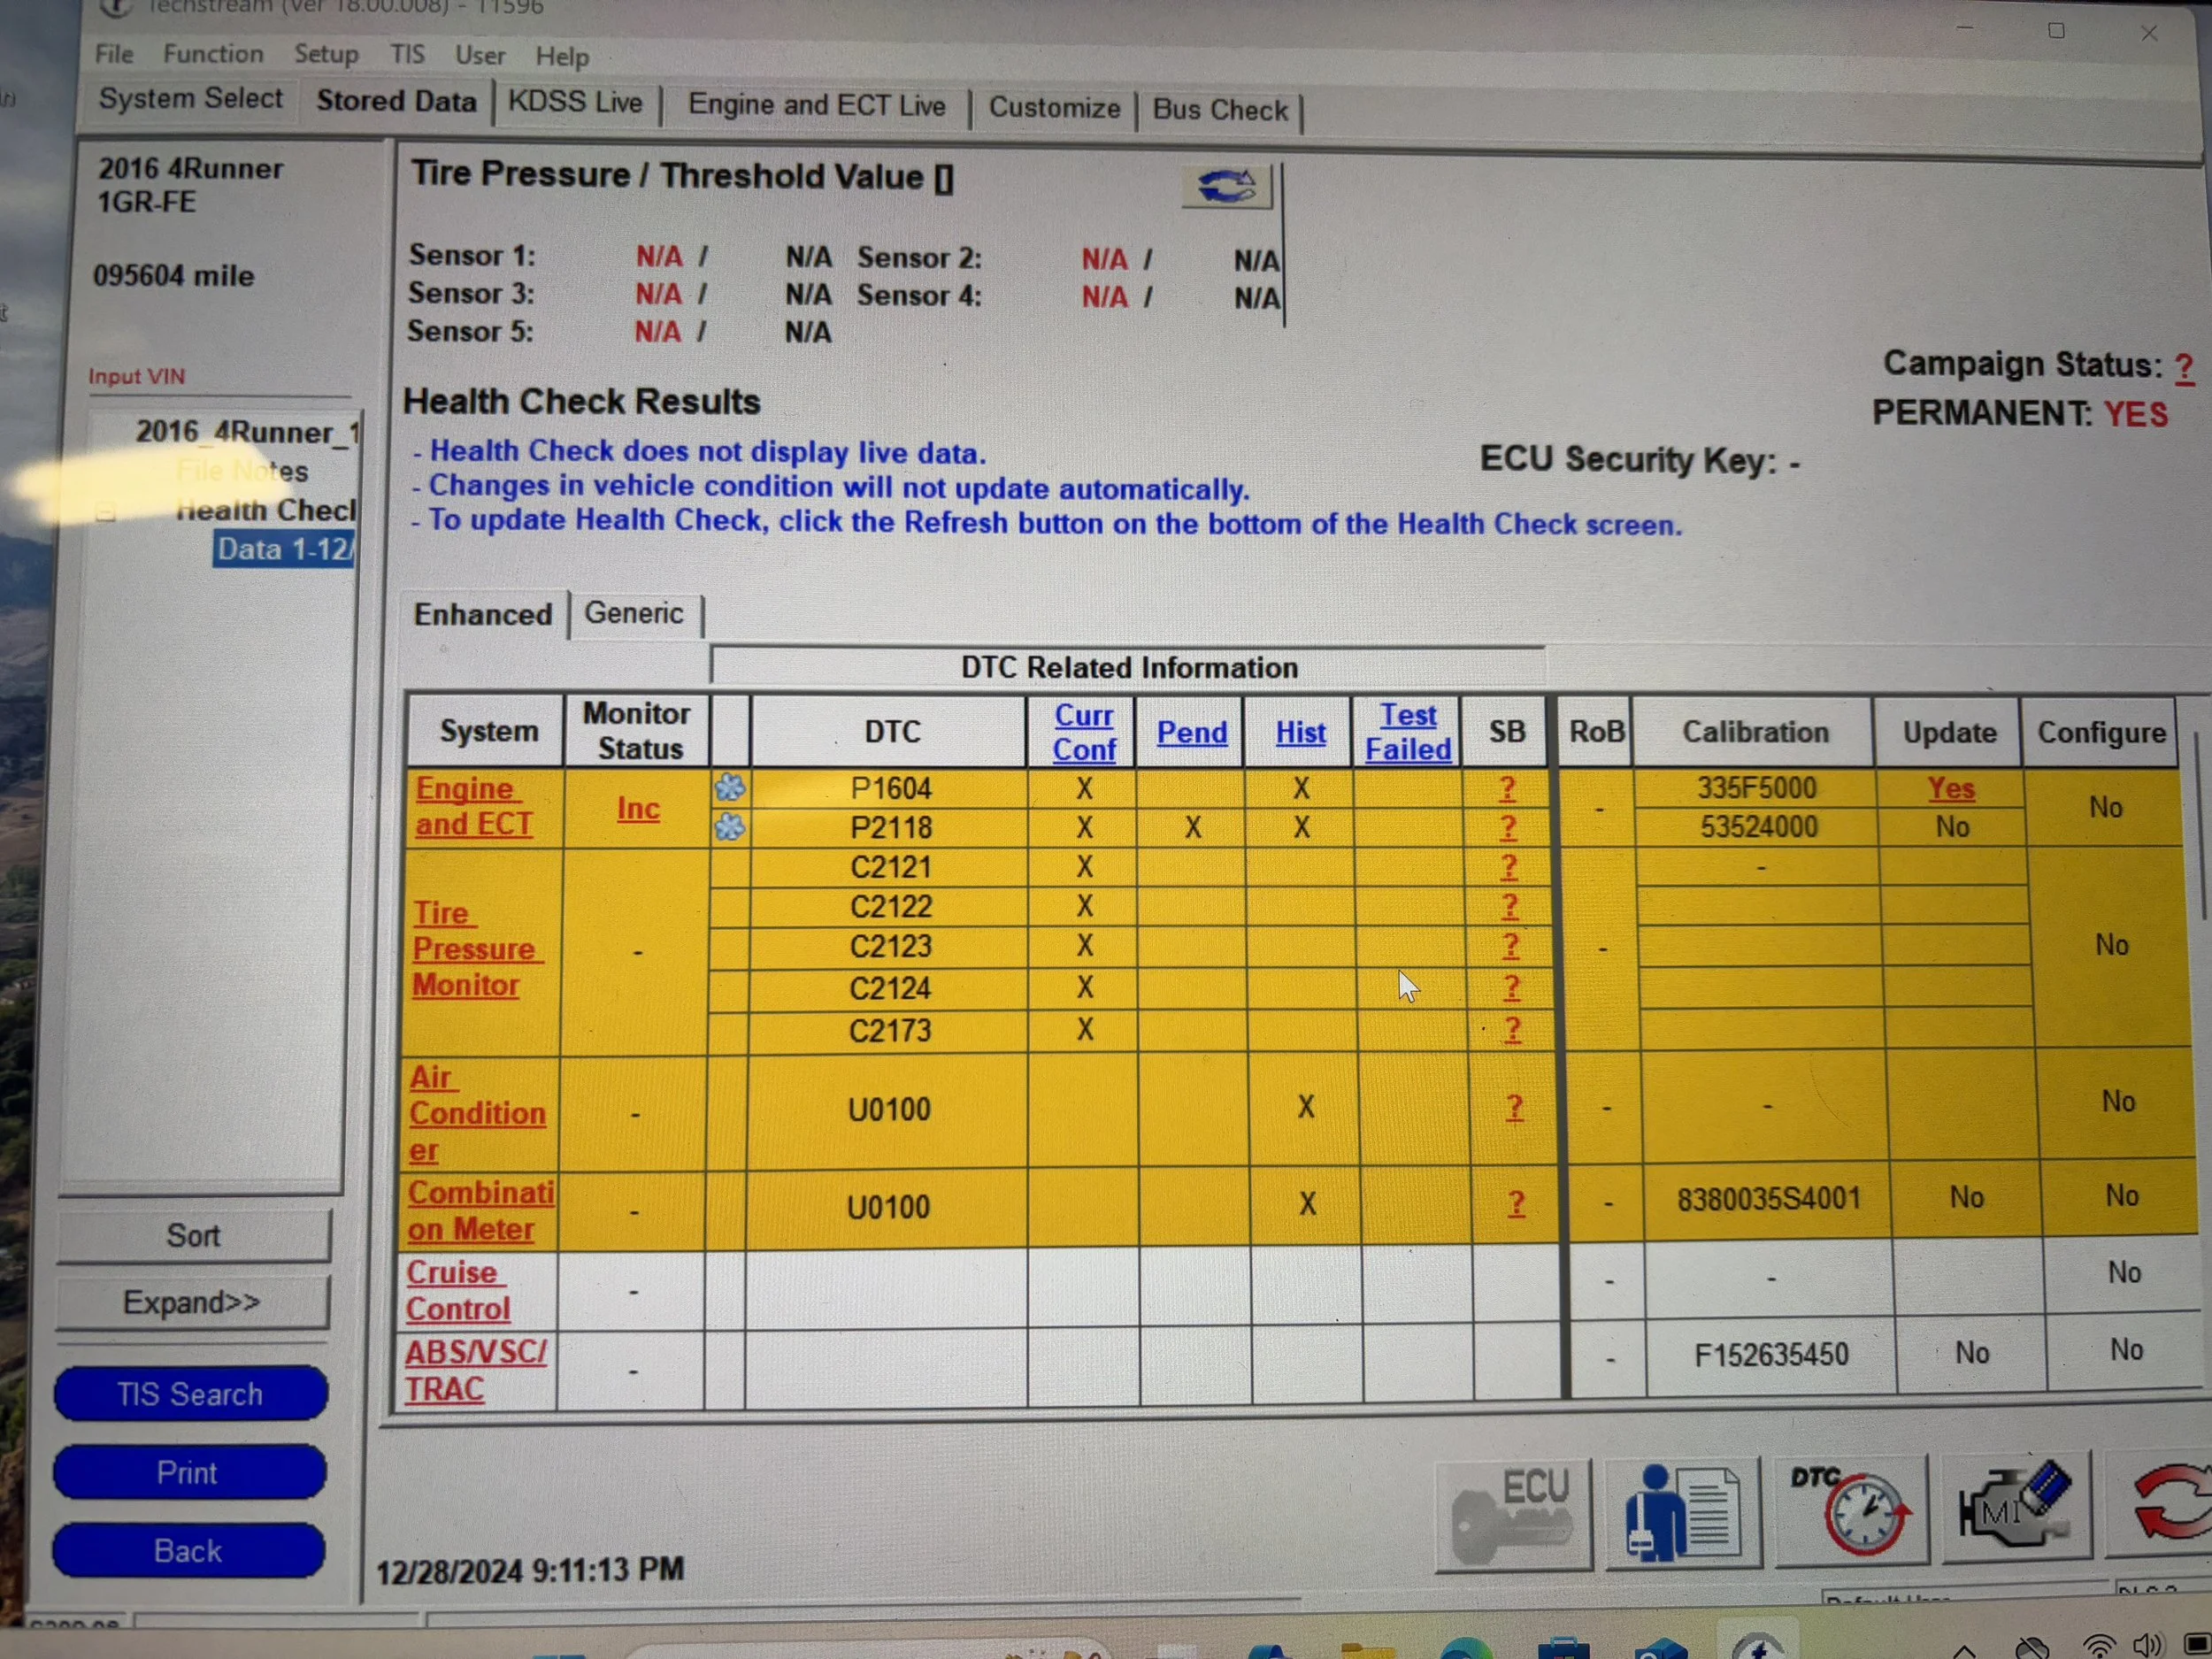
Toyota’s Techstream software, a much more appropriate diagnostic tool. Especially when paired with the factory TIS/manuals.
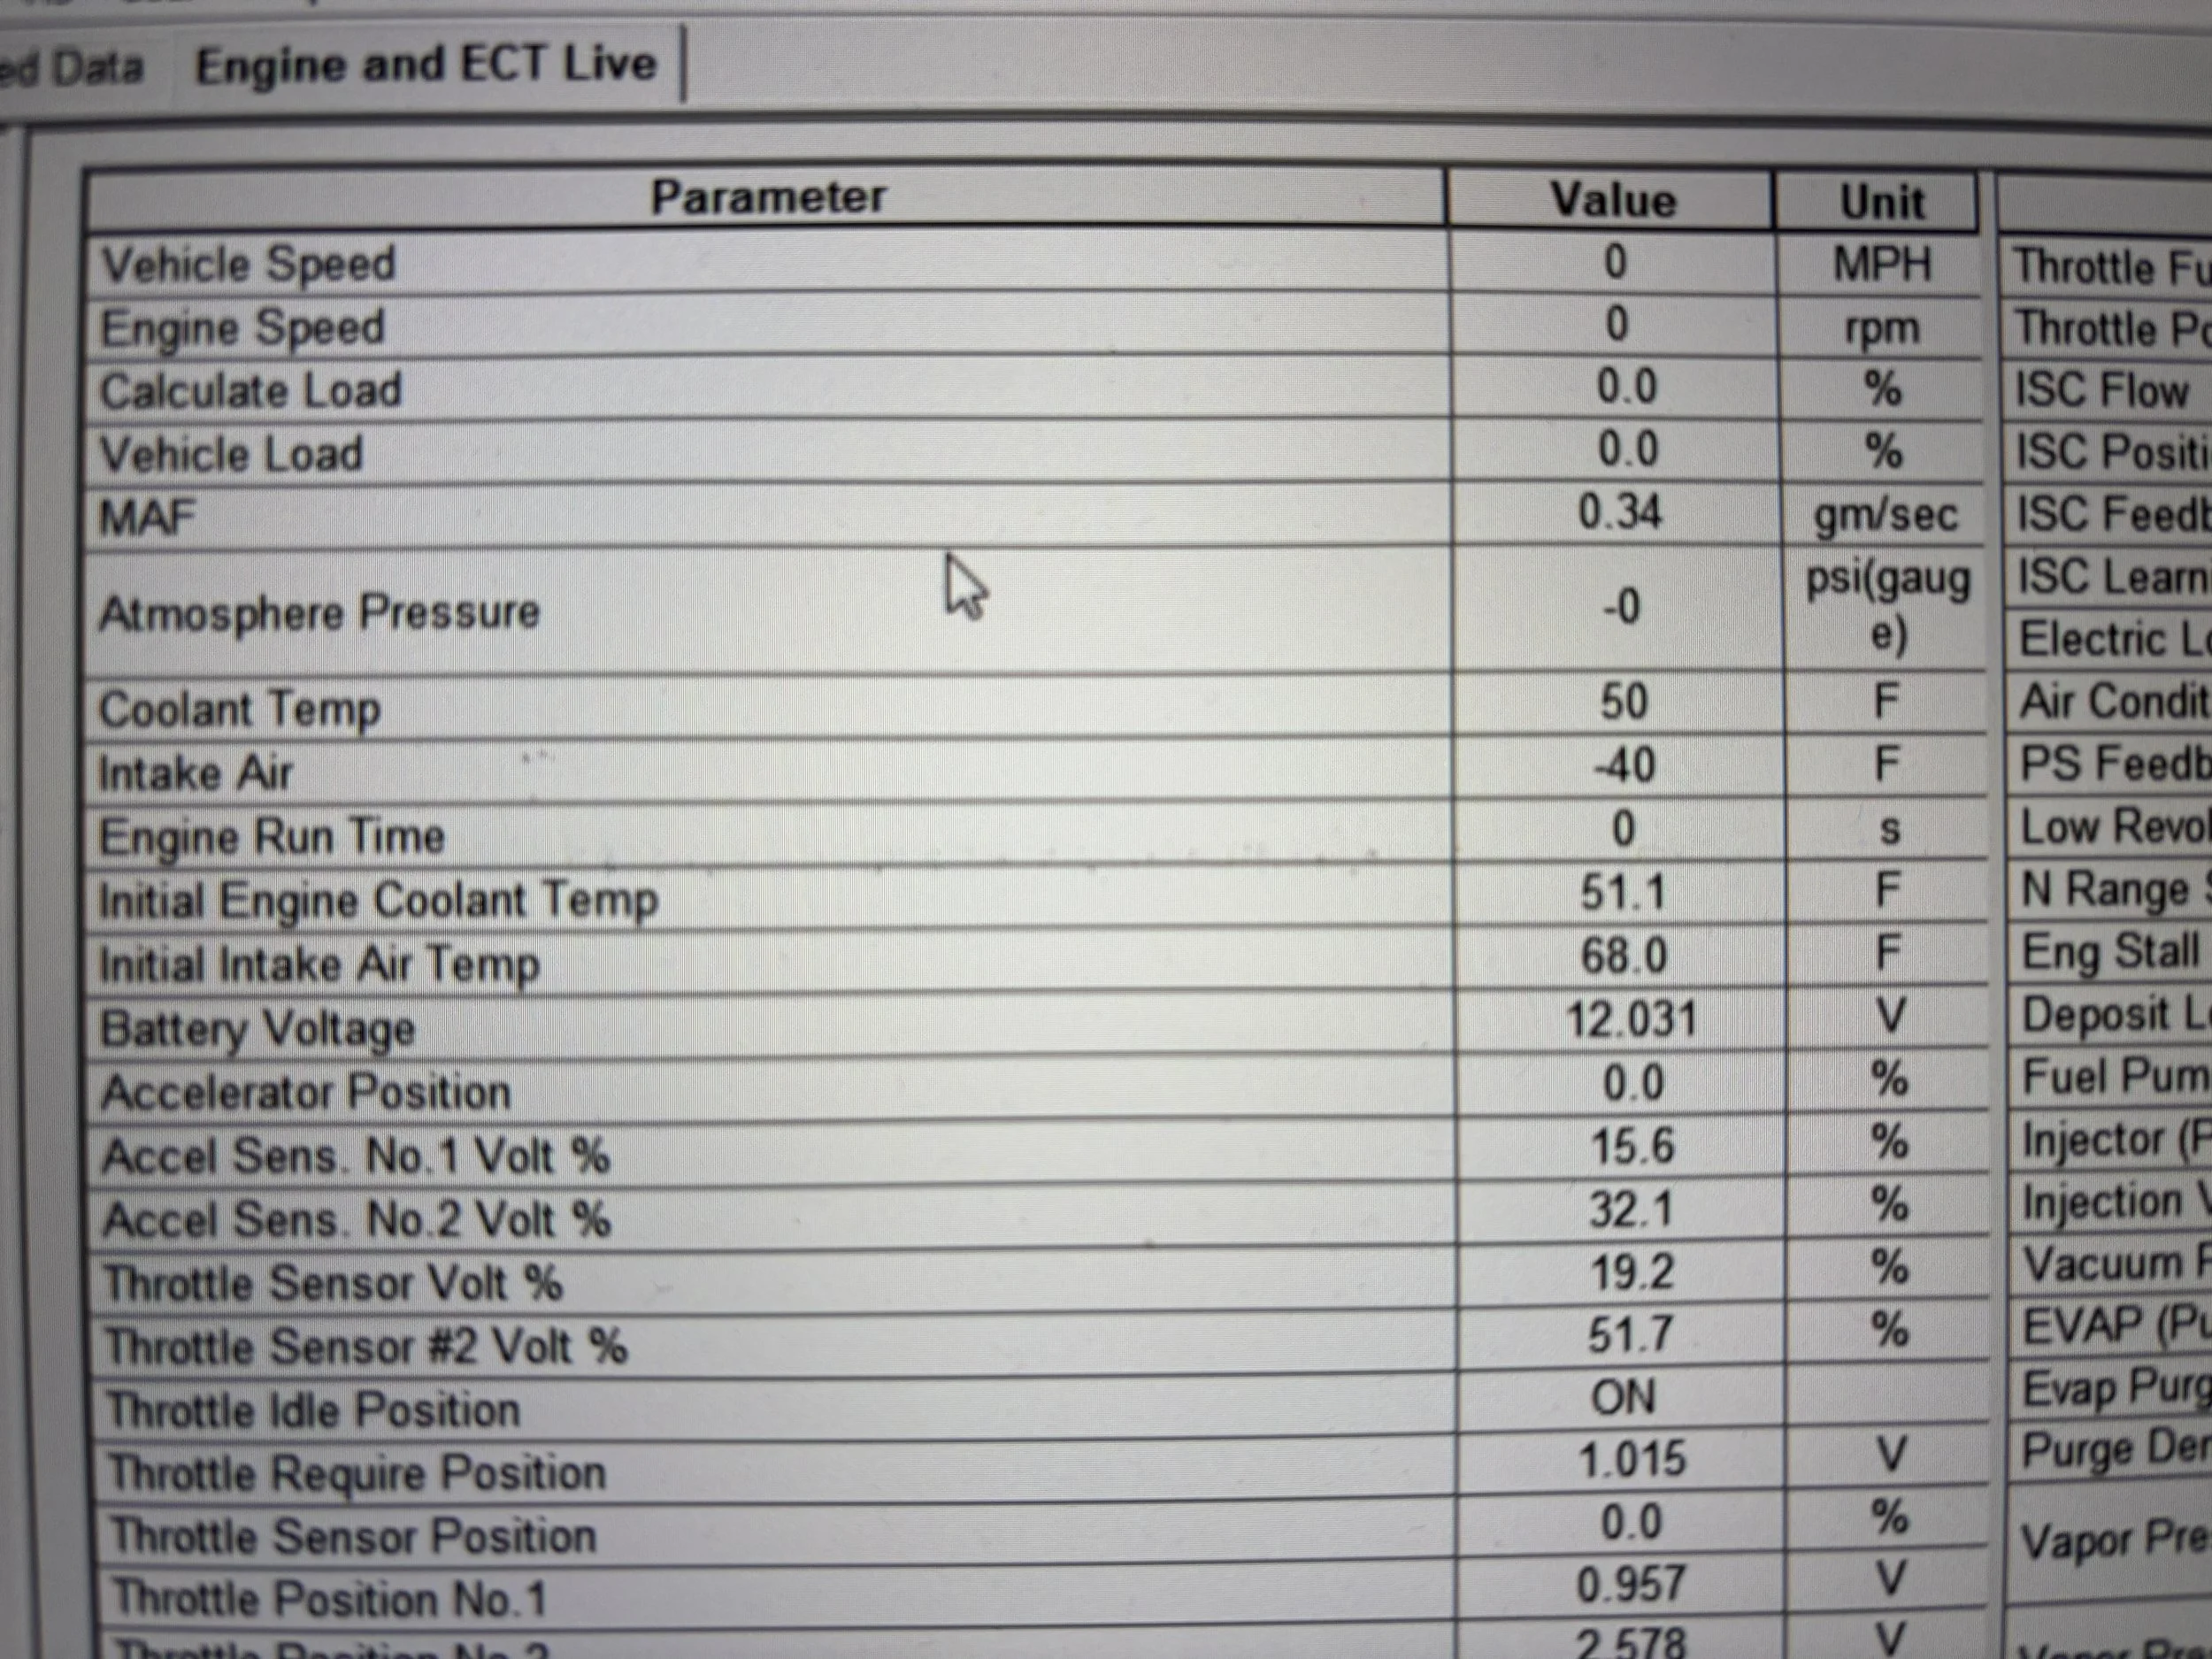
This software is what allowed me to see the erroneous CANBUS +BM voltage reference.
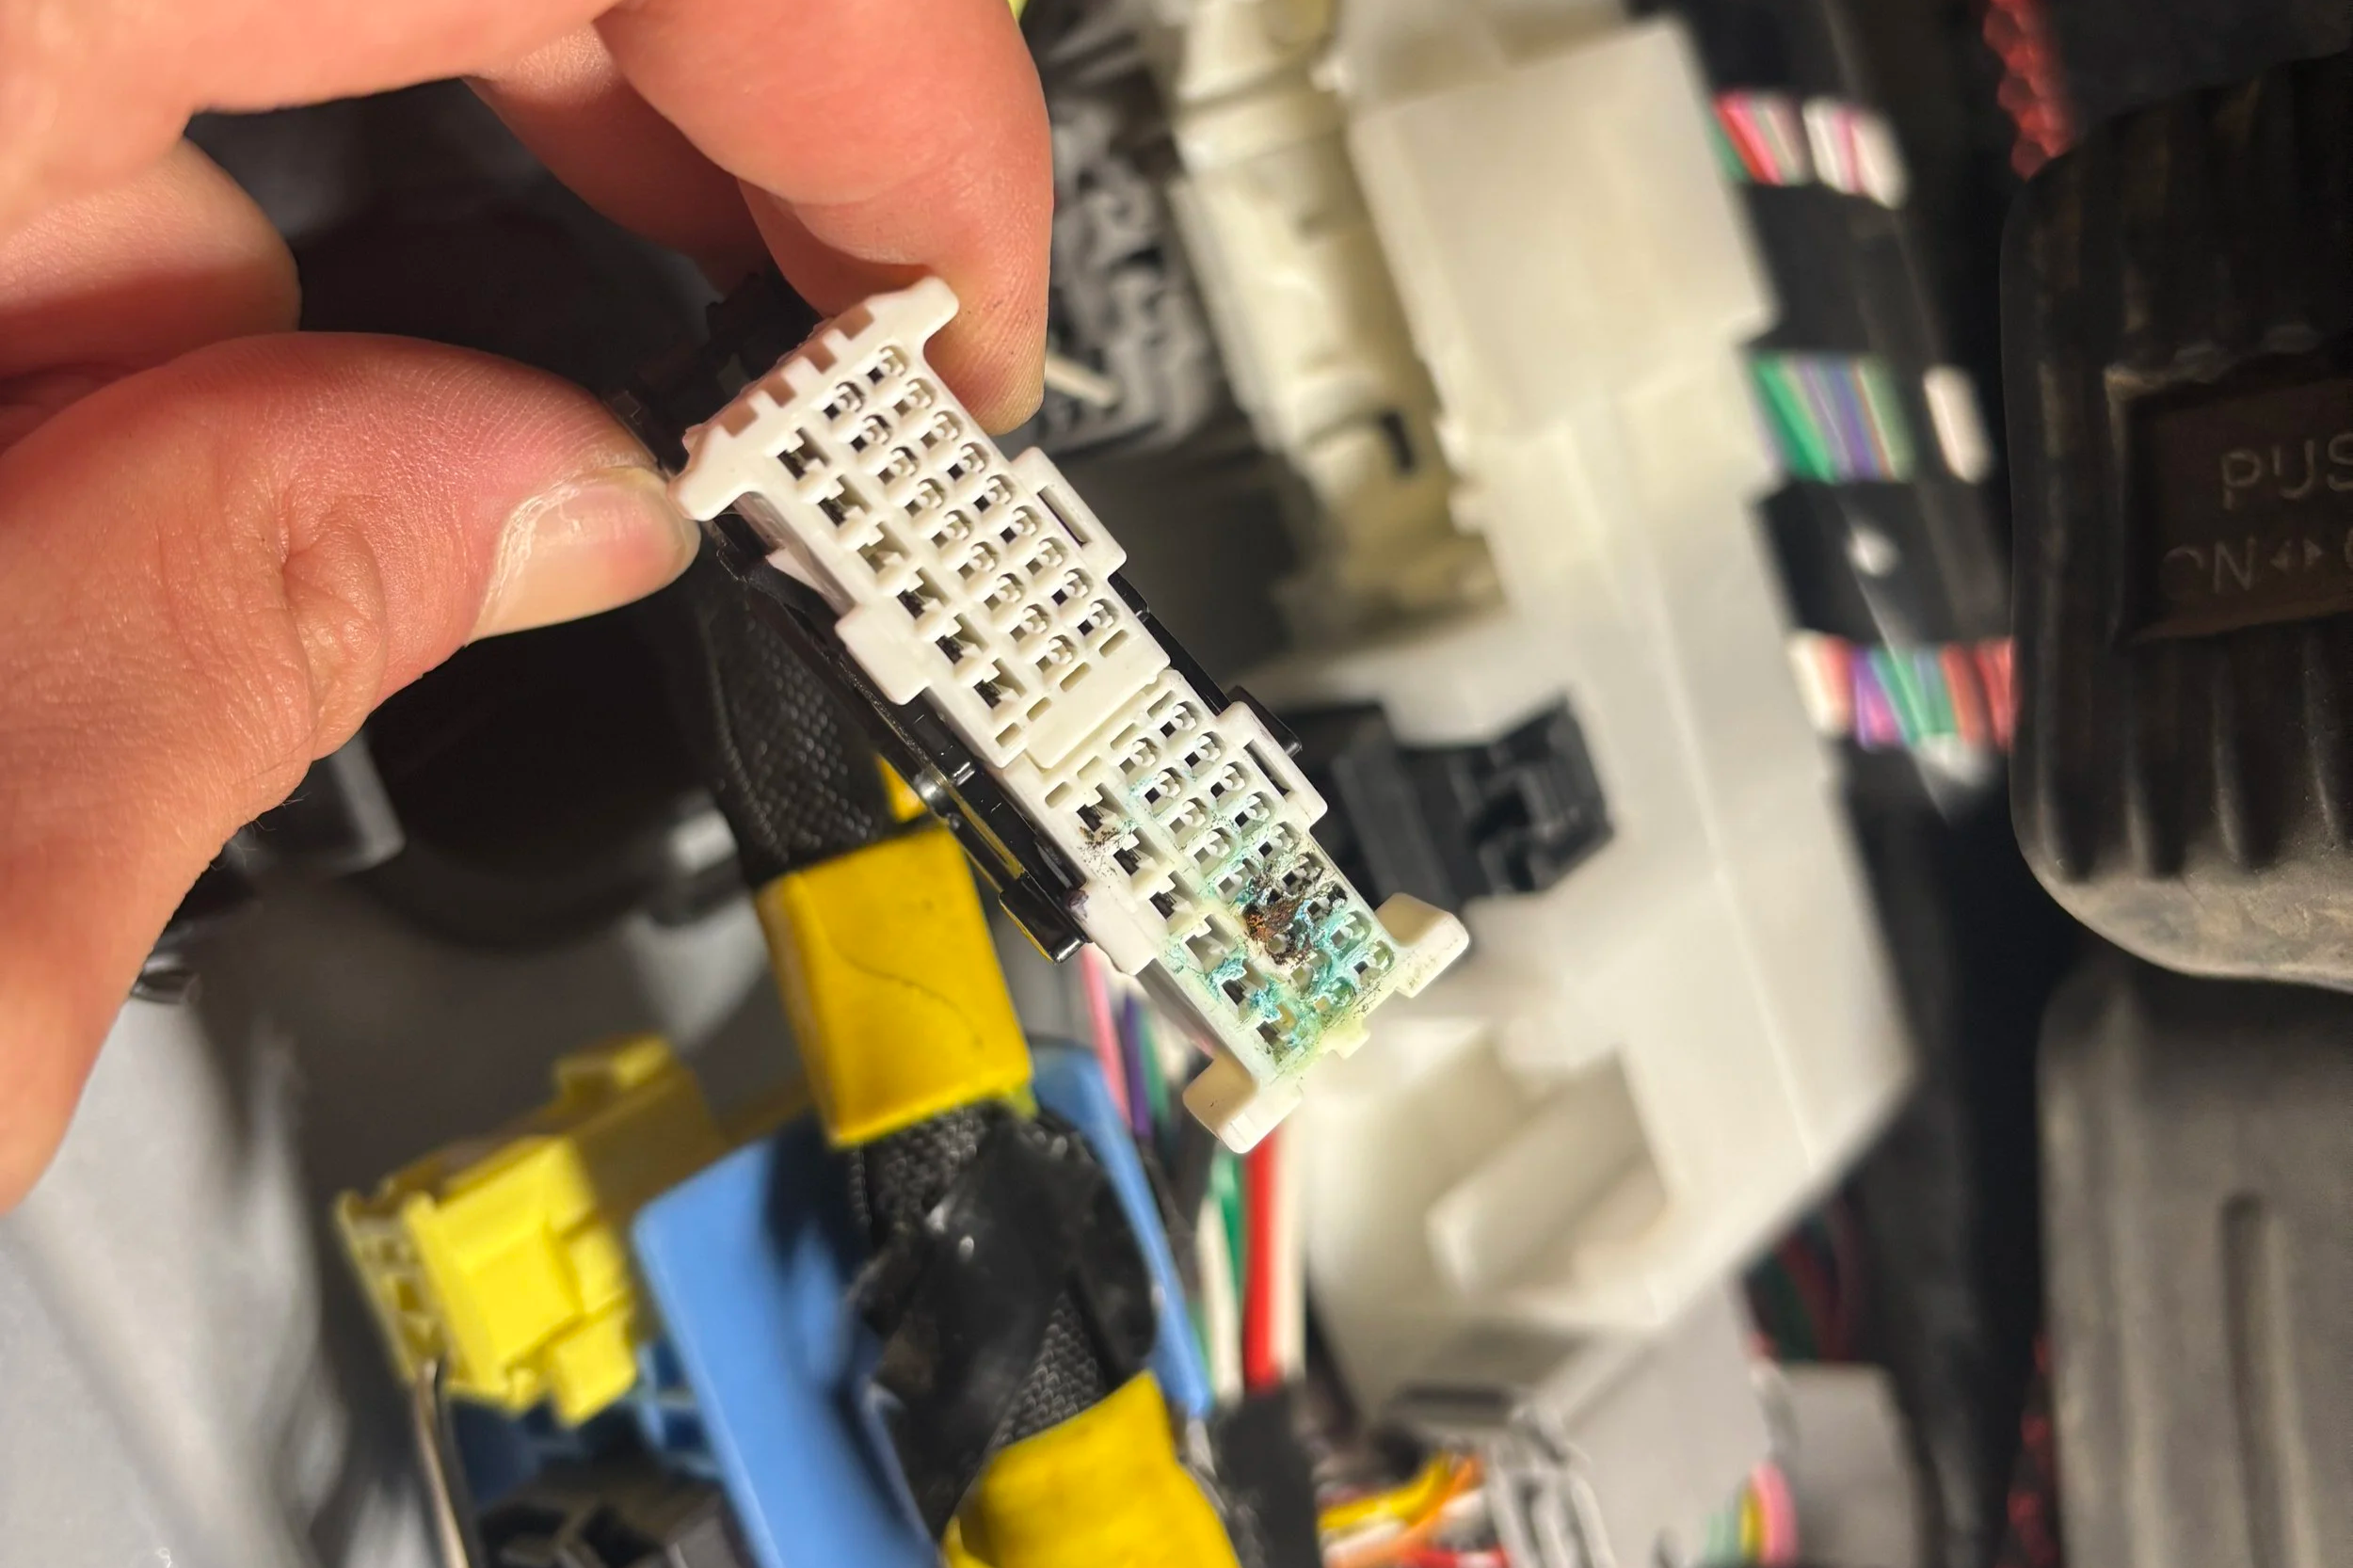
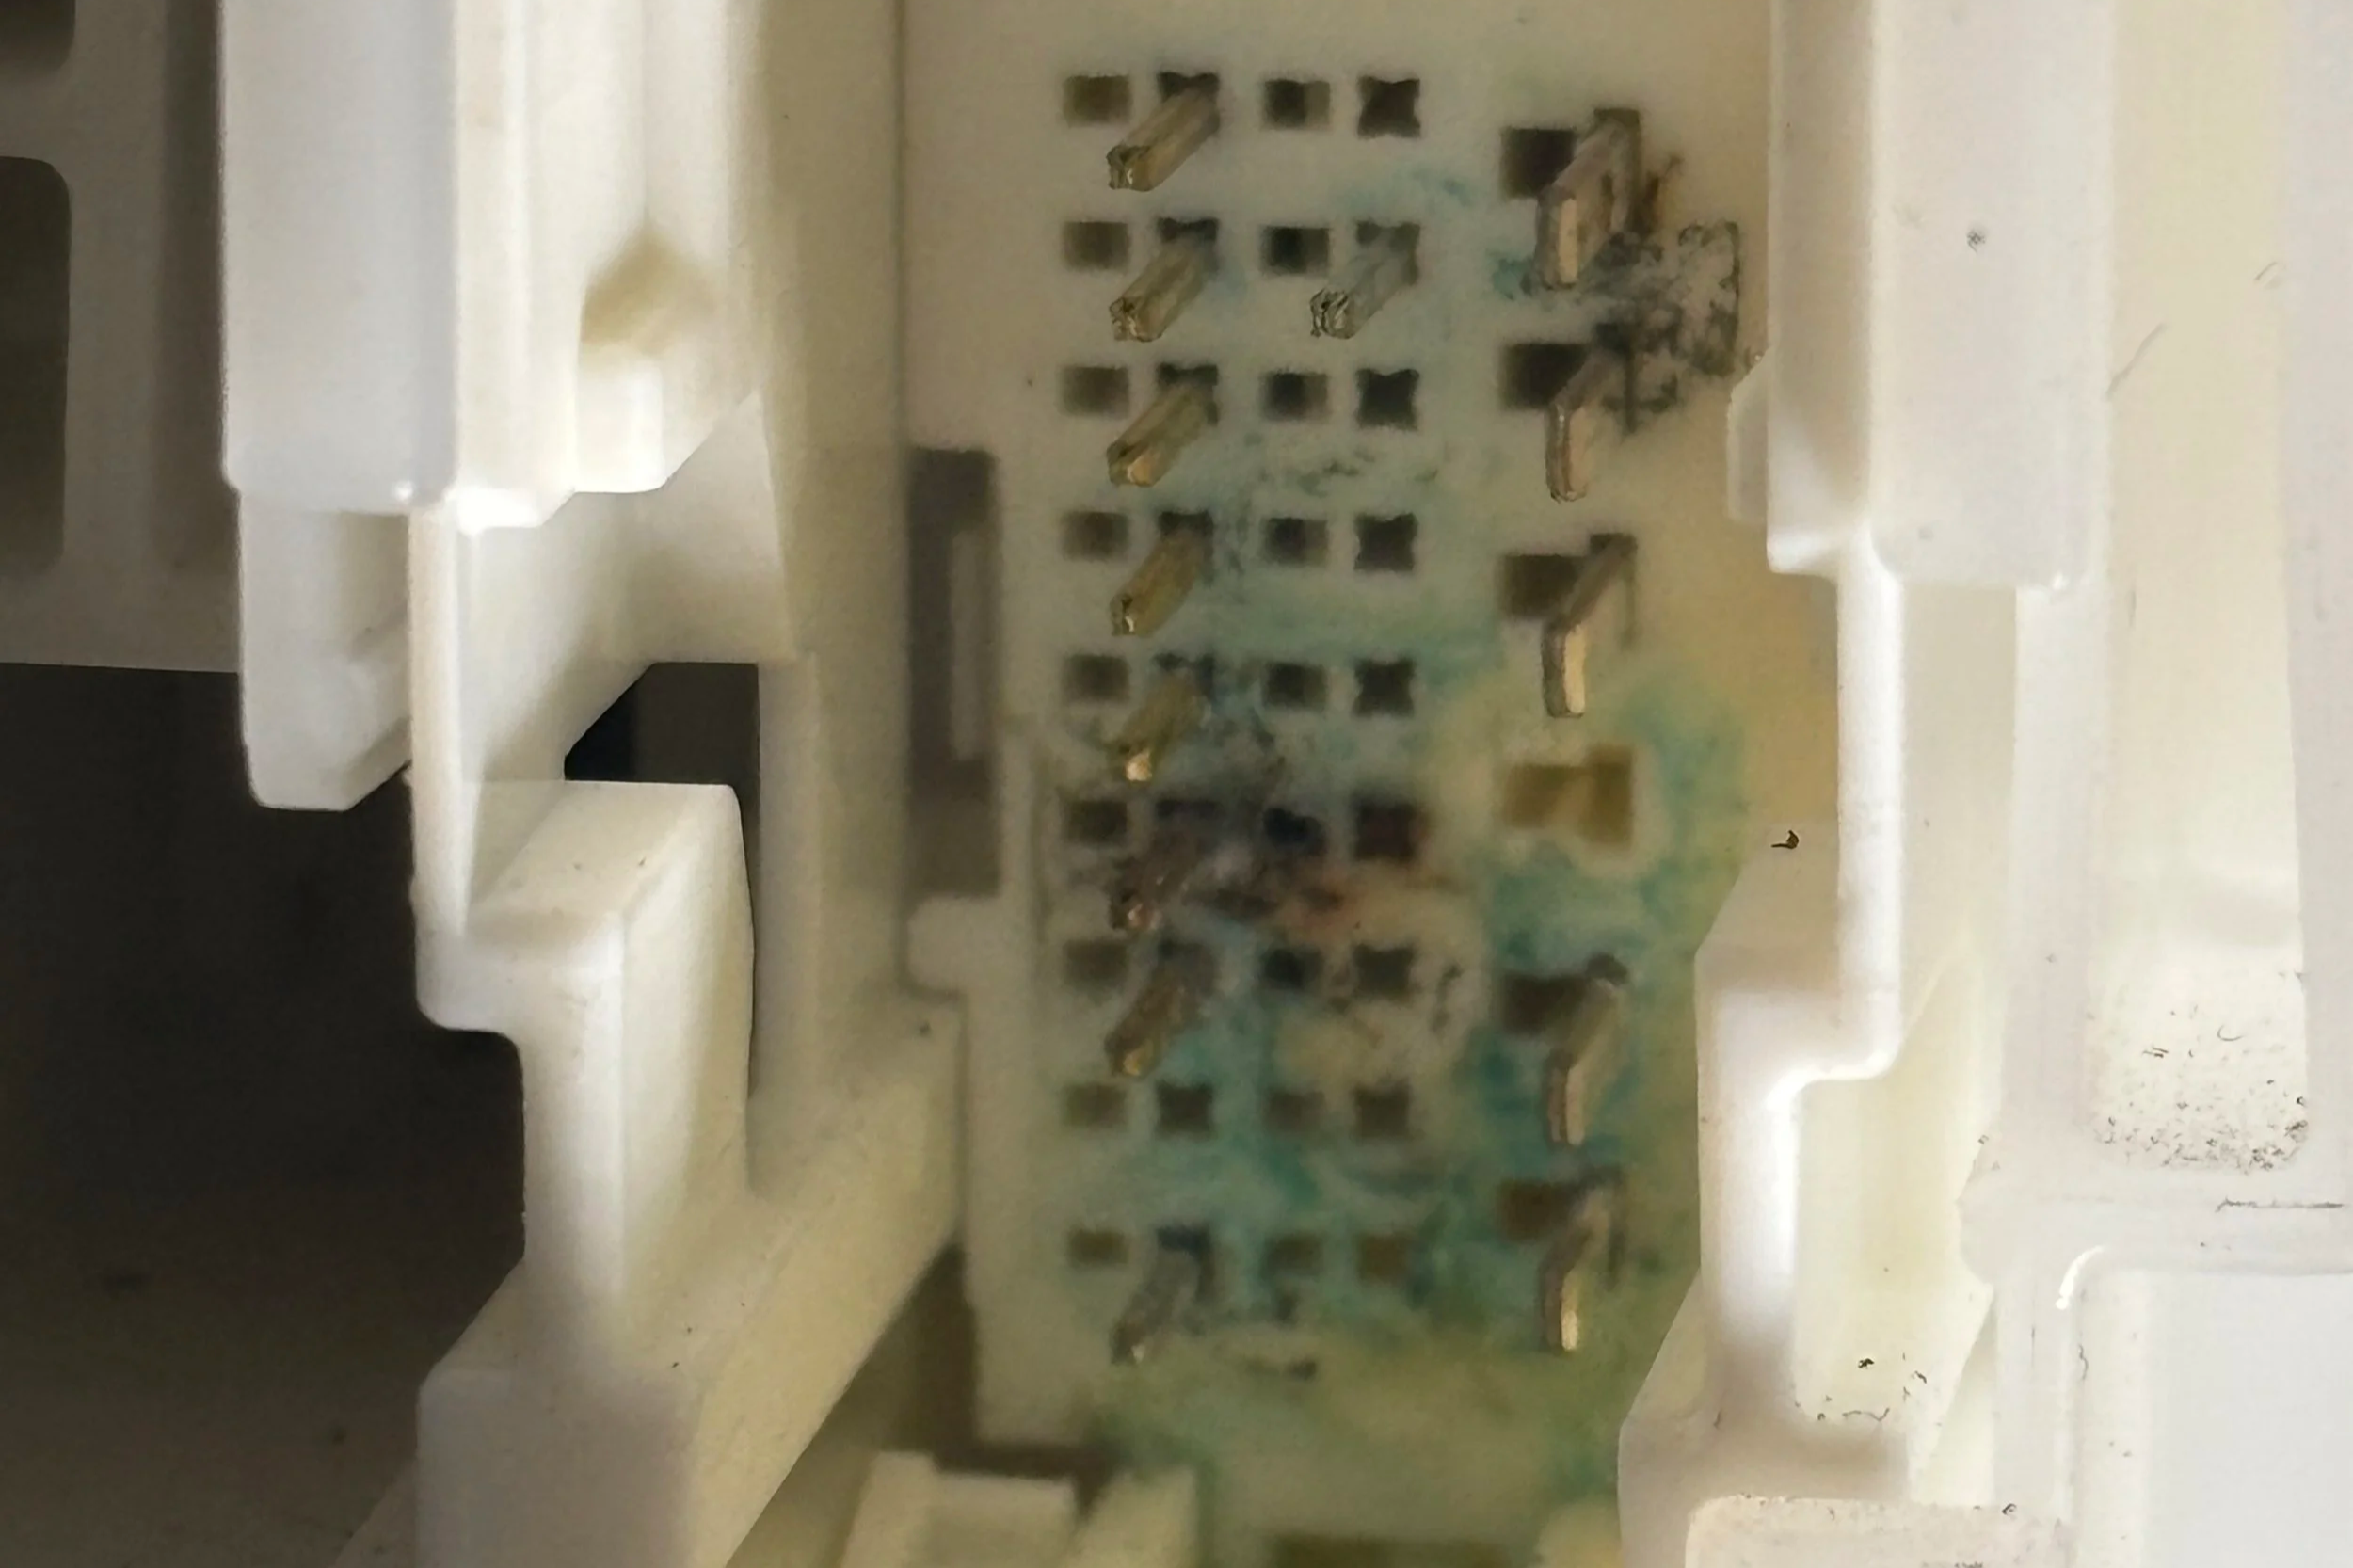
Ewwww!! A nasty connector with a copper pin that had broken off in the female side. This would require some careful cleaning and repair. To this day, I still have no idea where the water came from. I checked the sunroof drains and the seals on the firewall, to no avail.
